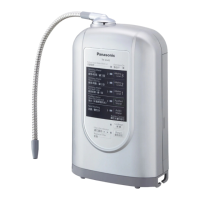
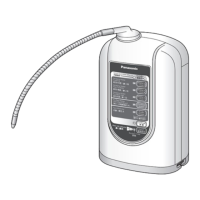
Installation 4
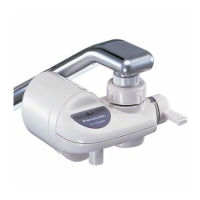
Installing the Water Purier
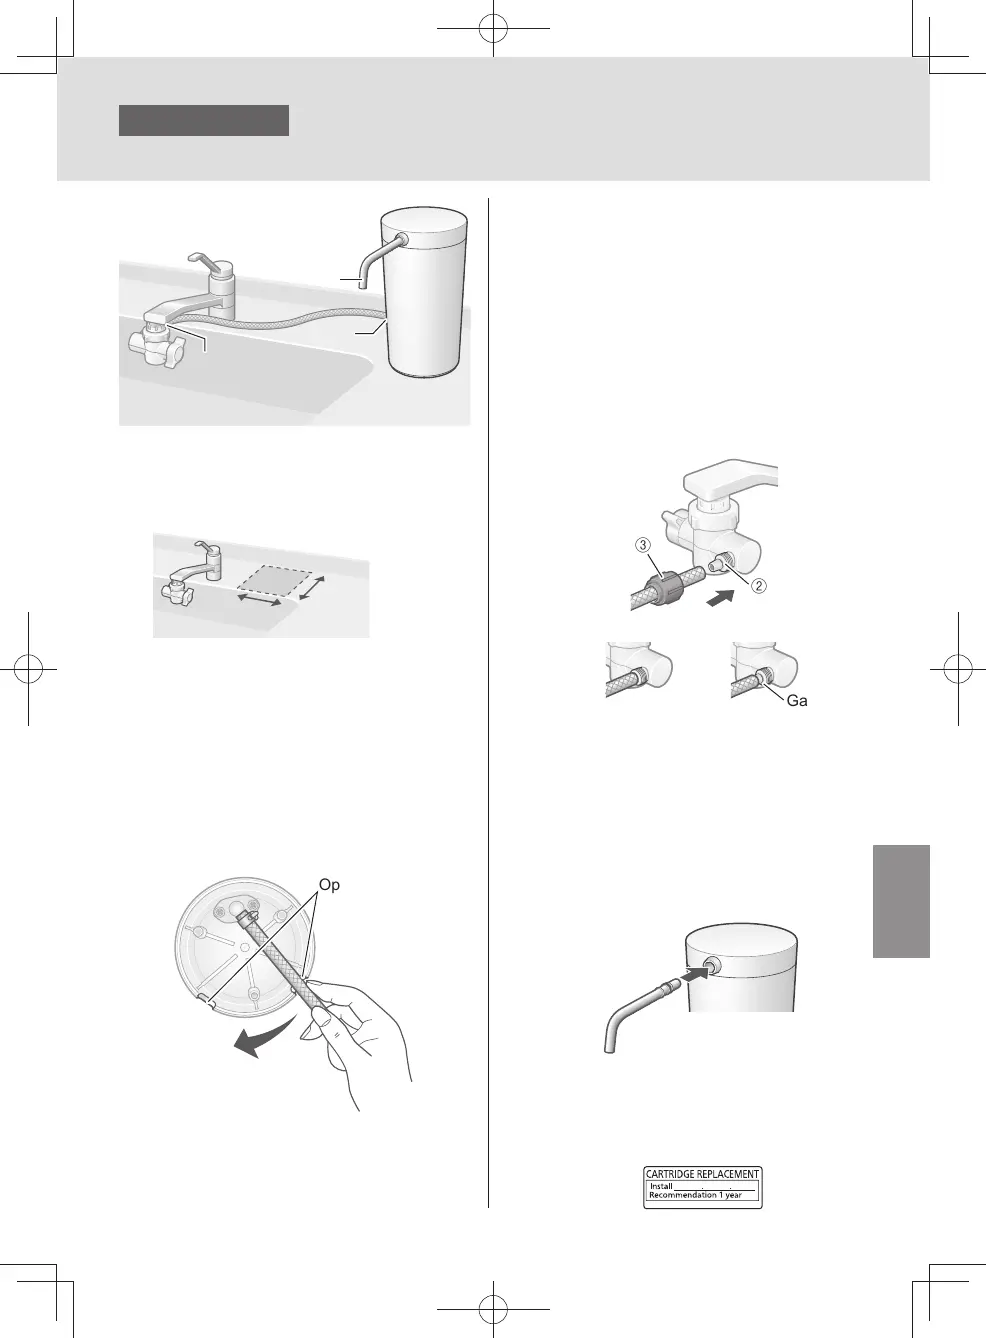
1
Choose a stable, level
surface.
12 cm
or more
12 cm
or more
2
Determine the most convenient
location for the main unit,
and then decide the direction
to extend the hose (using the
opening section).
Opening section
3
After completing the preparations,
connect the hose.
①
Remove the hose fastening nut from
the bypass selector, and pass the hose
through the nut.
②
Insert the hose into the bypass selector
as far as it will go.
③
Tighten up the hose fastening nut
securely.
z
Do not use any tools for this assembly
(since the hose fastening nut may be
damaged).
< OK > < NG >
①③
②
Gap
4
Attach the outlet pipe.
z
Push it in rmly as far as it will go.
z
Ensure that the gasket does not
come o or protrude from the groove,
preventing it from twisting
(since this may cause the water to leak).
z
Do not lift the main unit by taking hold of
the outlet pipe (Doing so damage may
result).
5
Ax the cartridge replacement
label.
z
Enter the use start date with an oil-
based pen, and ax it to the main body.
3
4
2
EN9
TK-CS200_01_EN.indd 8TK-CS200_01_EN.indd 8 2022/12/15 18:41:412022/12/15 18:41:41