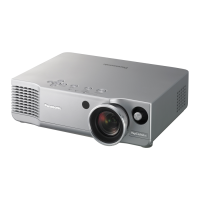
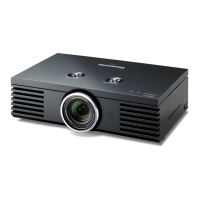
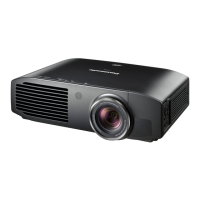
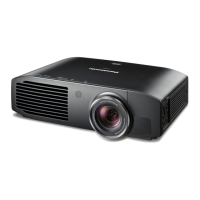
7 Measurement and Adjustments
7.1. Adjustment Procedure Flowchart
7.2. Cautions for Adjustment
·
Never turn off the MAIN POWER switch until every fan completely stops.
·
To maintain and ensure safety, always use the designated components for replacement parts.
·
If removing any clamps, lead wires or connectors, always place them back in their proper locations.
·
Be careful not to damage the lead wires or components when using a soldering iron or similar tool.
7.3. Setting Before Adjustment
·
Set up the projector to obtain the projection distance below.
·
Turn the zoom ring of the projector to obtain the largest size of the picture.
7.4. Lighting Area Adjustment
7.4.1. Tools to be used
Service Kit: This kit is composed of 3 extension flexible cables and 5 connector extension cables.
Note:
·
Consult your dealer or Authorized Service Center for the service kit.
7.4.2. Preparation
1. Remove the upper case according to the section 6.2. "Removal of Upper Case".
2. Install the lamp unit block (with lamp unit cover) and tighten the 3 screws fixing the lamp unit cover.
3. Unscrew the 2 screws fixing the A-P.C.Board.
24
PT-AE2000U / PT-AE2000E