Chapter 3 Basic Operations — Projecting
ENGLISH - 47
Projecting
The projection will start after conrming the connection with the external device (x page 38) and turning on
the power of the projector (x page 42). Select the projection mode and the input to project, and adjust the
projection appearance of the projected image.
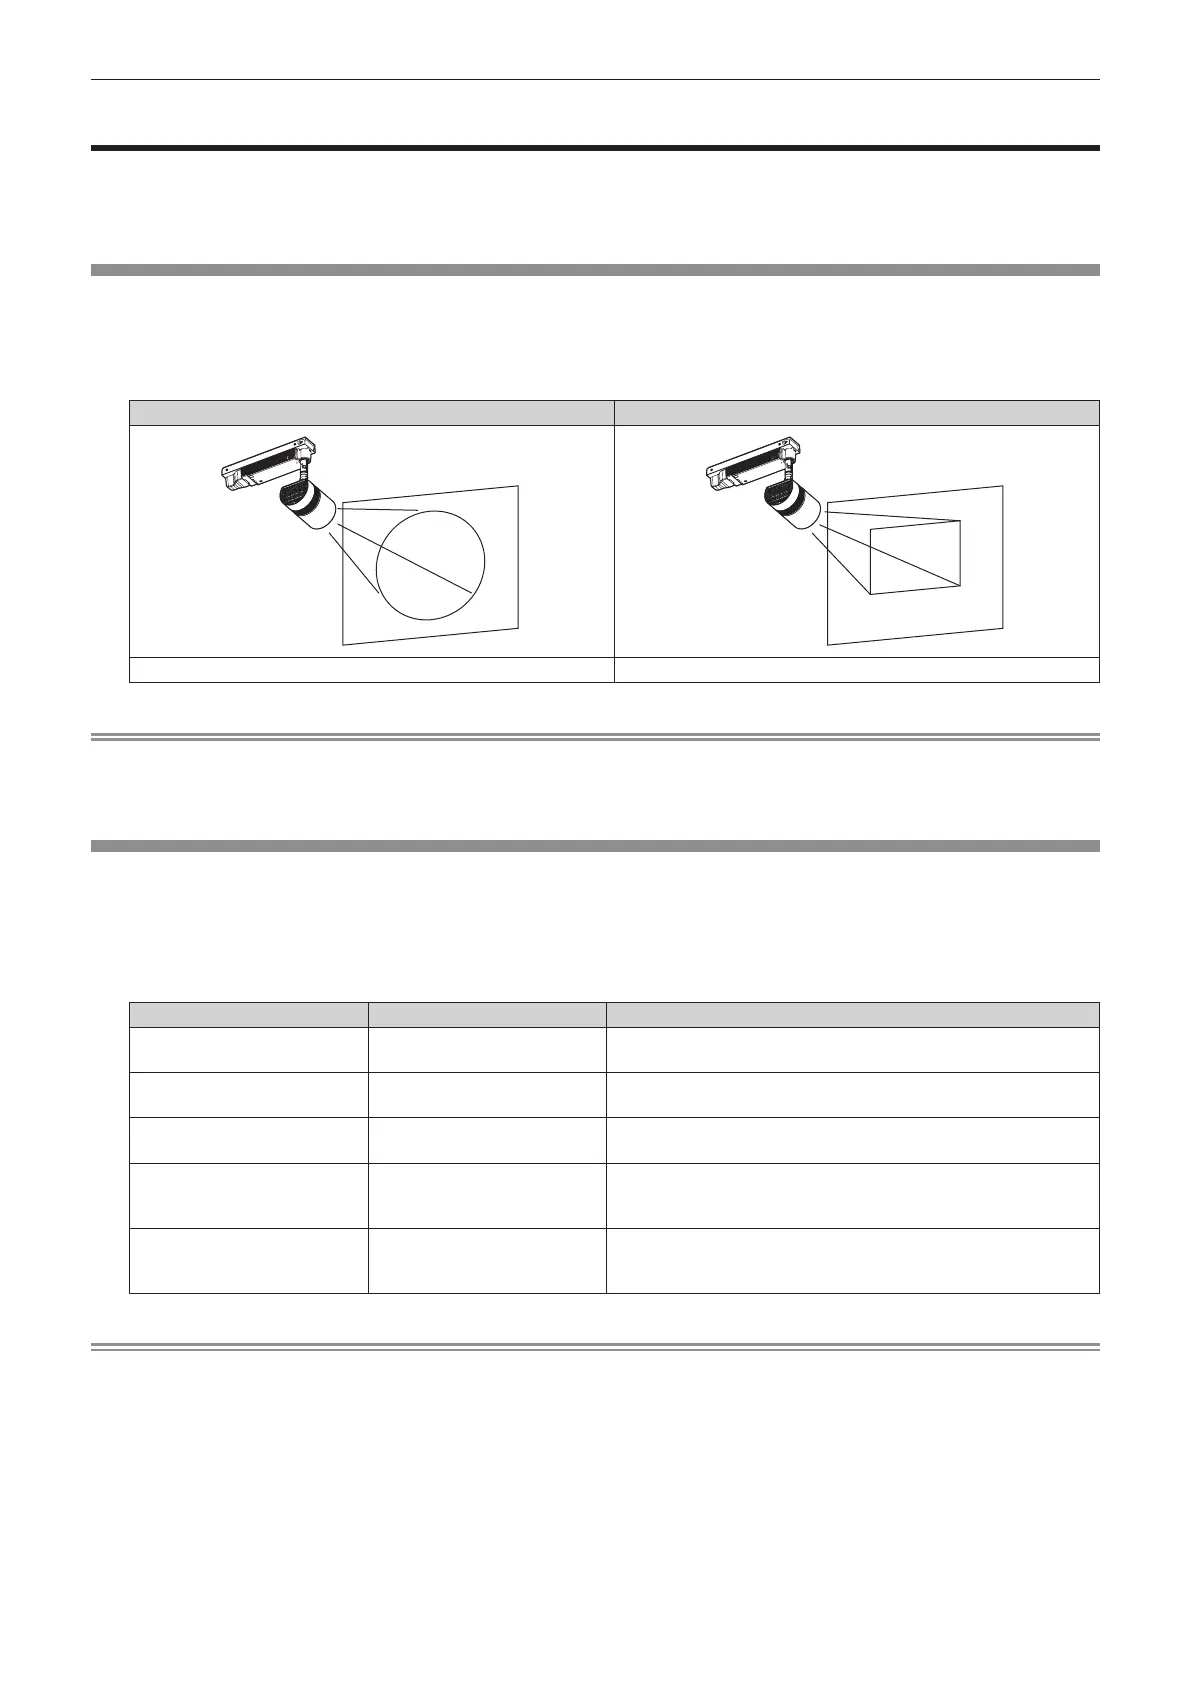
Selecting the projection mode
Switch the projection mode.
1) Press the <LIGHTING/PROJECTOR> button on the remote control.
f The lighting mode and the projector mode will switch back and forth each time the button is pressed.
Lighting mode (example) Projector mode (example)
ABC
It will irradiate like a spot light. It will project an image as a projector.
Note
f An image cannot be projected in the lighting mode.
f It may take up to tens of seconds to complete the switching when the projection mode is switched. [Please wait...] is displayed on the
projection screen when the switching takes time.
Selecting the input (for projector mode)
Switch the input to project.
1) Press the <HDMI>, <MEMORY VIEWER>, <Miracast>, <Panasonic APP>, or <SIGNAGE> button on the
remote control to select the input.
f Image of the selected input is projected.
Remote control button Input Usage
<HDMI> HDMI
Displays the image input to the <HDMI IN> terminal from the
external device.
<MEMORY VIEWER> Memory Viewer
Displays the still image or movie recorded in the SD card using the
Memory Viewer function. (x page 93)
<Miracast> Miracast
Displays the image transmitted wirelessly from the Miracast
compatible terminal. (x page 126)
<Panasonic APP> Panasonic APPLICATION
Displays the image transferred from the computer (including iPad,
iPhone, iPod touch, or Android terminals) using the Panasonic
image transfer application software.
<SIGNAGE> Signage
Plays back and displays the contents such as still image or movie
les in the SD card according to the schedule or slideshow setting
registered with the Content Manager. (x page 127)
Note
f When an audio signal is included in each input, it is output from the <AUDIO OUT> terminal.
f To switch the input to anything other than the HDMI input, it may take tens of seconds to complete the switching. [Please wait...] is displayed
on the projection screen when the switching takes time.
f The image transfer application software “Wireless Manager ME6.2” compatible with Windows computers or Mac is contained in the supplied
CD-ROM. For the image transfer application software compatible with iPad/iPhone/iPod touch, and Android terminals, refer to the following
URL.
http://panasonic.net/avc/projector/

 Loading...