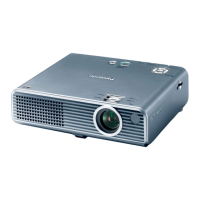
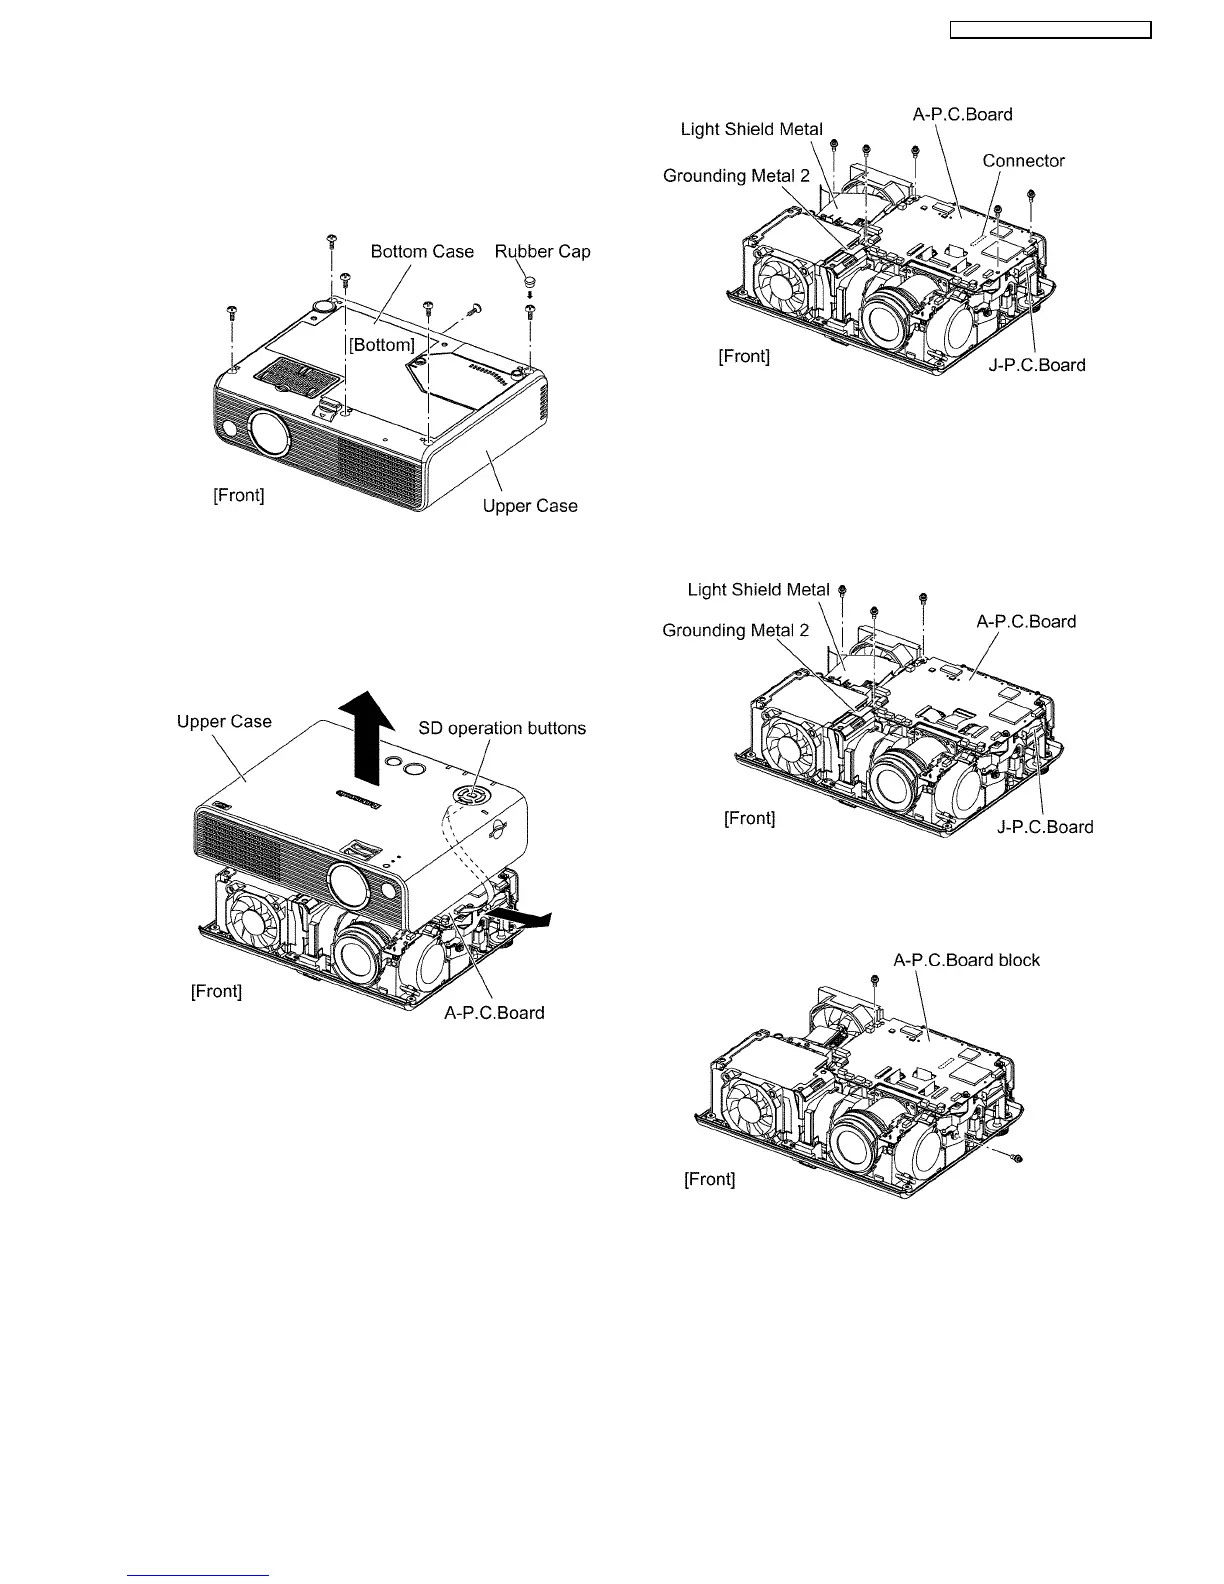
6.2. Removal of Upper Case
1. Turn the projector upside down.
2. Remove the 1 rubber cap.
3. Unscrew the 6 screws.
4. Return the projector to the normal position.
5. Lift the upper case upward (approx. 10 cm).
6. Disconnect the flexible cable from SD operation buttons
(connector A1 on A-P.C.Board) and remove the upper
case.
Note:
When reassembling, take care about the following
items.
·
Not to mistake the direction of the flexible cable.
(The black surface is upper.)
·
Attach the rubber cap in original position without fail.
6.3. Removal of A-P.C.Board
1. Remove the upper case according to the section 6.2.
"Removal of Upper Case".
2. Unscrew the 2 screws and remove the light shield metal.
3. Unscrew the 1 screw and remove the grounding metal 2.
4. Unscrew the 2 screws, then lift the A-P.C.Board and
remove it.
Note:
·
A-P.C.Board is connected with J-P.C.Board with the
connector. Work carefully when removing it.
6.4. Removal of J-P.C.Board
1. Remove the upper case according to the section 6.2.
"Removal of Upper Case".
2. Unscrew the 2 screws and remove the light shield metal.
3. Unscrew the 1 screw and remove the grounding metal 2.
4. Unscrew the 2 screws and remove the A-P.C.Board block
(with J-P.C.Board).
5. Unscrew the 2 screws and remove the A-P.C.Board.
Note:
·
A-P.C.Board is connected with J-P.C.Board with the
connector. Work carefully when removing it.
11
PT-P1SDU / PT-P1SDE / PT-P1SDEA
 Loading...