2. Input a window pattern signal to PC IN connector.
Note:
·
Use approx. 15 % window pattern as follows.
Black background (screen width) : White window width = 2 : 1
Black background (screen height) : White window height = 3 : 1
·
Must use the window pattern of S-VGA (800 × 600).
3. Click the OK button.
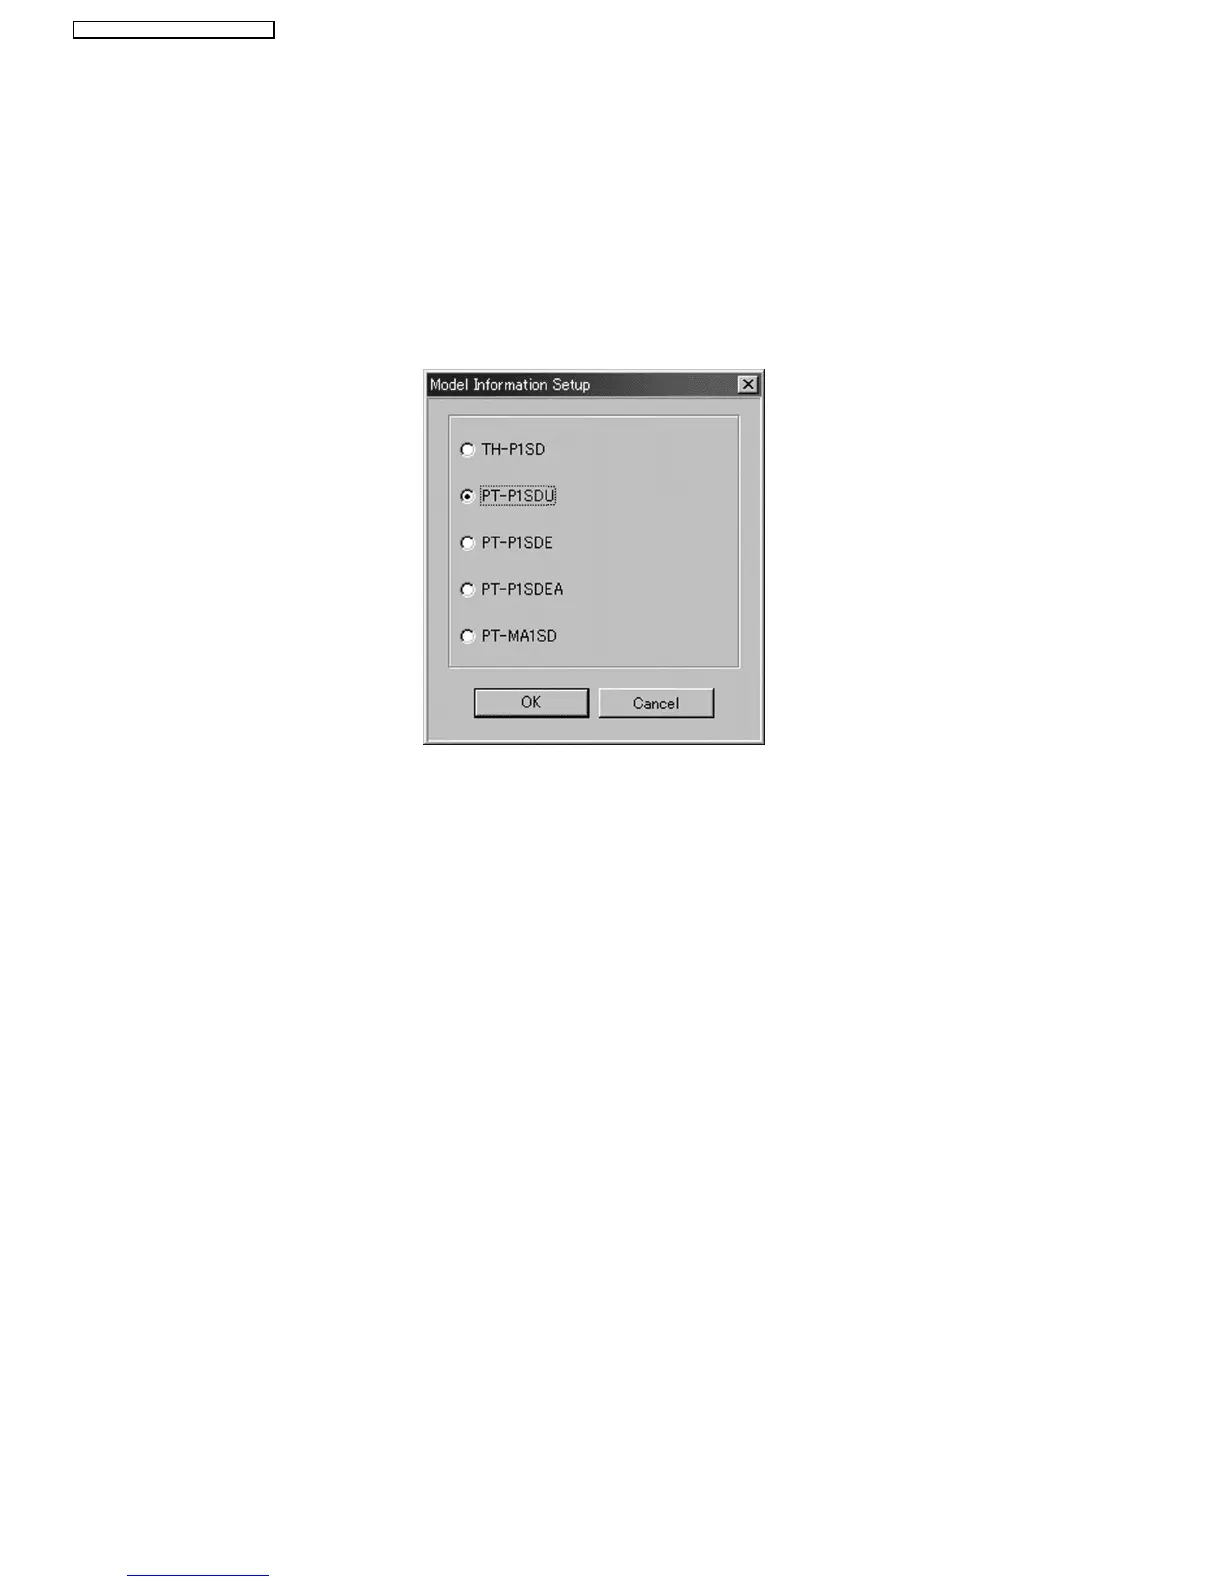
7.9. Model Information Setup
7.9.1. Adjustment Menu
7.9.2. Explanation of Buttons
Radio buttons:
Selects the corresponding model name.
OK:
Executes model information setup, then closes this dialog.
Cancel:
Cancels this menu.
7.9.3. Equipment to be used
PC, Software for Adjustment
7.9.4. Setup Procedure
Set the projector into standby mode (POWER button on the projector control panel illuminated red), and execute the following
procedure.
1. Display the model information setup menu.
2. Select the corresponding model name.
3. Click the OK button.
26
PT-P1SDU / PT-P1SDE / PT-P1SDEA
 Loading...