Connecting a USB mass storage device
Connecting a USB mass storage device
Preparation
Before connecting any USB mass storage device to the unit, ensure
that the data stored therein has been backed up.
It is not recommended to use a USB extension cable. The device
connected via the cable will not be recognised by this unit.
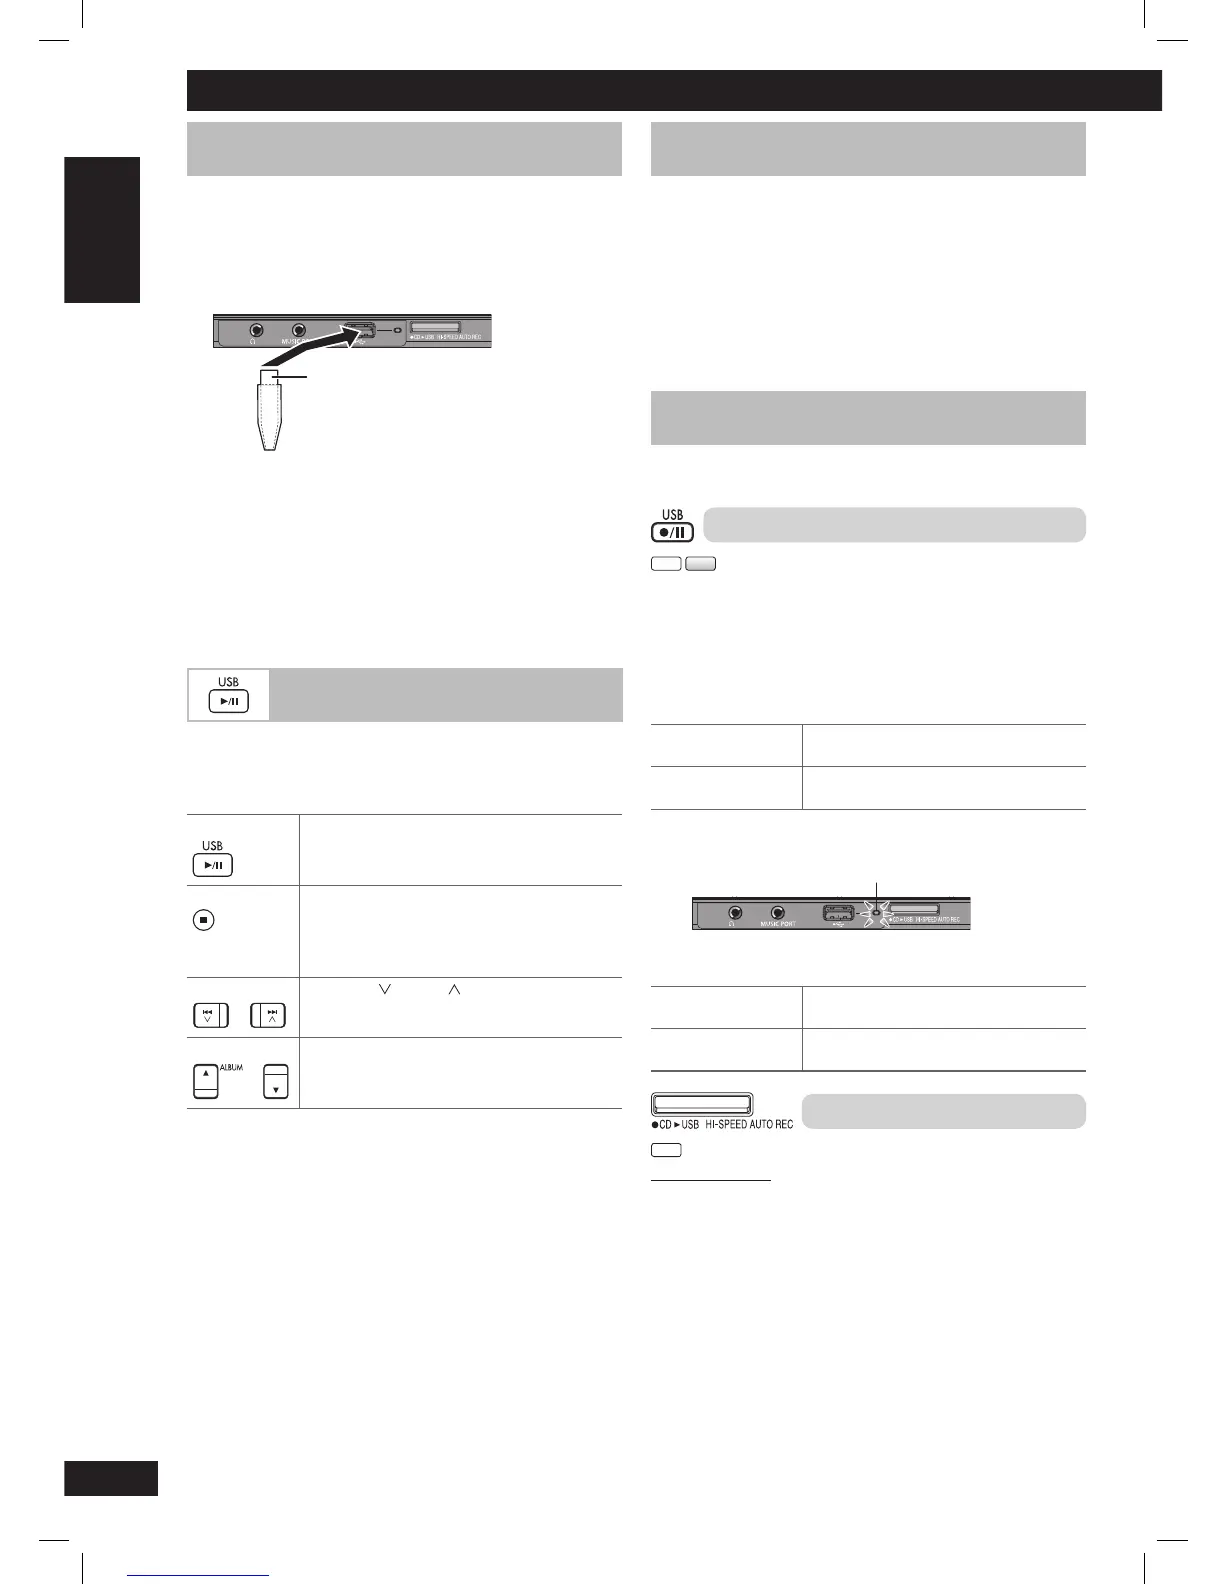
USB enabled device
(not included)
Front panel of
this main unit
1 Slide open the USB lid.
2 Reduce the volume and connect the USB mass storage
device.
Note:
• Do not unplug the USB device during reading, playback or
recording.
• Do not connect via a USB hub.
Playing a USB mass storage device
Playing a USB mass storage device
1 Connect the USB device.
2 Press [6, USB] to start play.
Pause play Press [6, USB].
Press again to resume play.
Stop playback Press [7] (stop).
The current track will be memorised.
Press [6, USB] to start play again.
OR
Press [7] (stop) again to clear the memory.
Skip tracks
Press [4/ ] or [¢/ ].
OR
Press the numeric buttons.
Skip album
Press [5/∞, ALBUM].
For other operating functions, they are similar as those described in
“Discs” (
➡
page 8 and 9).
Note:
• Only one memory card will be selected when connecting a
multiport USB card reader. Typically the fi rst memory card
inserted.
• Disconnect the USB card reader from the unit when you remove
the memory card. Failure to do so may cause malfunction to the
device.
• When you connect to a compatible digital audio player to the USB
port, charging may be activated. It will not charge when the unit is
switch to standby mode.
USB
Recording to a USB mass storage device
Recording to a USB mass storage device
You can record sound or music tracks from the source such as the
disc, radio, MUSIC PORT or OPTION port to a USB mass storage
device.
Note:
• A new album is created each time you perform a recording.
Depending on the USB’s memory, the album’s sequence may
change once the recording has completed.
• The recorded sound or music tracks are stored in a folder named
“REC_DATA”.
• All tracks are recorded to .mp3 format.
Recording from a disc
Recording is prohibited for disc encoded with copyright protection.
Normal recording
CD
MP3
1 Connect the USB device.
2 Insert the disc you want to record.
3 Press [6, CD] and then [7] (stop).
4 Prepare the desired recording mode.
Record programmed
tracks
Program the tracks you want.
(
➡
page 8)
Record specifi c
tracks
Press [PLAY MODE] to select your desired
mode. (
➡
page 8)
5
Press [¶¥8, USB] to start recording.
“REC” is displayed and recording indicator blinks.
Front panel of
this main unit
Recording indicator
“ALBUMXXX MAKING” is displayed. “ALBUMXXX” is the
album’s name.
Stop recording Press [7] (stop).
“WRITING” is displayed for a few second.
Erase a recorded
track
(
➡
page 14)
High-speed recording
CD
By main unit only
Recording speed:
CD to USB device : Four times (4x) the normal speed.
CD-RW to USB device: Two times (2x) the normal speed.
1 Connect the USB device.
2 Insert the CD you want to record.
3 Press [6, CD] and then [7] (stop).
4 Press [¶CD
3
USB HI-SPEED AUTO REC] to start recording.
PMX4_EP_EN.indd 12PMX4_EP_EN.indd 12 12/23/08 2:37:49 PM12/23/08 2:37:49 PM