Recording from other sources
1 Connect the USB device.
2 Select the source to be recorded.
Radio recording:
Tune in the station (
➡
page 9)
MUSIC PORT:
Play the portable audio equipment. (
➡
page 15)
OPTION port:
Select the desired track to be recorded and play the connected
equipment. (
➡
page 15)
3 Press [¶¥8, USB] to start recording.
“REC” is displayed and recording indicator blinks.
Stop recording Press [7] (stop).
“WRITING” is displayed for a few second.
Pause recording Press [¶¥8, USB].
“REC” fl ashes.
Press again to resume recording.
Erase a recorded
track
(
➡
page 14)
Note:
• A track mark is inserted each time you pause. (
➡
see below)
• You cannot change to other sources during pause recording.
Adding track marks
You can add track marks where the track changes on the radio or
the other equipment. These marks separate tracks during recording.
They can be added automatically or manually during recording.
Before recording
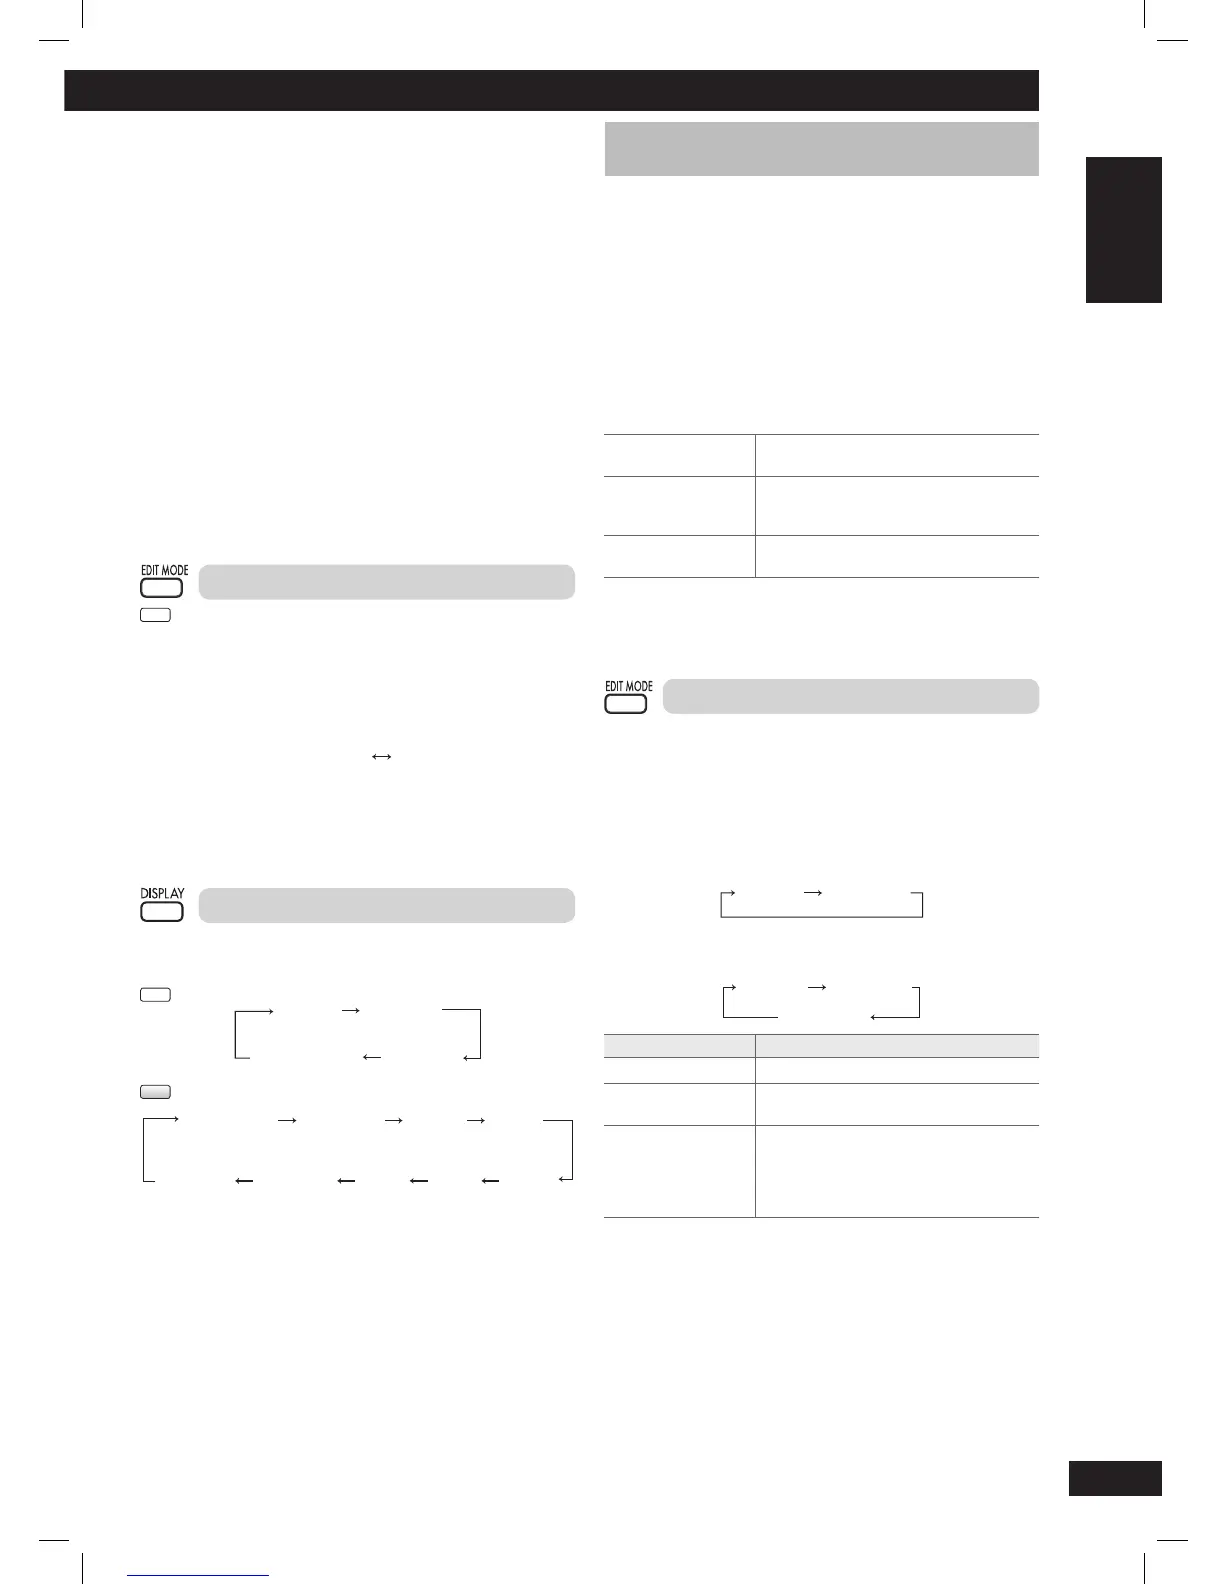
Press [EDIT MODE] repeatedly to select your desired track
mark mode.
Radio:
Each time you press the button:
MANUAL TIME MARK
MUSIC PORT or OPTION port:
Each time you press the button:
TIME MARK
SYNCHROMANUAL
Edit Mode Action
MANUAL Track marks are inserted manually.
TIME MARK Track marks are inserted automatically
every fi ve minutes.
SYNCHRO Recording automatically starts when the
other equipment starts to play.
Recording will pause when it does not
detect any sound for approximately 3
seconds.
During recording
Press [EDIT MODE] to add track mark using MANUAL or TIME
MARK mode.
Note:
If you press [EDIT MODE] while using TIME MARK mode during
recording, the fi ve-minute counter will be reset.
7 Limitations of high-speed recording
This unit uses a copy management system to limit the use of high-
speed recording.
• You are unable to perform a second high-speed recording
from the same CD within 74 minutes upon the completion of
the fi rst high-speed recording.
(You are able to perform the second recording at the normal speed.)
“PLEASE WAIT XX MIN” will be displayed if you try to perform a
second high-speed recording.
“XX MIN” – the number of minutes you need to wait prior to
performing the second recording.
• You are unable to perform high-speed recording if the USB’s
remaining REC (recording) time is shorter than the CD
album’s total playback time.
“CAN’T REC” will be displayed.
• You can record up to 24 discs within 74 minutes.
If you completed recording 24 discs within approximately 74
minutes, you will not be able to record the twenty-fi fth disc.
Note:
• Depending on the condition of the disc, it may not be possible
to record at four times the normal speed or perform high-speed
recording. Record the CD at normal speed.
• The sound is muted during high-speed recording.
Recording from CD using analogue format
CD
You can change your recording mode from the default digital
recording to analogue recording.
1
Press [6, CD] and then [7] (stop).
2
Press and hold [EDIT MODE] to select “ANALOG-REC”.
Each time you press and hold the button:
ANALOG-REC
(analogue recording)
DIGITAL-REC
(digital recording)
Note:
• The recording mode returns to the default “DIGITAL-REC” after
completing the analogue recording.
•
High-speed recording is not applicable while using analogue mode.
Display function
This function allows you to display the information during recording.
Press [DISPLAY] repeatedly during USB recording mode.
CD
Elapsed
play time
Remaining
play time
USB remaining
REC time
Recording
REC mode
MP3
Tra ck
name
Elapsed play
time
Remaining
play time
Album
name
USB
remaining
REC time
Recording
REC mode
ID3
(Artist)
ID3
(Track)
ID3
(Album)
PMX4_EP_EN.indd 13PMX4_EP_EN.indd 13 12/23/08 2:37:51 PM12/23/08 2:37:51 PM