24
TH-42PH11GK / TH-42PH11MK / TH-42PH11MS
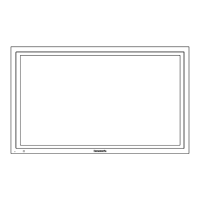
8.16. Removal of Cabinet and Front
Glass
8.16.1. Removal of Cabinet
1. Remove the S1-Board Block.
(Refer to Removal of S1-Board)
2. Disconnect the connectors (DS2, DS8, DS15).
3. Remove 8 screws.
4. Pull the bottom of the Plasma Panel forward (arrow1).
5. Slide the Plasma Panel and then remove the Plasma
Panel (arrow2).
6. Remove 23 screws and then remove the Glass Fixed
Plate (A, B, C, D).
7. Remove the Front Glass.
8.16.2. Removal of Front Glass
1. Remove the Cabinet.
(Refer to Removal of Cabinet)
Note: when Front Glass is exchanged
• Along each fixed Angles of an upper and bottom, right
and left order and the cushion for the Front Glass is
pasted to the Front Glass.
Note
• The cushions are parts which cannot be recycled. Please
use the new article when you exchange the Front Glass.
 Loading...

