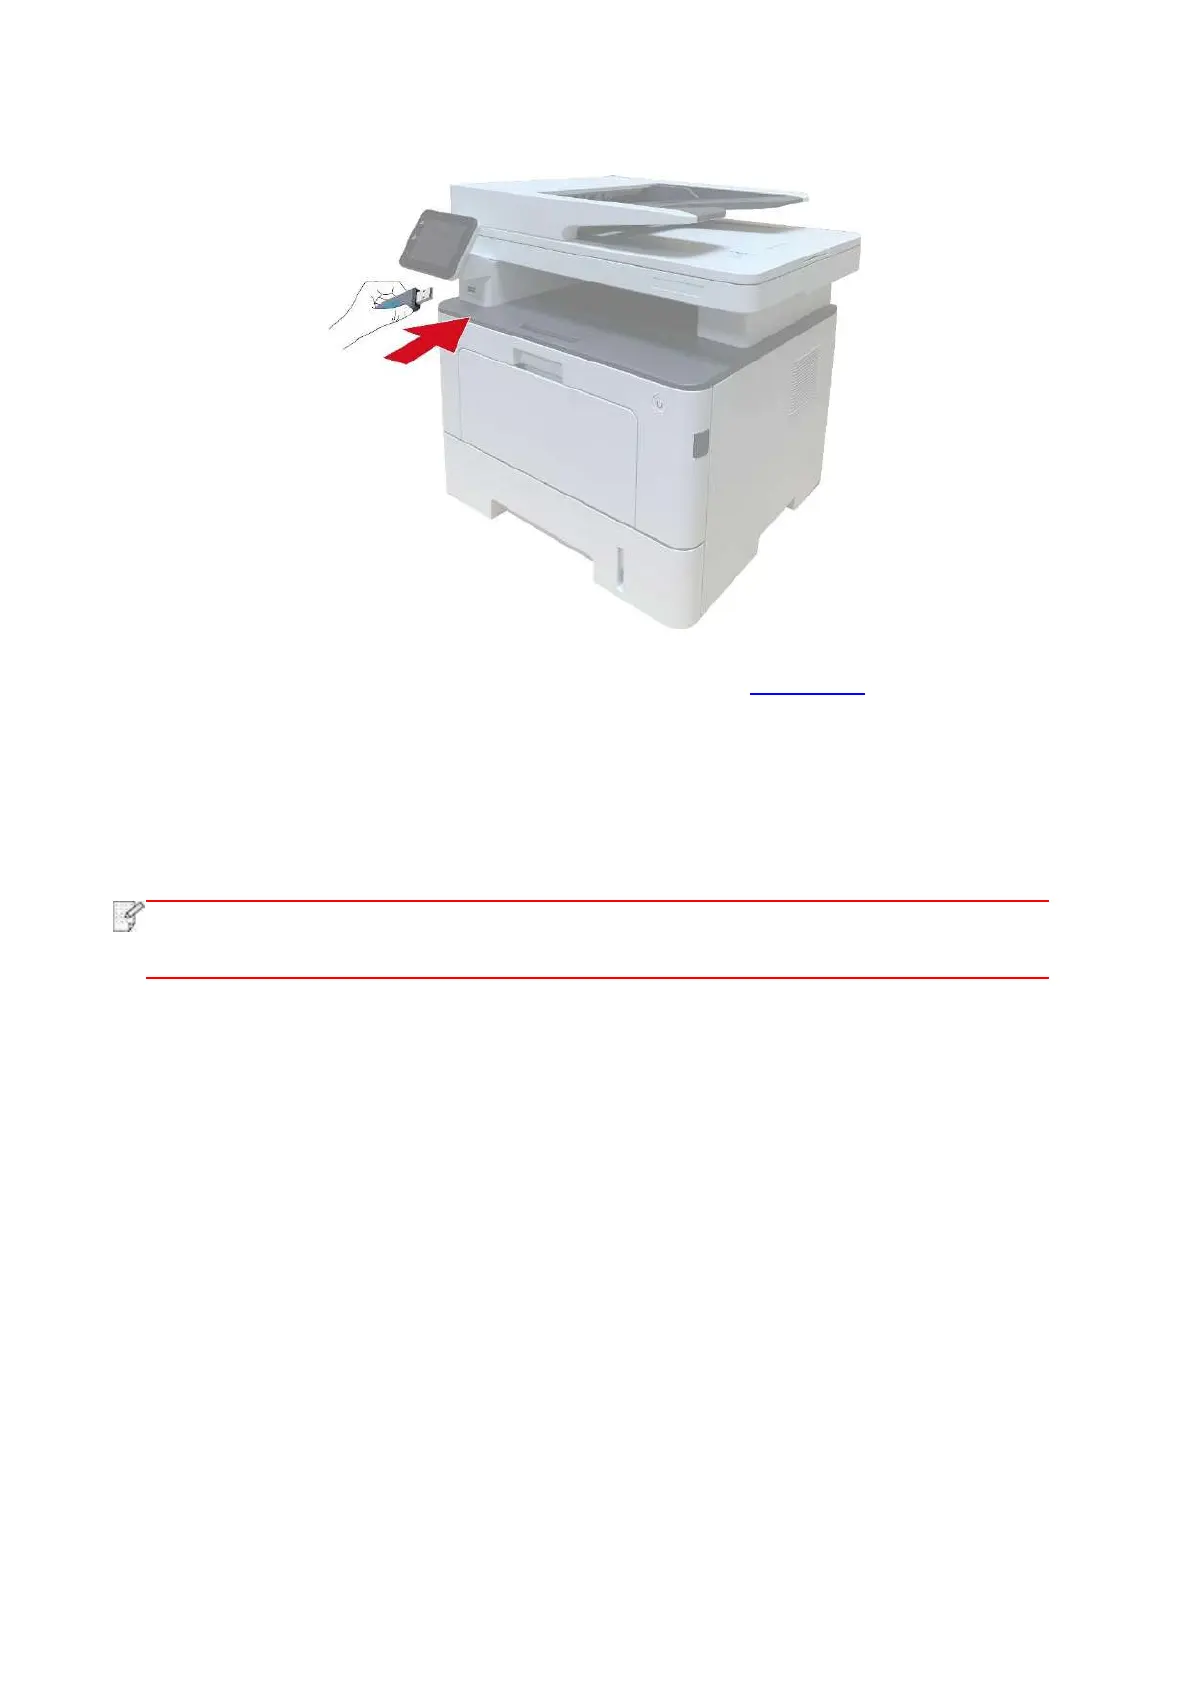
EasyManuals Logo

Pantum BM5100FDW Series User Manual

Pantum BM5100FDW Series
187 pages
To Next Page IconTo Next Page
To Previous Page IconTo Previous Page
Page #119 background imageLoading...
Page #119 background image
106
1. Insert the USB into the printers front USB interface.
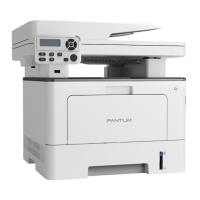
2. Put an original on the glass platen or into the ADF (please see Chapter 2.5 for how to put an
original).
3. Click “Scan-Scan USB” in printer control panel.
4. Select proper scan setting, click “Scan” button to make a scan.
The printer will create a folder named PantumScan in which all scanned files are saved in PDF or
JPG.
Note:
• USB formats supported: FAT and FAT32 for Windows system and MS-DOS (FAT) for
macOS system.

Table of Contents

Questions and Answers:

Question and Answer IconNeed help?

Do you have a question about the Pantum BM5100FDW Series and is the answer not in the manual?

Pantum BM5100FDW Series Specifications

General IconGeneral
Print TechnologyLaser
Duplex PrintingAutomatic
ConnectivityUSB 2.0, Ethernet, Wi-Fi
Max. Monthly Duty Cycle80, 000 pages
Output Capacity150 sheets
ADF Capacity50 sheets
Fax FunctionYes
Memory512 MB
FunctionsPrint, copy, scan, fax
Operating System CompatibilityWindows, macOS, Linux
Print Speed40 ppm
Print Resolution1200 x 1200 dpi
Mobile PrintingAirPrint, Mopria, Pantum App
Input Capacity250 sheets
Scanner TypeFlatbed, ADF
Scan Resolution1200 x 1200 dpi
Copy Speed40 cpm
Media Types SupportedPlain paper, envelopes, labels
Media Sizes SupportedA4, A5, A6, B5, Letter, Legal

Related product manuals