56
3. Use WPS connection .
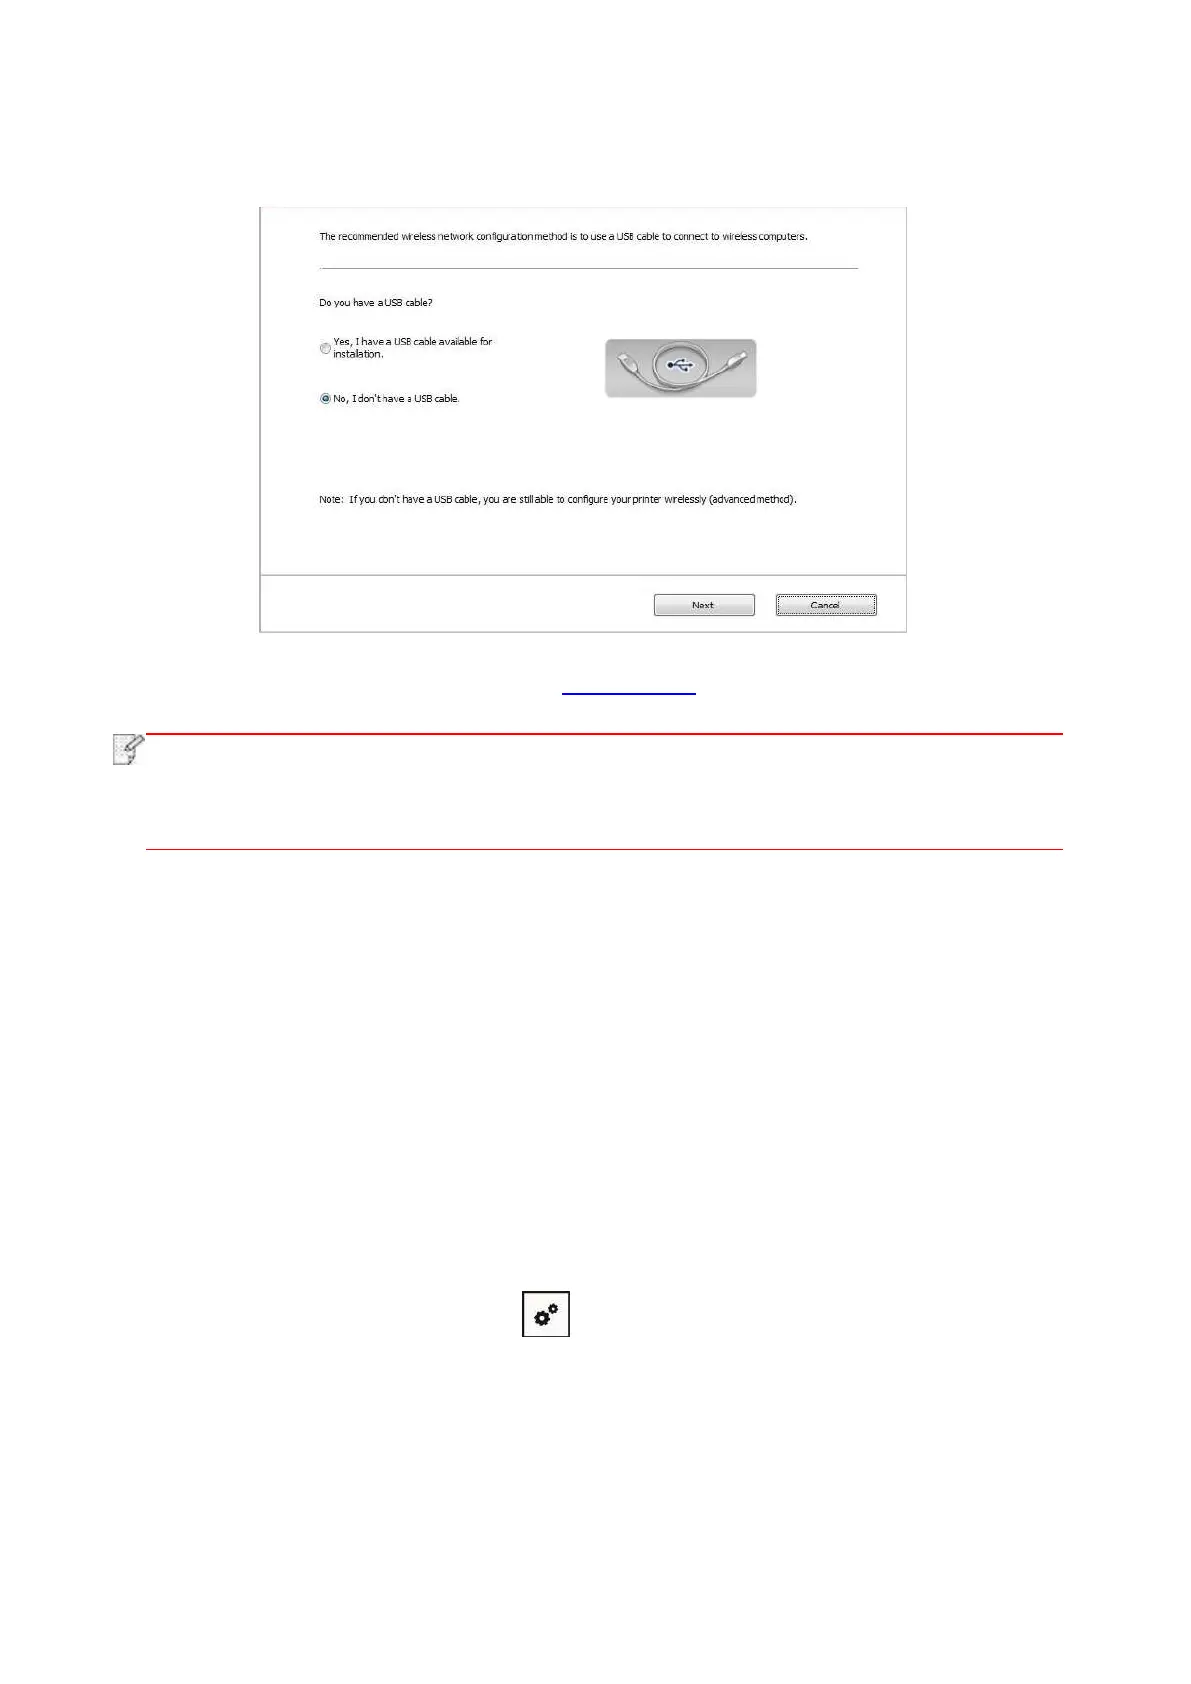
Select “No, I don't have a USB cable” in the interface below and then click “Next”.
Operate as per real interface. (Please refer to Chapter 5.1.2 for detailed WPS configuration.)
• If the printer cannot be used normally after wireless network setup is finished, please
install the drive again. Please select “wireless network connection ” as the installation
method .
5.1.2. Wi-Fi Protected Setup (WPS) setup
If access point (wireless router) supports Wi-Fi Protected Setup (WPS), connect printer with
wireless network through “Push button configuration (PBC)” and “Personal identification number
(PIN)”.
5.1.2.1. Preliminary preparations
1. The access point (wireless router) supports Wi-Fi Protected Setup (WPS).
2. A printer that has wireless network function.
5.1.2.2. Use the “Button Configuration (PBC)” method
1. Turn on the power of printer and access point (wireless router).
2. Make sure the printer is in ready state.
3. From printer control panel navigate to: “ ” -Network set-Wireless conf.-PBC mode.
4. Operate according to the prompt in printer screen.
5.1.2.3. Use the “Personal Identification Number (PIN)” method
1. Turn on the power of printer and access point (wireless router).
2. Make sure the printer is in ready state.
 Loading...