8 9
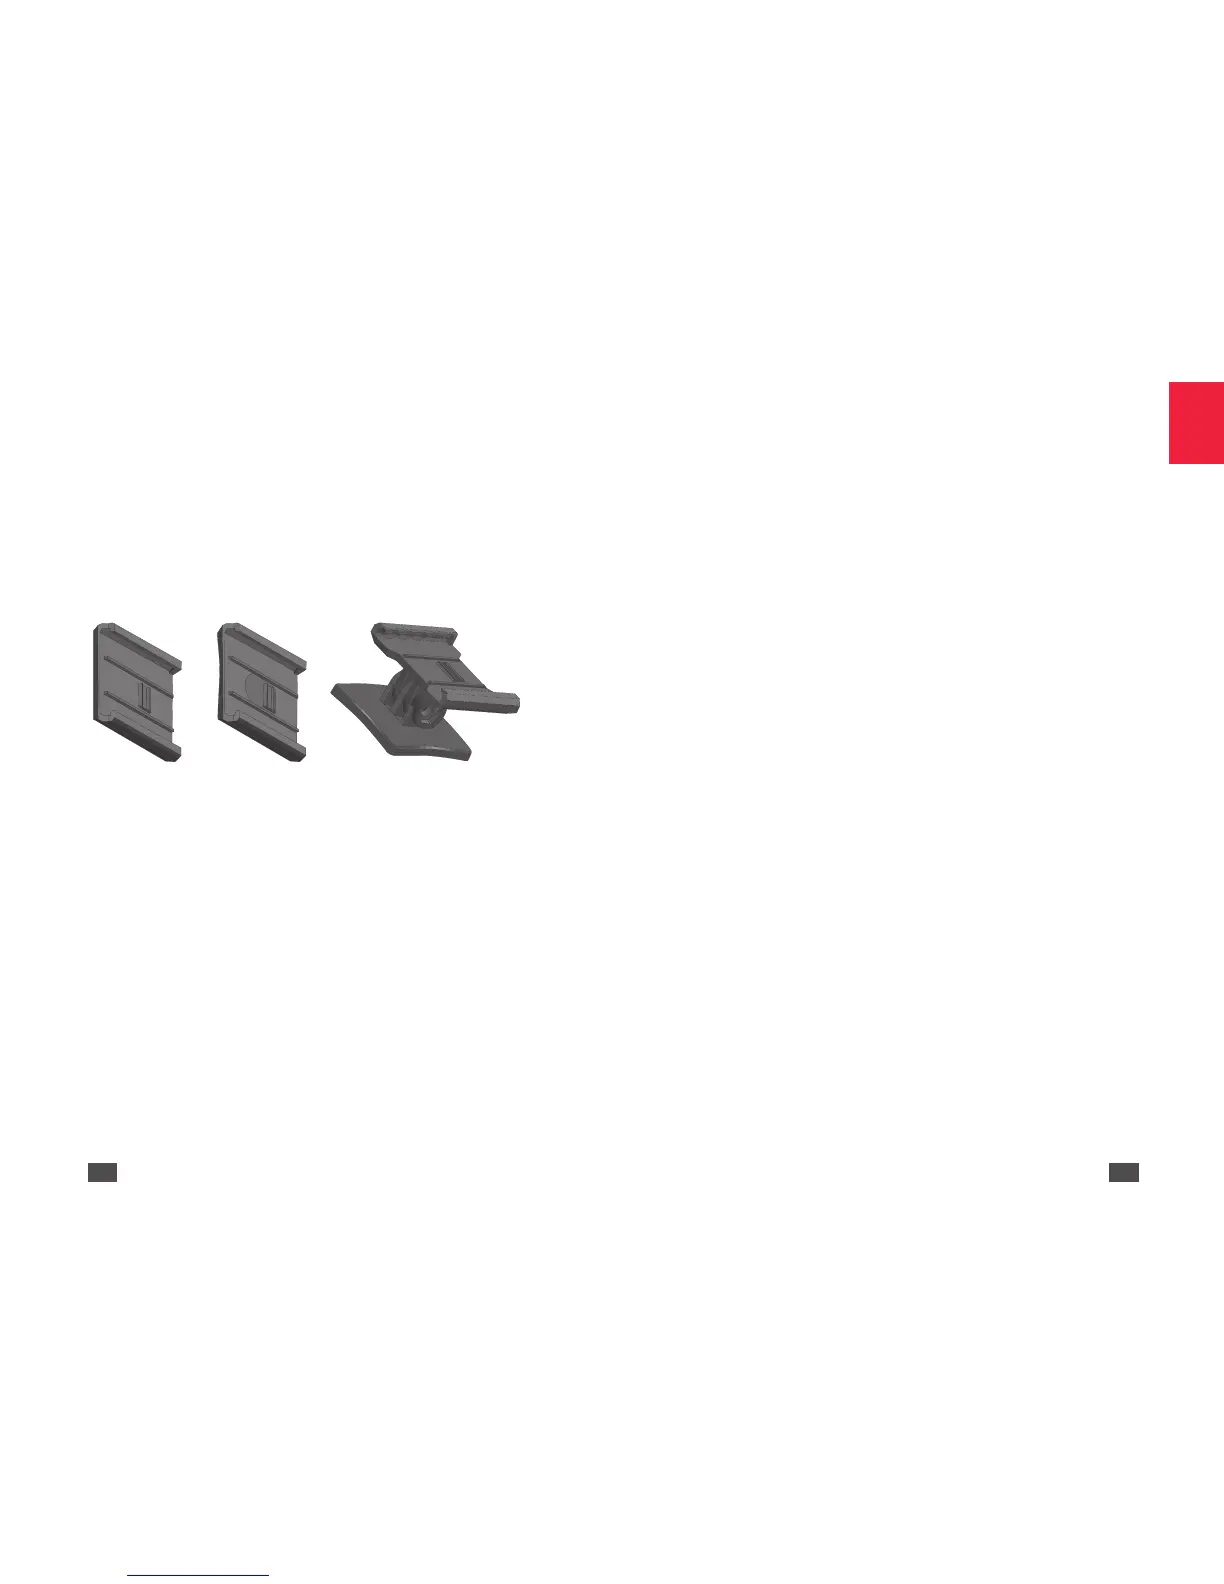
Sunshine sensor holders
There are three different holders for attaching the sunshine sensor to the
drone.
• Flat bottom holder to attach the sunshine sensor to a flat surface.
• Concave bottom holder to attach the sunshine sensor to a rounded
surface.
• Pivoted holder to attach the sunshine sensor to a rounded surface.
This holder means you can turn the sunshine sensor in the direction
you want.
Flat bottom
holder
Concave bottom
holder
Pivoted holder
CONFIGURING SEQUOIA
You can set up Sequoia using either flight planning software (such as
Pix4Dmapper Capture or eMotion from SenseFly for example), or Wi-Fi via
an HTML interface. Your set up data will be saved in the Sequoia memory.
Setting up Sequoia via Wi-Fi
Wi-Fi is enabled on Sequoia as the default option. Press four times on
the multispectral sensor button to enable/disable Wi-Fi on Sequoia.
Subsequently, Sequoia keeps the last Wi-Fi set up in its memory, when it
is switched on or off.
You can set up Sequoia from a computer, smartphone or tablet:
1. Connect the multispectral sensor USB device port to a drone or a
USB battery.
> Sequoia turns on automatically.
2. Make sure that the Wi-Fi appears in the list of available Wi-Fi. If not,
press four times on the multispectral sensor button.
3. Connect to the Wi-Fi network: Sequoia_XXXX.
4. Open your internet browser
5. Type the following address in your browser's address bar: 192.168.47.1
> The HTML interface for setting up Sequoia opens. You can set up
Sequoia.
HTML interface for setting up Sequoia
The Sequoia set up interface consists of three screens:
• Home
• Status
• Gallery

 Loading...