• Set the 45° stop in the same way. The set screw for the 45°
stop is located in the right of table insert.
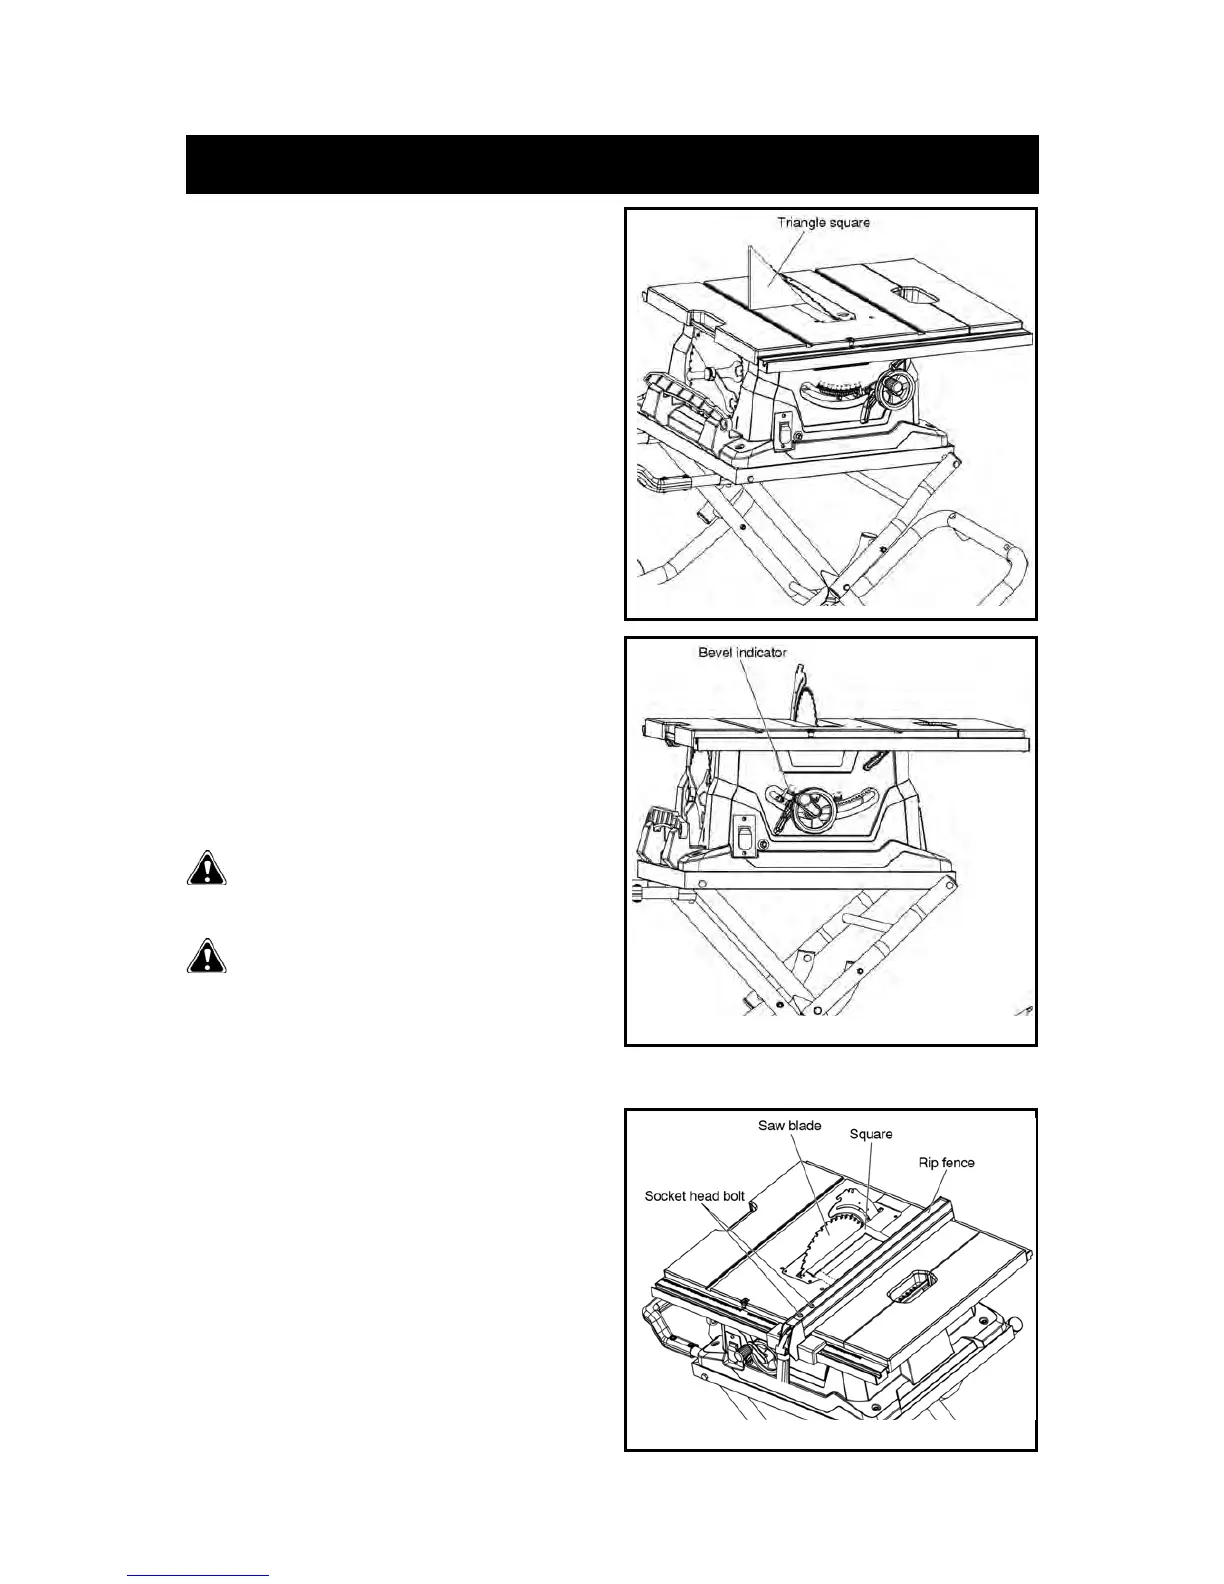
ADJUSTING THE BEVEL INDICATOR
Refer to Figures 33.
If the bevel indicator is not at 0° when the saw blade is at 90°,
adjust the indicator by loosening the cross-screw with a Phillips
screwdriver (not included) and setting it to 0° on the bevel scale.
Retighten the screw.
NOTE: Make a trial cut on a scrap piece of wood before
making critical cuts. Measure for exactness.
CAUTION: To prevent personal injury:
• Always disconnect the plug from the power source when
Making any adjustments.
• This adjustment must be correct, or kickback could result in a serious injury and inability to make accurate cuts.
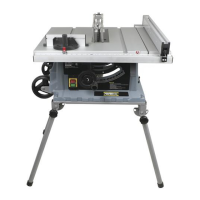
CHECKING THE ALIGNMENT OF THE RIP FENCE TO
THE BLADE
Refer to Figure 34.
• Unplug the saw.
• Remove the blade guard assembly.
• Raise the locking lever to allow the rip fence to be moved.
• Place the framing square beside the blade, and move the rip
fence up to the square. Note the measurement on the
rip scale.
• Move the fence back, and rotate the framing square 180° to
check the other side.
 Loading...