SEBU8121 67
Maintenance Section
Engine Oil and Filter - Change
•
The number of ho
urs that have accumulated since
the last oil change
•
The amount of o
il that has been added since the
last oil change
Ensure that th
e container for the sample is clean and
dry. Also ensure that the container for the sample is
clearly labelled.
To ensure that the sample is representative of the
oil in the crankcase, obtain a warm, well mixed oil
sample.
To avoid contamination of the oil samples, the tools
and the suppl
ies that are used for obtaining oil
samples must be clean.
The sample ca
n be checked for the following: the
quality of the oil, the existence of any coolant in the
oil, the existence of any ferrous metal particles in
the oil, and
the existence of any nonferrous metal
particles in the oil.
i01929323
Engine Oil
and Filter - Cha nge
Hot oil and hot components can cause personal
injury. Do not allow hot oil or hot components to
contact the skin.
Do not drain the oil when the engine is cold. As the oil
cools, suspended waste particles settle on the bottom
of the oil pan. The waste particles are not removed
with the draining cold oil. Drain the crankcase with
the engine stopped. Drain the crankcase with the
oil warm. This draining method allows the waste
particles that are suspended in the oil to be drained
properly.
Failure to follow this recommended procedure will
cause the waste particles to be recirculated through
theenginelubricationsystemwiththenewoil.
Drain the Engine Oil
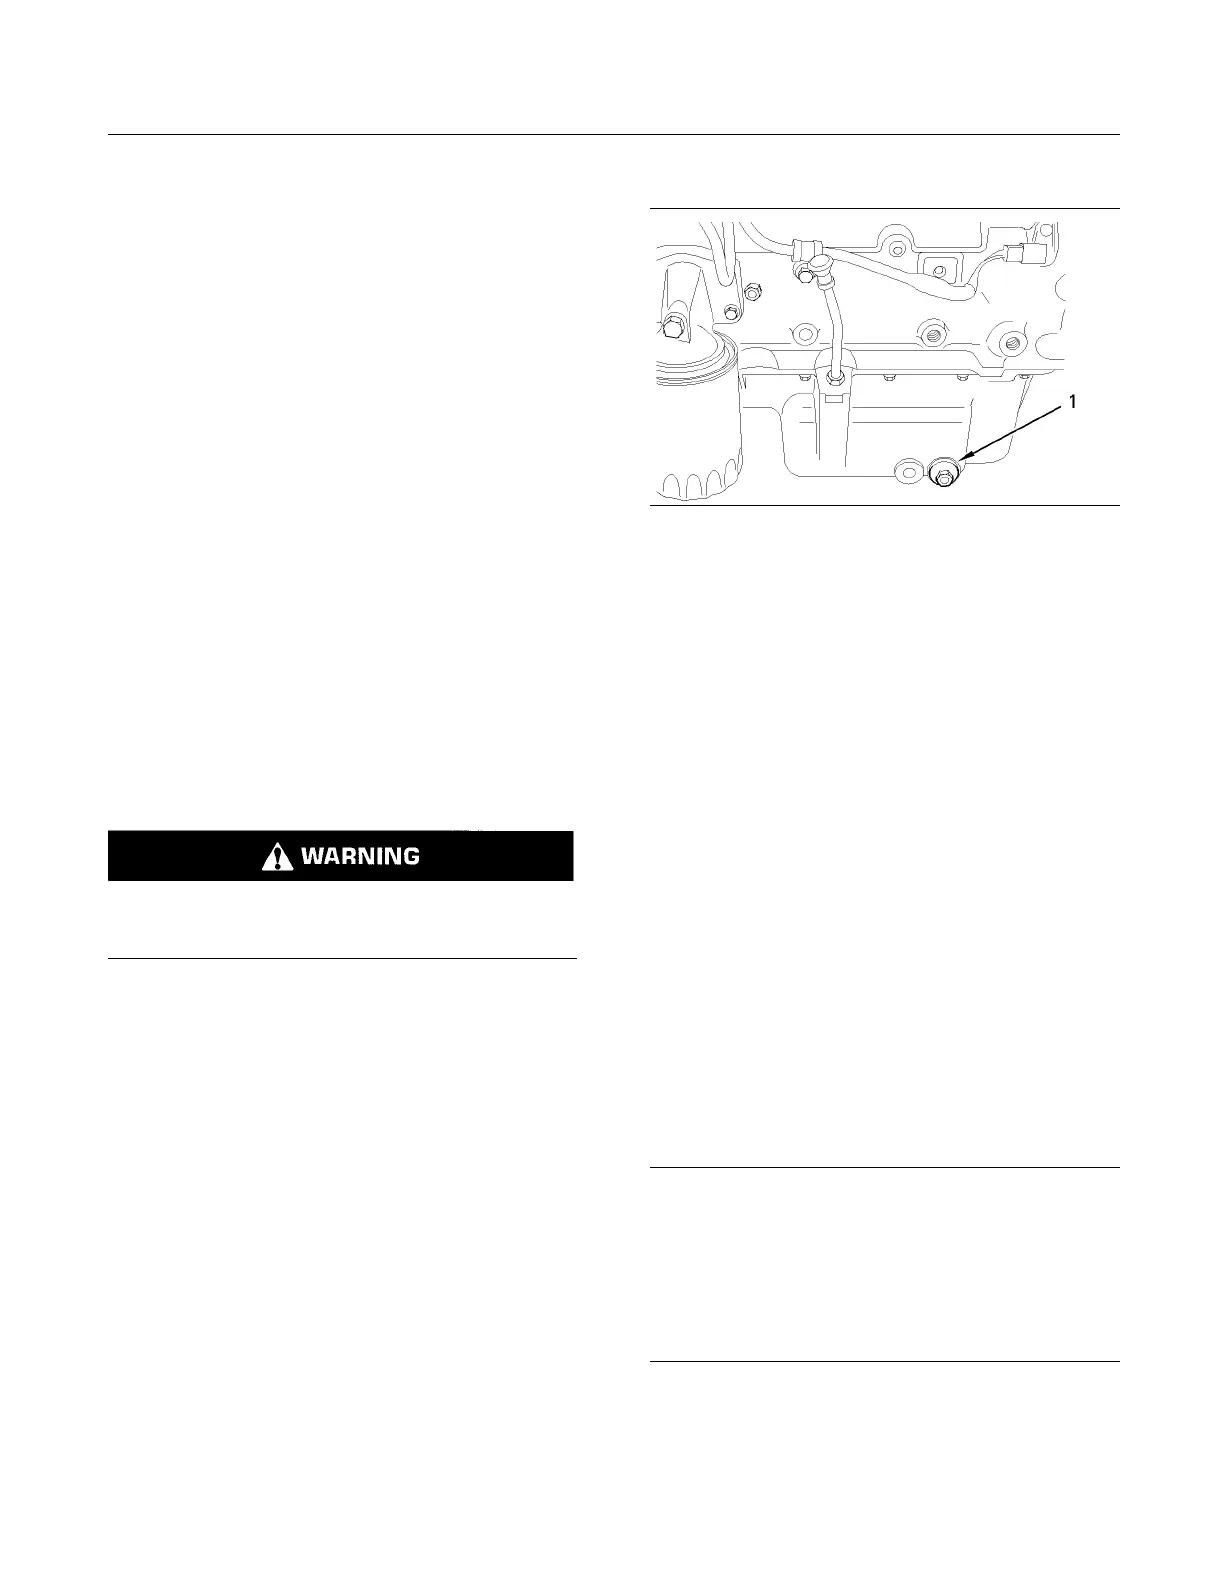
g01003623
Illustration 33
Oil drain plug
After the en
gine has been run at the normal operating
temperature, stop the engine. Use one of the
following methods to drain the engine crankcase oil:
•
If the engine is equipped with a drain valve, turn the
drain valve knob counterclockwise in order to drain
the oil. Af
ter the oil has drained, turn the drain valve
knob clockwise in order to close the drain valve.
•
If the engi
ne is not equipped with a drain valve,
removetheoildrainplug(1)inordertoallowthe
oil to drain. If the engine is equipped with a shallow
sump, remo
ve the bottom oil drain plugs from both
ends of the oil pan.
After the
oil has drained, the oil drain plugs should
be cleaned and installed. If necessary, renew the O
ring seal on the drain plug.
Some types of oil pans have oil drain plugs that are
on both sides of the oil pan, because of the shape of
the pan. T
his type of oil pan requires the engine oil to
be drained from both plugs.
Replace the Spin-on Oi l Filter
NOTICE
Perkins oil filters are manufactured to Perkins speci-
fications. Use of an oil filter that is not recommended
by Perkins could result in severe damage to the en-
gine bearings, crankshaft, etc., as a result of the larger
waste particles from unfiltered oil entering the engine
lubricating system. Only use oil filters recommended
by Perkins.
1. Remove the oil filter with a suitable tool.
Note: The following actions can be carried out as
part of the preventive maintenance program.