33
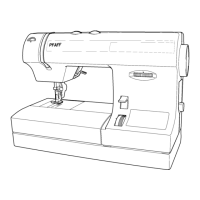
D
C
G
F
E
A
B
G-- 2-3
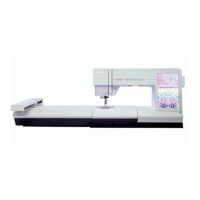
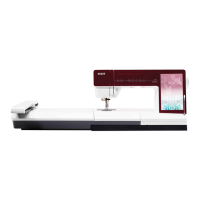
Utility stitches and practical sewing
Free-motion Sewing
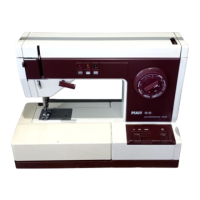
Attach the darning foot:
Move the needle to its highest position.
Loosen screw D and push the pin of
the darning foot fully into hole C of the
presser foot holder. Guide fork G should
position itself around the presser bar. The
long arm of the darning foot E must be
behind the needle holder À xing screw.
When the darning foot is positioned
correctly, tighten screw D.
Free-motion Position:
While lowering the presser foot lifter A,
push gently to the back. The presser foot
lifter will catch into a notch B, placing the
presser foot in free-motion position. In
free-motion position, the tension discs are
fully closed even though the presser foot
is not all the way down.
• Drop the feed dogs.
• Select a straight stitch or a zigzag
stitch.
• Manually move the fabric under the
presser foot.
Tip: To ensure even stitches, move the fabric
at a smooth, even speed.
Sewing on buttons
With zigzag stitch G (stitch width 4 mm)
you can sew on two and four hole
buttons.
• Remove the presser foot and lower the
feed dogs.
• Turn the handwheel towards you and
move the button so that the needle
enters the left hole in the button.
• Now lower the presser foot lifter; this
holds the button in place.
Stitch
optio-
nal