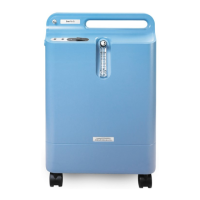
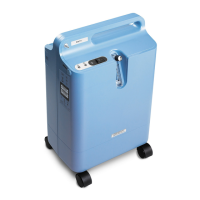
Page 79 E
VERFLO
TM
SERVICE & TECHNICAL INFORMATION 1039055, VER. 06
8.15 MICRO-DISK FILTER & TUBING REPLACEMENT
To remove the Micro-Disk Filter & Tubing
1.
Remove the Filter Cover. Refer to the Filter Cover Replacement section for more information.
2.
Remove the Inlet Filter. Refer to the Inlet Filter Replacement section for more information.
3.
Remove the Rear Cabinet. Refer to the Rear Cabinet/Power Cord Replacement section for more
information.
4.
Remove the Flow Tubing from the DISS Outlet Fitting and the top connection of the Flow Meter.
5.
Remove the Flow Tubing from the Micro-Disk Filter.
6.
Remove the Pressure Tubing from the Pressure sensor located on the Main PCA (OPI Units Only).
7.
Remove the other end of the Pressure Tubing from the bottom connection of the Flow Meter and
from the Pressure Regulator (OPI Units Only).
To install the Micro-Disk Filter & Tubing
1.
Connect the Pressure Tubing to the Pressure Sensor located on the Main PCA (OPI Units Only).
2.
Connect the Other ends of the Pressure Tubing to the Pressure Regulator and bottom connection
on the Flow Meter. Refer to Refer to Figure 8-26.
Figure 8-28: PRESSURE TUBING CONNECTIONS
3.
Connect the Flow Tubing as shown in Refer to Figure 8-27.
Figure 8-29: FLOW TUBING INSTALLATION
 Loading...