Page 91 E
VERFLO
TM
SERVICE & TECHNICAL INFORMATION 1039055, VER. 06
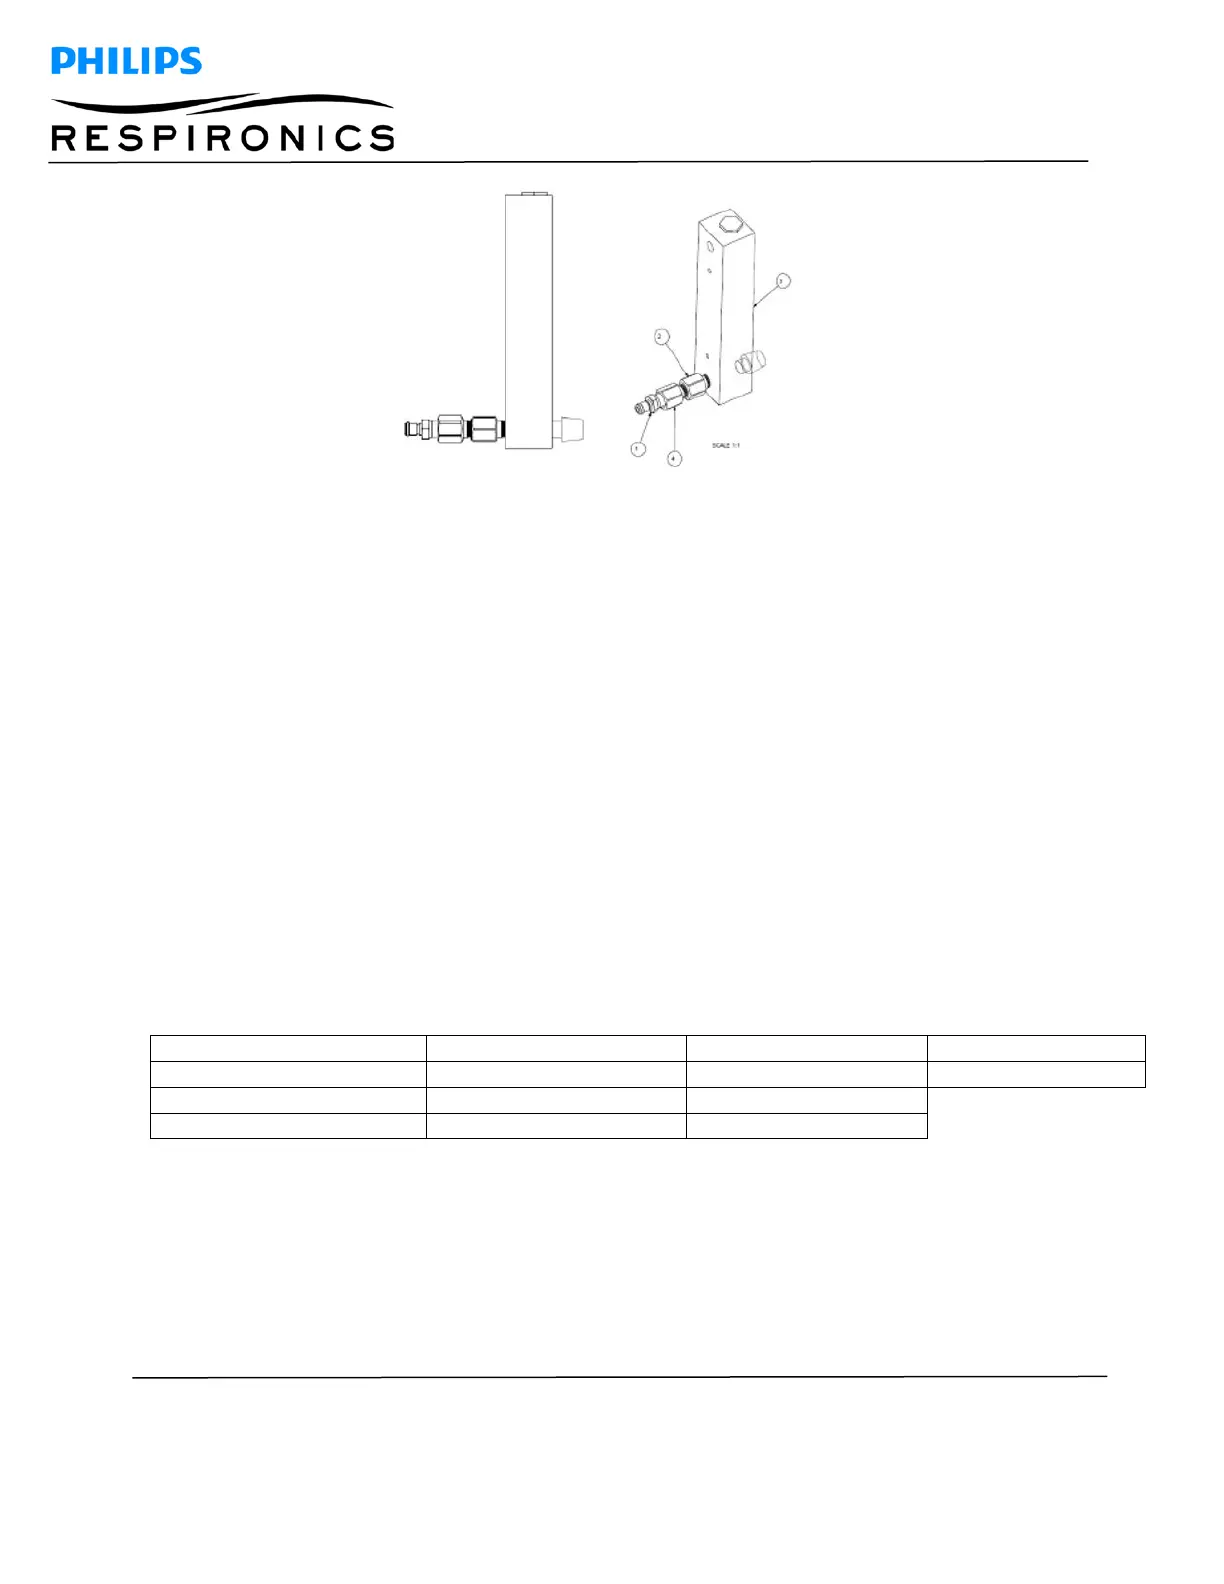
Figure 9-1: TEST FLOWMETER ASSEMBLY
9.2.2 TESTING PROCEDURE
1. Ensure that the unit has been run-in for a minimum of 1 hour.
2. Record the serial number and model number located on the side of the unit, in the space provided on the
Testing Data Sheet.
3. Record the voltage and frequency at which the unit is being tested.
4. Record the hours from the hour meter after the Device has finished its 1 hour run in on the Test Data Sheet.
5. Verify the flow meter is set to 5 LPM. If a pediatric flow meter is installed, verify the flow meter is set to 1.0
LPM. Connect the test gauge to the outlet barb. Measure the outlet pressure. The outlet pressure should be
within 5.0- 7.0 psig. Record the results. On the test data sheet, circle Yes or No for pediatric flow meter. If
testing a device with a pediatric flow meter installed, the “No Flow Alarm” feature is not available, remove
the pressure gauge from the outlet barb and proceed to step 7.
6. With the pressure gauge still connected to the outlet, the flow meter ball will drop down to zero (0) LPM.
Within 120 seconds (160 seconds for EverFlo T models) the “No Flow” alarm will sound and the yellow LED
(Low Oxygen) will illuminate. Record the results. Remove the pressure gauge from the outlet barb.
7. Set the flow meter to two (2) LPM (for units equipped with pediatric flow meters set the flow to 0.1 LPM).
Connect a calibrated oxygen analyzer to the outlet barb, measure and record the oxygen concentration. Set
the flow meter to five (5) LPM (for units equipped with pediatric flow meters set the flow to 1 LPM). Measure
the oxygen concentration. Record the results. For OPI devices proceed to step 8. For non OPI devices
proceed to step 9.
8. Verify that the OPI is working properly by observing that the red or yellow LEDs are NOT illuminated and the
oxygen concentration is above 90% for the following model numbers:
Above 87% for model numbers 1020007 and 1020008, record the results.
9. Disconnect the oxygen analyzer and tubing from the outlet of the concentrator. For EverFlo UltraFill
Compatible devices set the concentrator to 1-3 LPM. Proceed to Step 10. For all other EverFlo devices
proceed to Step 14.
10. Connect the Test Flowmeter to the UltraFill port, located on the side of the EverFlo.
 Loading...