EN 63
English
Edit Recordings
4 Press u to start play.
To make a fast forward or reverse
search, press the WX buttons.
In pause mode, to move frame by
frame, press the WX buttons.
5 Select [ Divide ], then press OK.
The title divide point is marked.
To cancel, select [ Cancel ], then press
OK.
6 To proceed, select [ OK ], then press OK.
A new title is created and is displayed in
the disc menu index.
Protect/ Unprotect a title
You can protect the recorded title to prevent
accidental loss of recordings.
1 Press DISC MENU.
2 Select a title and press the Yellow button
[ Edit ].
3 Select [ Title ] > [ Protect ], then press
OK.
A confi rmation message is displayed.
To cancel, select [ Cancel ], then press
OK.
4 To proceed, select [ OK ], then press OK.
The title is now protected. It cannot be
erased or edited.
To unprotect a title,
1 Repeat steps 1 - 3, select [ Unprotect ],
then press OK.
A confi rmation message is displayed.
•
•
•
•
Delete a title
1 Press DISC MENU.
2 Select a title and press the Red button
[ Delete ].
A confi rmation message is displayed.
To cancel, select [ Cancel ], then press
OK.
4 To proceed, select [ OK ], then press OK.
The title is deleted.
Erase a disc
1 Press DISC MENU.
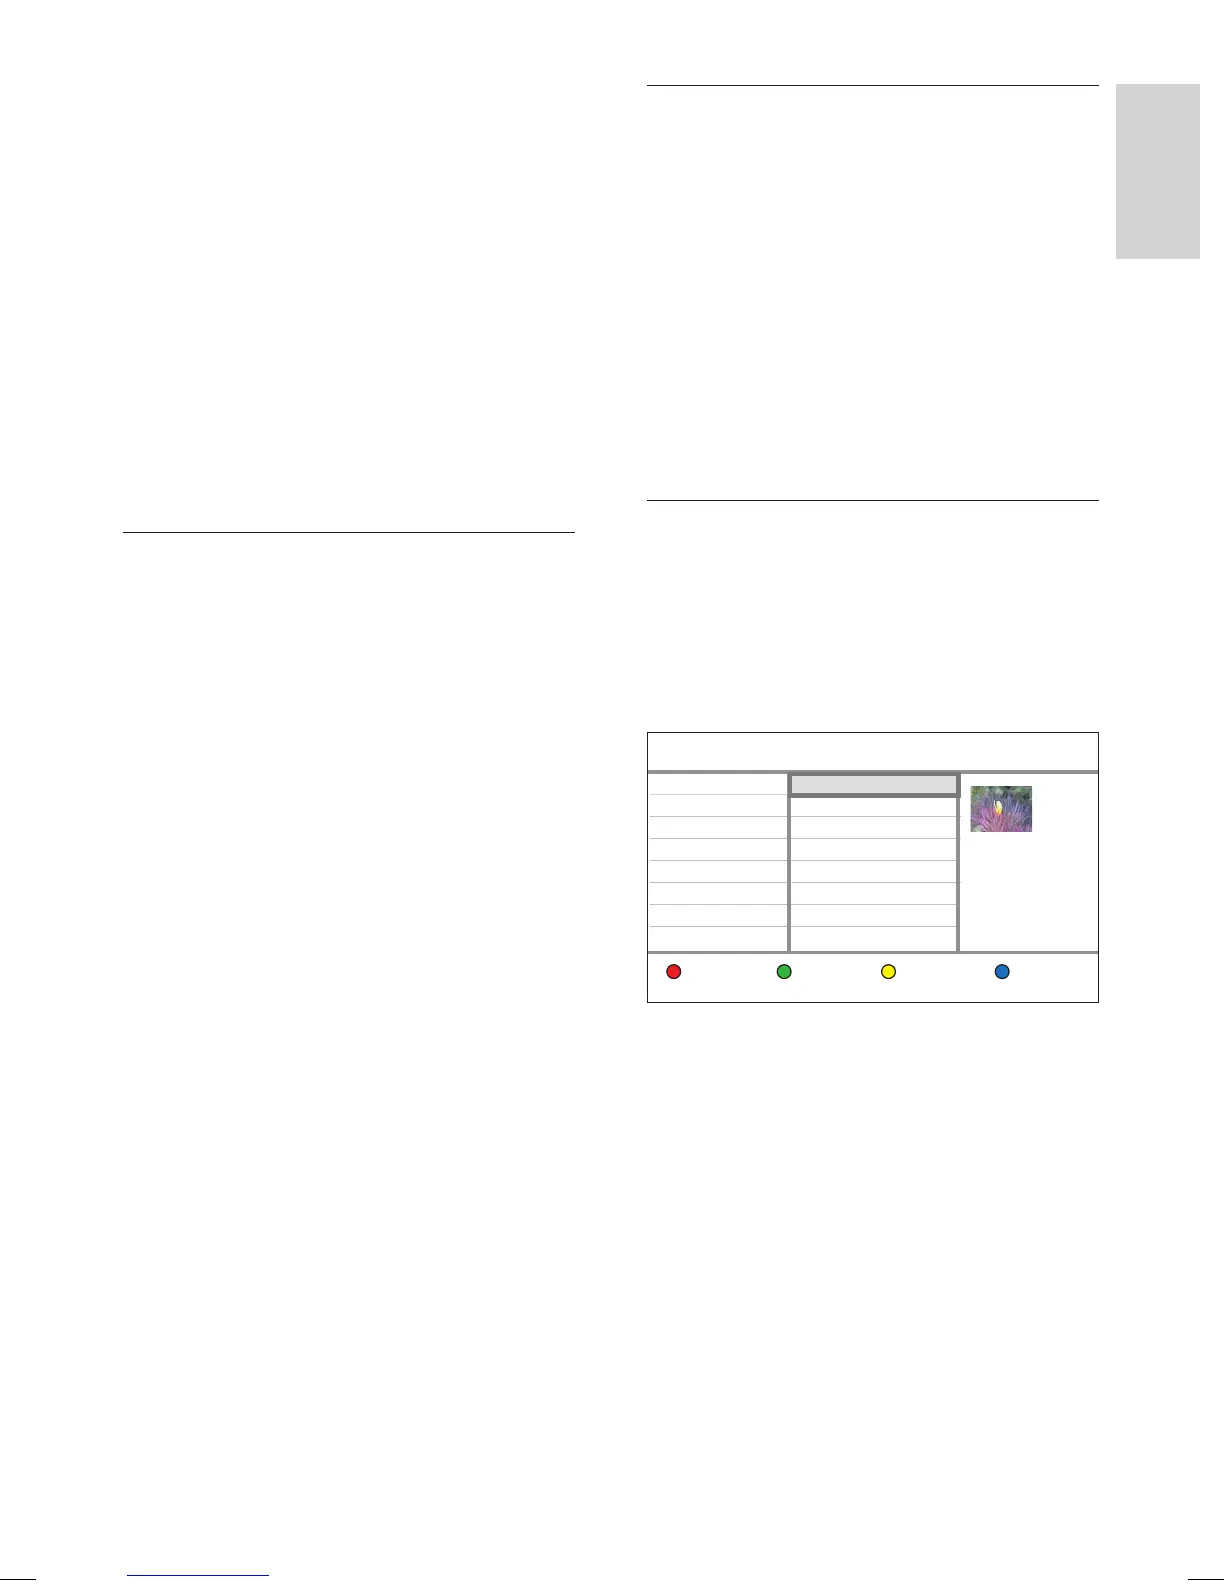
2 Select a title, then press the Yellow button
[ Edit ].
The disc edit menu is displayed..
Edit
Play
Title
Disc
Exit
P06
10 / 01 10:08
00:30:21 SP
1.0GB
Disc
Erase
Finalize
Label
3 Select [ Disc ] > [ Erase ], then press OK.
A confi rmation message is displayed.
To cancel, select [ Cancel ], then press
OK.
4 To proceed, select [ OK ], then press OK.
All unprotected titles on the disc are
erased.
•
•
hdr3800_31_eng_29522.indd 63hdr3800_31_eng_29522.indd 63 2008-07-18 11:46:16 AM2008-07-18 11:46:16 AM