EN 79
English
Adjust Settings
Adjust HDMI video and audio
Before you start...
Ensure that the recorder is connected to a
HDMI TV. (See chapter “Connect – Connect
video/audio cables – Option 4”).
Adjust HDMI video
1 Turn on the TV to the correct viewing
channel for the recorder.
2 Press HOME.
3 Select [ Settings ], then press OK.
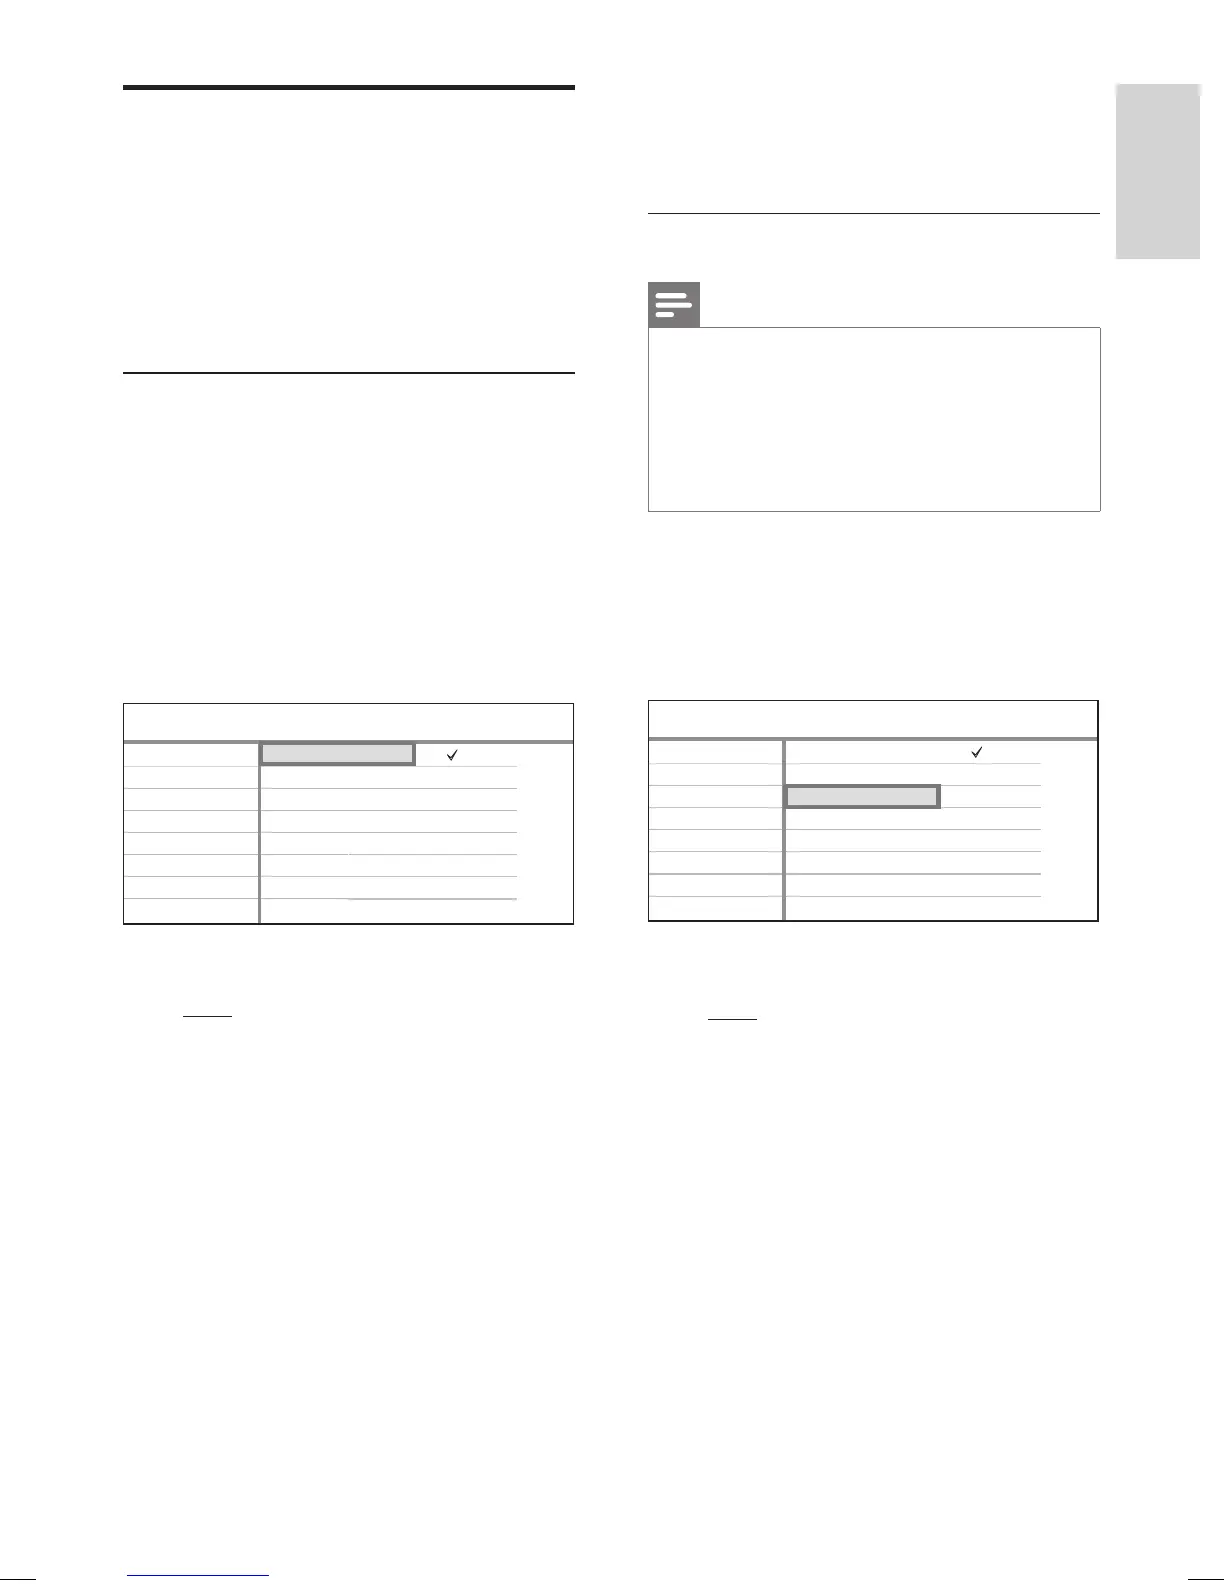
4 Select [ Video ] > [ HDMI Resolution ],
then press X.
HDMI Resolution
SCART Input
Native
480i
480p
576i
576p
720p
1080i
AutoTuner
Video HDMI ResolutionSetup
Disc
Playback
Recording
Video
Audio
System
Misc
5 Select an option and press OK.
[ Auto ]
Display follows the best supported video
resolution of the connected HDMI TV.
[ Native ]
Display follows the video resolution of the
connected HDMI TV.
[ 480i ], [ 480p ], [ 576i ]. [ 576p ],
[ 720p ], [ 1080i ] or [ 1080p ]
Select a suitable video resolution according
to the capability of the connected TV: “i”
denotes interlace and “p” denotes
progressive.
6 To exit the setup menu, press the Blue
button [ Exit ].
Adjust HDMI audio
Note
Ensure that you have alternative audio connection
from the recorder to your TV or the display device
for the sound output.
It is not possible to listen to SACDs or
copy-controlled DVD-Audio CPPM (Content
Protection for Playable Media) sources using the
HDMI connection.
•
•
1 Press HOME.
2 Select [ Settings ], then press OK.
3 Select [ Audio ] > [ HDMI Audio ], then
press X.
Downmix
Digital Output
HDMI Audio
Night Mode
Disable
AutoTuner
Audio HDMI AudioSetup
Disc
Playback
Recording
Video
Audio
System
Misc
4 Select an option and press OK.
[ Auto ]
Select to enjoy the multi-channel audio
output through your HDMI connection.
[ Disable ]
Select this if the connected device is unable
to output the sound through the HDMI
connection or the playback audio format is
not supported by HDMI connection (e.g.,
projector, SACD).
5 To exit the setup menu, press the Blue
button [ Exit ].
hdr3800_31_eng_29522.indd 79hdr3800_31_eng_29522.indd 79 2008-07-18 11:46:18 AM2008-07-18 11:46:18 AM