User Guide
28
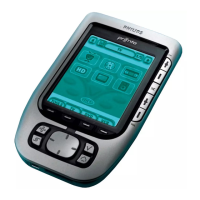
Customizing Pronto
Setting the Timeout of the LCD Backlight
The timeout of the LCD backlight determines how long the backlight of the touch
screen and the buttons stays active. Shortening the active time will increase
Pronto’s battery life. The backlight timeout and the LCD screen timeout can work
independently.
1 Tap in the first Setup Page.
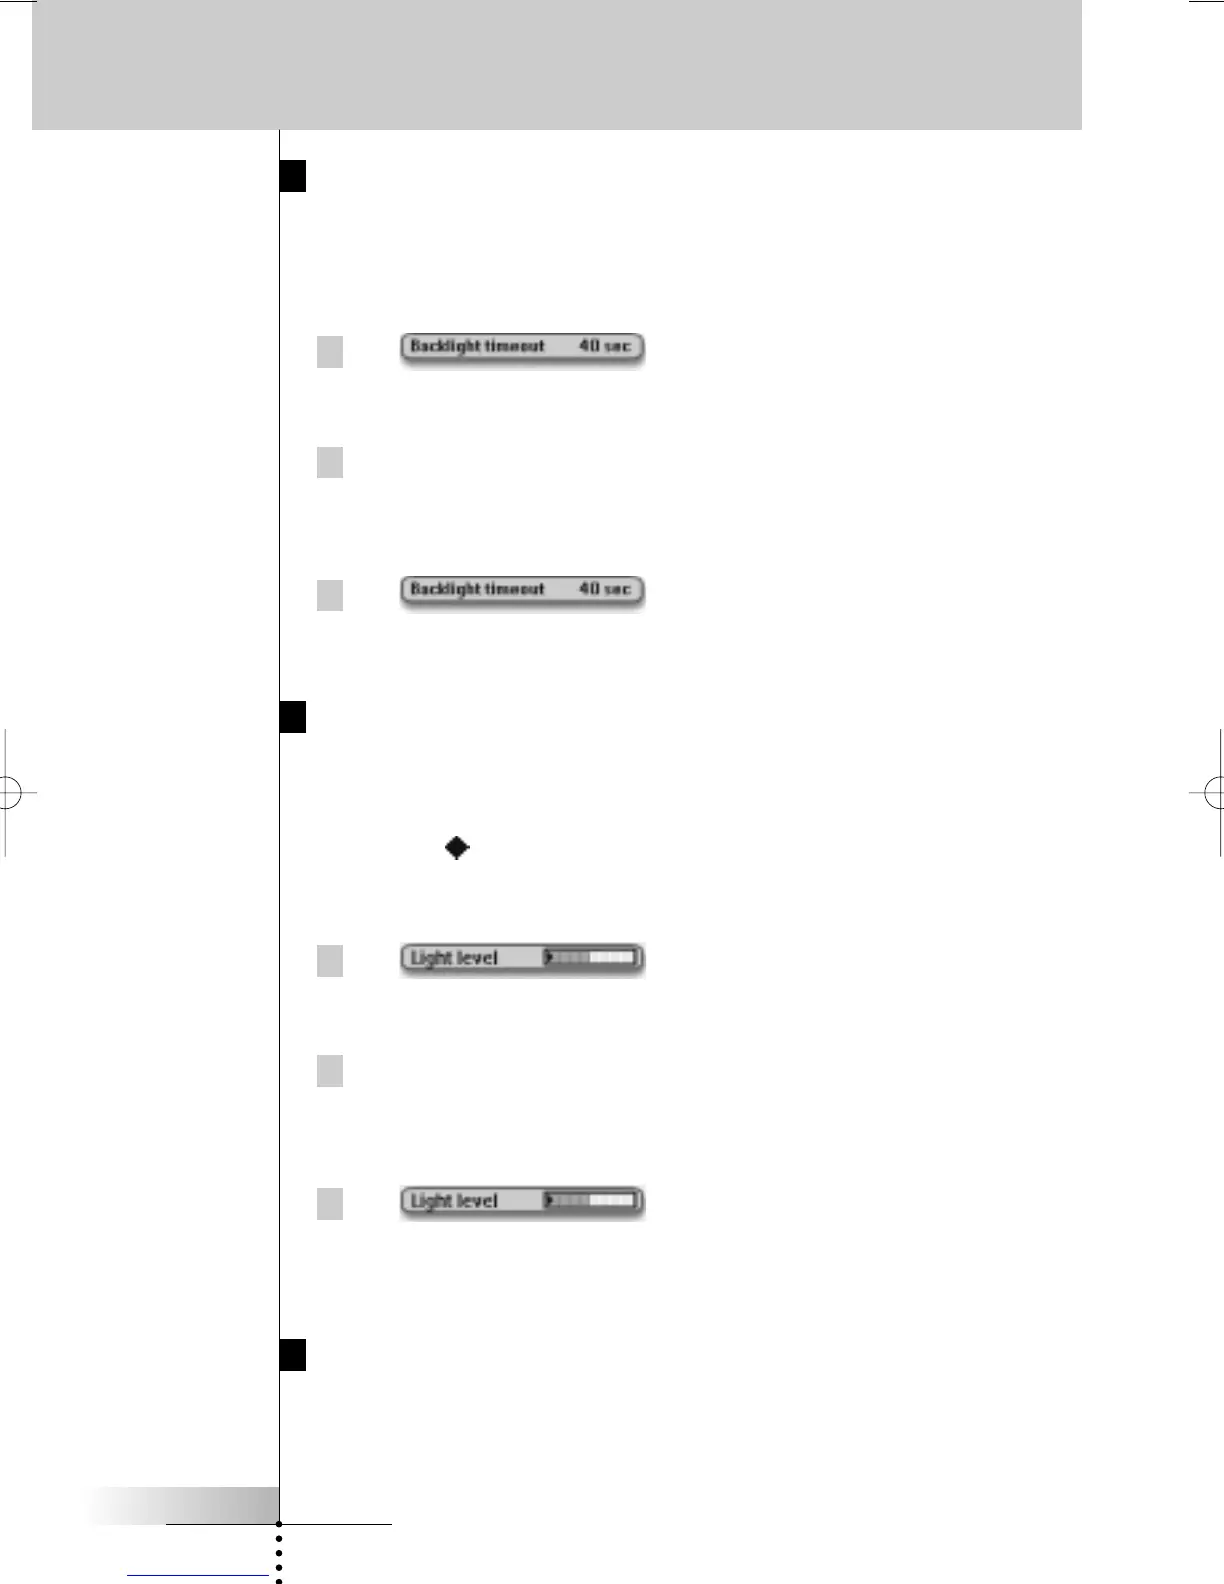
The Backlight Timeout button is selected. The ‘+’ and ‘-‘ labels appear on the
two middle hard buttons below the touch screen.
2 To increase the timeout, press (and hold) the button labeled ‘+’.
-or-
To decrease the timeout, press (and hold) the button labeled ‘-’.
3 Tap again.
The new LCD backlight timeout is set.
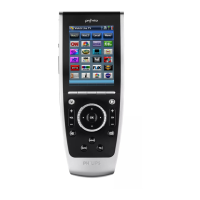
Setting the Switch Level of the Light Sensor
The light sensor on your Pronto causes the backlight to switch on automatically
according to the ambient light of your home theater environment. The light level is
indicated in the bar.
The indicator is the threshold you set, while the gray area indicates the actual
light level, measured by the light sensor. When actual light level reaches the
threshold you set, the backlight on your Pronto will switch on.
1 Tap in the first Setup Page.
The Light Level button is selected. The ‘+’ and ‘-‘ labels appear on the two
middle hard buttons below the touch screen.
2 To increase the light level, press (and hold) the hard button labeled ‘+’.
-or-
To decrease the light level, press (and hold) the hard button labeled ‘-’.
3 Tap again.
The Light Level button is deselected again. The new level for the light sensor
is set.
Setting the Volume Level
You can set the volume level from the hard buttons as well as from the touch
screen buttons. The volume of the button refers to the loudness of the beep you
hear when you press or tap a button.