Initial operation 11
• Time Zone: Select your time zone.
• Keyboard Input Method: Select English
keyboard or Gboard.
2 When the settings are made, press to
return to Step 1 interface and select Next to
proceed to Step 2 interface.
Notice
If you select Gboard as your input
method, you need to activate on-screen
pointer feature before you can input
text through pop-up virtual Gboard (see
Step 2: activate on-screen pointer, page
11).
Step 2: activate on-screen
pointer
Activate the on-screen pointer (mouse cursor)
to replace the function of the Navigation
buttons on the remote control. The on-screen
pointer is required when you input text through
pop-up virtual Gboard and browse the Internet.
Before you can use the on-screen pointer, pair
the remote control with the projector.
1 When Step 2 is displayed, follow the on-
screen instructions: press and hold
and on the remote control simultaneously
for 5 seconds.
2 Release the buttons and wait until the
remote control is paired with the projector,
as indicated in the setup interface.
To use on-screen pointer
1 When the remote control is paired with the
projector, press on the remote control to
display or cancel the on-screen pointer.
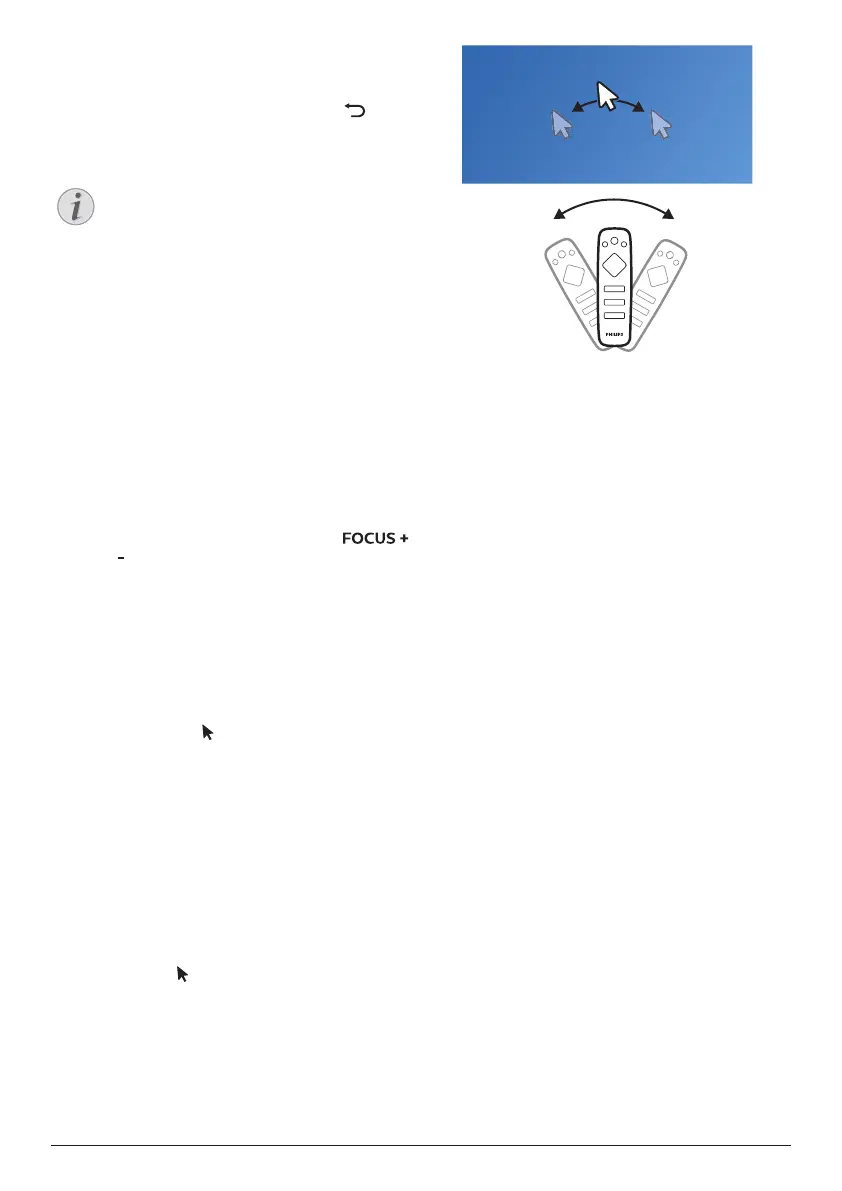
2 When the pointer (angled arrow) is
displayed on the projection screen, hold
and move the remote control in the air,
then the pointer moves across the screen
correspondingly.
3 Press the OK button on the remote control
to confirm selection.
4 The on-screen pointer is disabled if you
press the Navigation button on the remote
control. To enable the on-screen pointer
again, press .
Step 3: set up the Wi-Fi network
Set up the Wi-Fi network to access online
applications and screen mirroring.
What you need
• A wireless network router.
• For best wireless performance and
coverage, use an 802.11n router (“Wi-Fi 4”).
1 When the Wi-Fi settings menu appears as
Step 3, select your network name from the
network list.
2 The network password input bar and the
virtual keyboard pop up.
• To input your password through
Gboard, use on-screen pointer (see
Step 2: activate on-screen pointer,
page 11).
3 After you input the password for the
network, select Connect on the screen to
complete the Wi-Fi setup.
Step 4: accept EULA
After the Wi-Fi network is set up, EULA (End
User License Agreement) appears. Read and
accept the Agreement to complete the initial
setup.