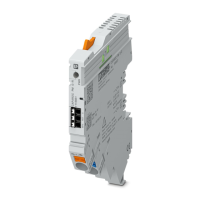
CBMC E4 ... IOL
16 / 44
PHOENIX CONTACT 108147_en_00
4.2 Power supply connection
Select a power supply unit that covers the power needs of your downstream devices. The
selection depends on the resulting maximum currents.
4.3 Connecting the IO-Link connection
Pay attention to the correct assignment of the cables when connecting the IO-Link connec-
tion.
4.4 IODD file
The current IODD file for IO-Link device integration can be found in the download area of
the product under configuration file at
www.phoenixcontact.net.
In order to build up IO-Link communication, the vendor and device ID must be entered for
some IO-Link masters. You can find these in the table below.
– In order to comply with UL approval, use copper cables that are designed
for operating temperatures ≥ 75 °C.
– Ensure cables are correctly sized for the maximum input and output cur-
rent.
– It is imperative to connect the negative pole to the IN- terminal to ensure
self-supply.
Table 4-1 IO-Link connection
Connec-
tion
Function Color Wire no.
L+ Positive supply voltage of IO-Link communication. Brown 1
C/Q Data channel. Black 4
L- 0-Volt power supply of IO-Link communication. Blue 3
Table 4-2 Vendor and device ID
ID Decimal Hexadecimal
Vendor ID (Phoenix Contact) 176 00 B0
Device ID (CBMC E4 24DC/1-4A+ IOL) 393520 06 01 30
Device ID (CBMC E4 24DC/1-10A IOL) 393504 06 01 20
 Loading...