Phoenix Auto Equipment
-Address: 2711 East Craig Road Ste #E, North Las Vegas, NV, 89030 United States
- Website: https://www.phoenixautoequipment.com
- Phone: 7025802883
13 / 22
007 mounting bolts to bolt RAA-011 and RAA-001 to main
machine body. RAA-001 mounting plate must be placed under
RAA-011 (Fig.12). This allows the bead breaker arm to move
freely under without rubbing on RAA-011.
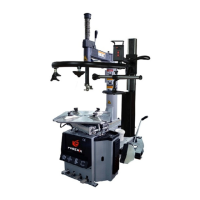
To complete assist arm assembly, you must first complete air
hookup. Connect air hose coming out of main machine body to
pre-installed air valve on back of assist arm. (Fig. 14)
Connect air to the air gauge on back of machine (Fig. 15). Use
your own regulator on your compressor to keep air at 100-120
PSI.
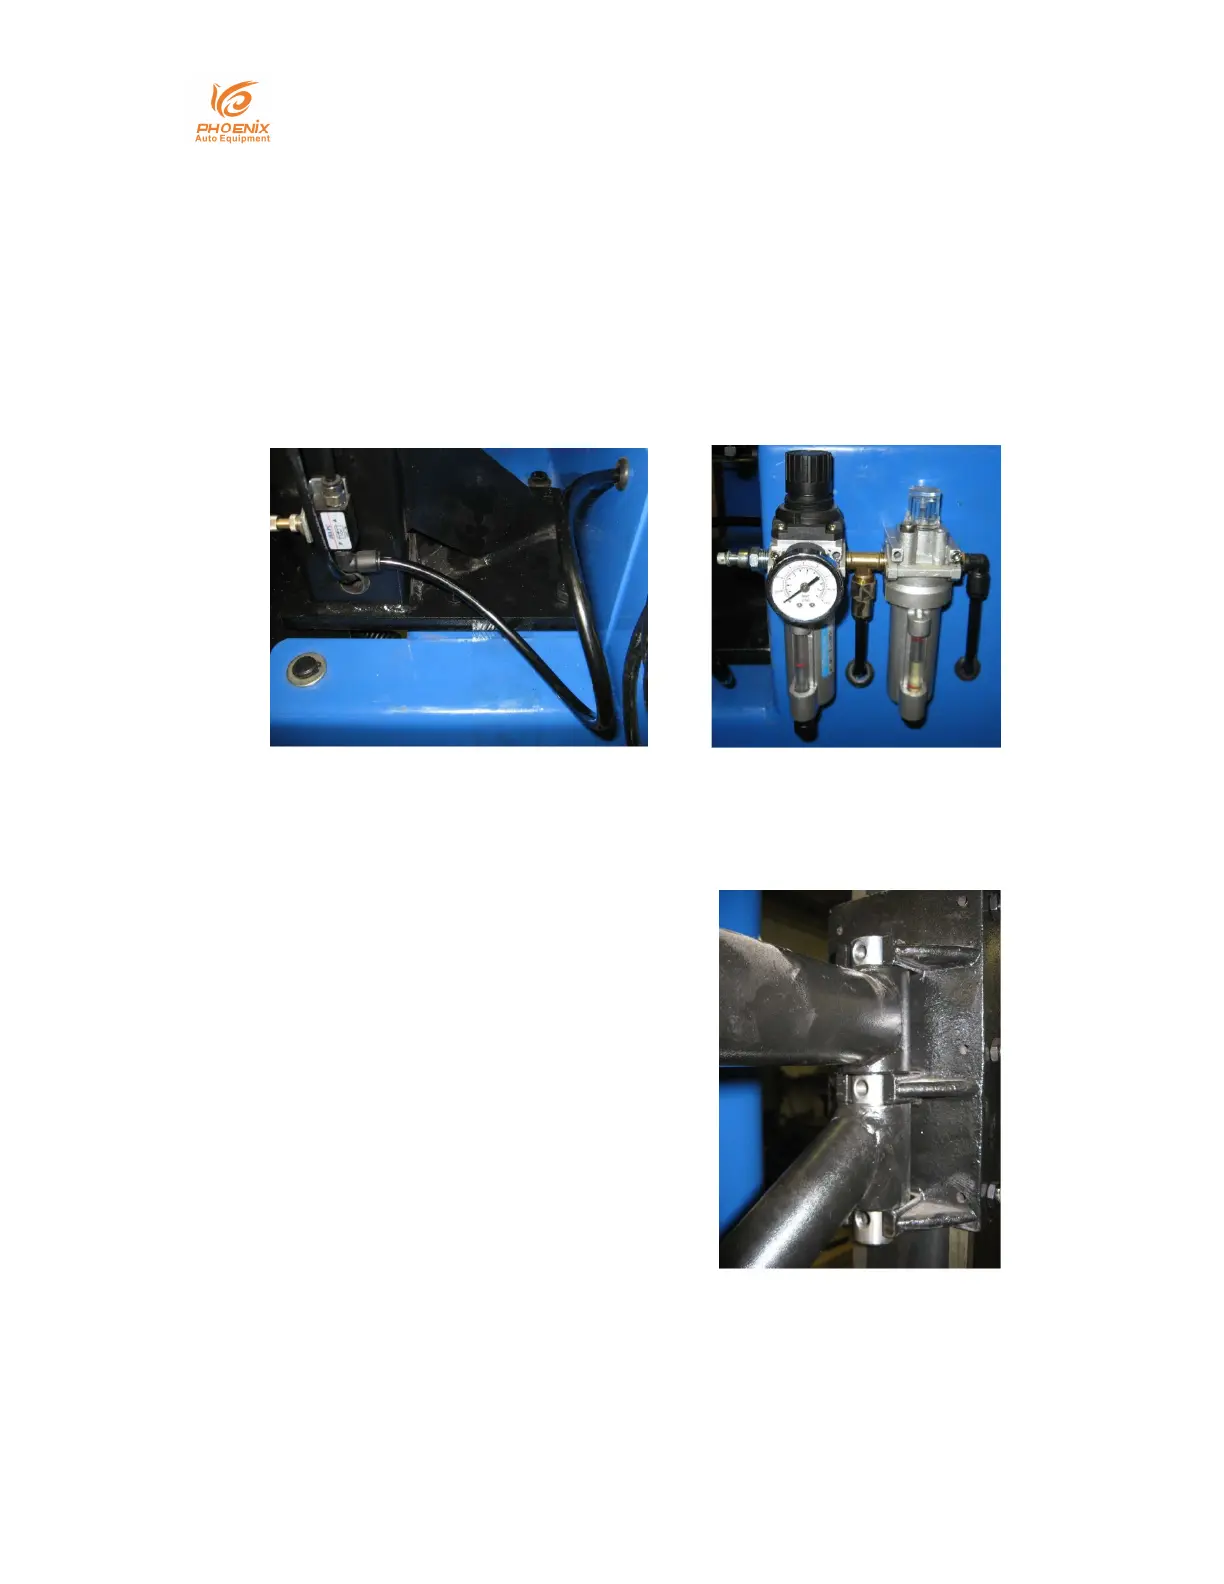
Now you can continue with
assembly of the assist arm. First
place top assist arm (arm with
up/down controls that is pre-
installed to main assist arm) and
RAA-009 bottom assist arm in
place. Place RAA-002 assist arm
mounting rod through both assist
arms as show below. (Fig. 16).
(Fig. 14)
(Fig. 15)
(Fig. 16)