5
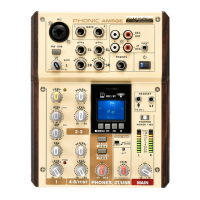
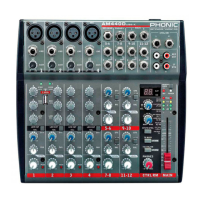
AM844D
GETTING STARTED
1. Ensure all power is turned off on the AM844D
Mixer. To totally ensure this, the AC cable should
not be connected to the unit.
2. All faders and level controls should be set at
the lowest level and all channels switched off to
ensure no sound is inadvertently sent through
the outputs when the device is switched on. All
levels should be altered to acceptable degrees
after the device is turned on.
3. Plug all necessary instruments and equipment
into the device’s various inputs as required. This
may include line signal devices, as well as mi-
crophones and/or guitars, keyboards, etc.
4. Plug any necessary equipment into the device’s
various outputs. This could include Ampliers,
active speakers or monitors, signal processors,
and/or recording devices.
5. Plug the supplied AC cable into the AC inlet on
the back of the device ensuring the local voltage
level is identical to that required on your device.
6. Plug the supplied AC cable into a power outlet of
a suitable voltage.
7. Turn the power switch on.
CHANNEL SETUP
1. To ensure the correct audio levels of each input
channel is selected, every channel should rst
be switched off and all faders set to 0.
2. Choose the channel that you wish to set the level
of, and ensure that channel has a signal sent to
it similar to the signal that will be sent when in
common use. For example, if the channel is us-
ing a microphone, then you should speak or sing
at the same level the performer normally would
during a performance. If a guitar is plugged into
that channel, then the guitar should also be used
as it normally would be.
3. Press the Solo button of the channel, and engage
the “level set” button next to the level meter, al-
lowing you to see the PFL audio signal level in
the level meter.
4. Set the gain of the selected channel to a level
that ensures the audio level is around 0 dB, as
indicated by the level meter.
5. This channel is now ready to be used; you can
stop making the audio signal.
6. To activate the channel, release the Solo button
and engage the channel’s on button and press
the 1/2, 3/4 or L/R routing buttons, allowing the
signal to be sent to the corresponding destina-
tions.
7. You should now select the next channel to set
and go back to follow steps 1 through 6.