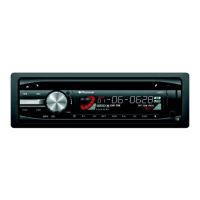
Procedure d’installazione
Carefully complete the electrical connections.
Check connections before operation.
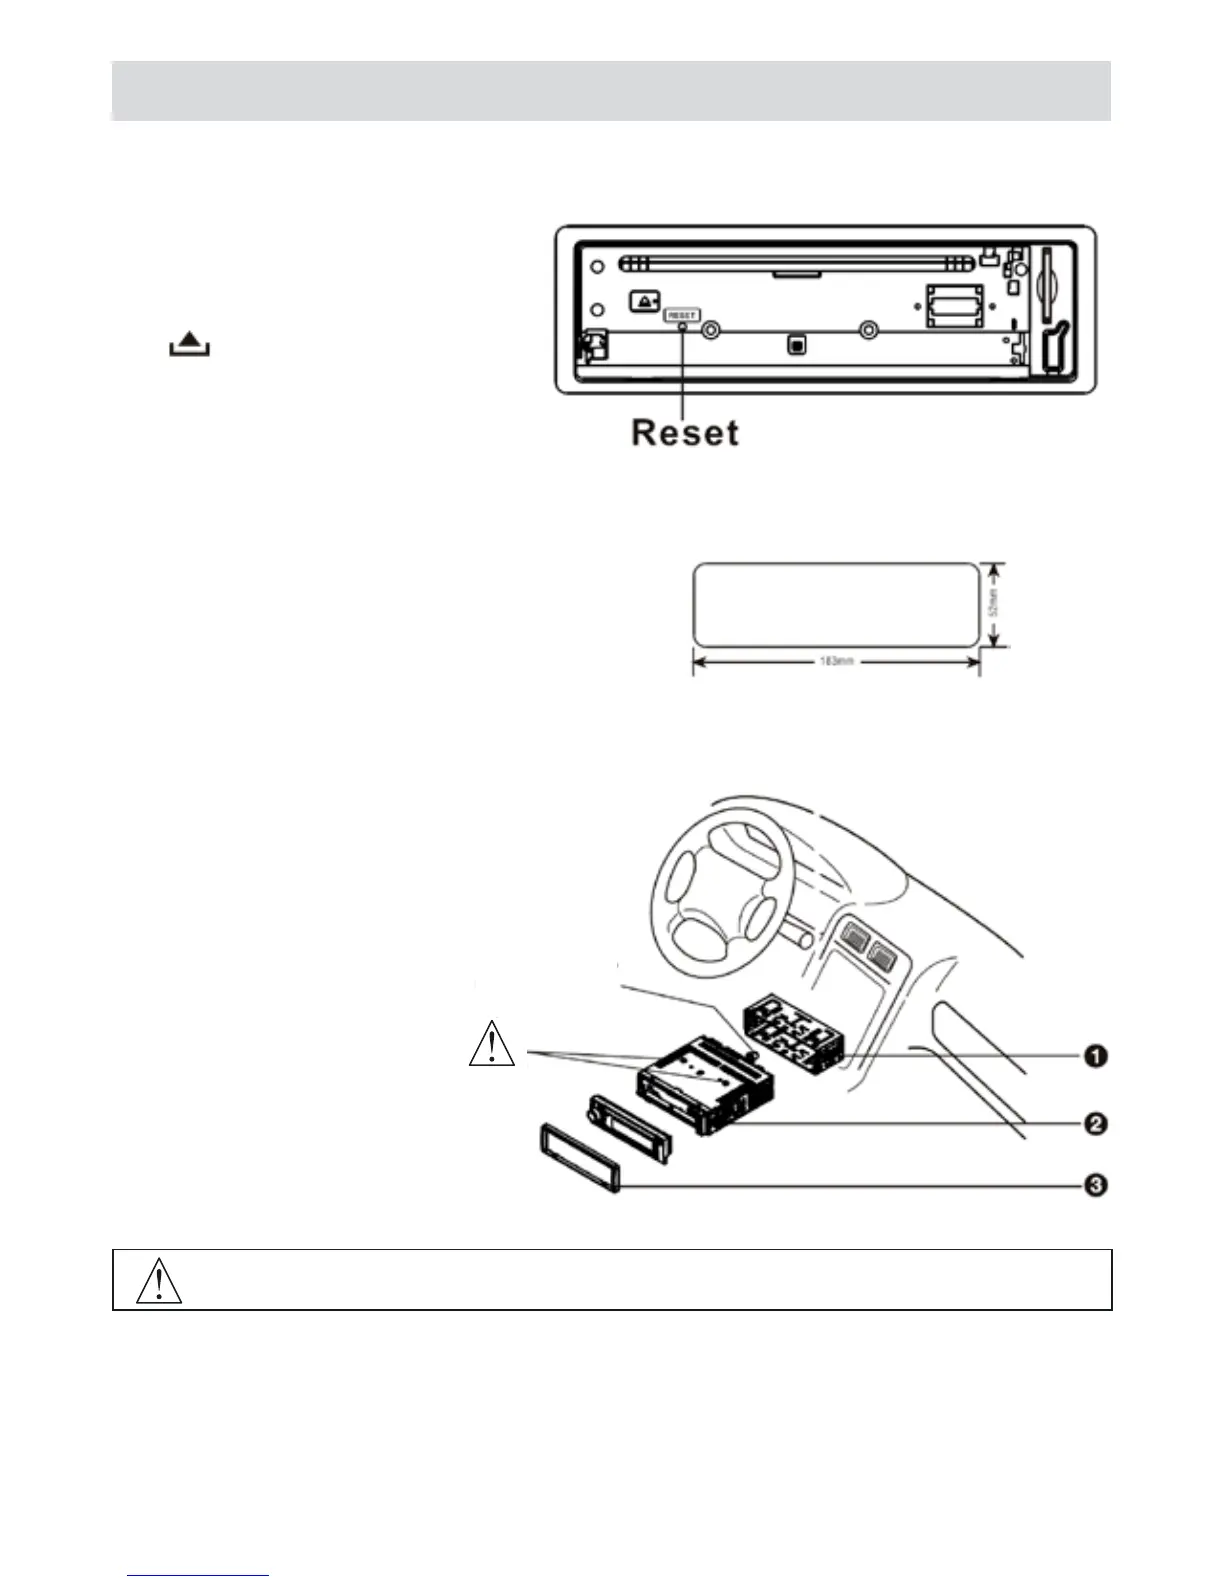
Reset
Press to flip down the panel. Then press
the Reset hole with a pointed object to reset
the unit to restore the system to the original
factory settings.
Installation guide
1 - Insert mounting collar into
the dash board, and mounting
tabs out with a screwdriver.
Make sure that lock lever is flush
with the mounting collar(not
projecting outward).
2 - Secure the rear of the unit.
After fixing mounting bolt and
power connector, fix the rear of the
unit to the car body with the sup-
plied rubber cushion.
3 - Insert trim plate.
Installation opening
This unit can be installed in any dashboard
with a suitable 183mm(w) x 52mm (h) opening
as shown above. The dashboard should be
4.75 mm - 5.56 mm thick in order to be able
to support the unit.
IMPORTANT:
Remove these two screws before installation. Otherwise, the CD/MP3 Player will not work.
Mounting bolt
rubber cushion