Commissioning
Operating Manual PNOZ mm0.1p
1002101-EN-04
20
CAUTION!
Do not connect or disconnect expansion modules and terminators during
operation.
6.2.3.1 Load project from chip card
Procedure:
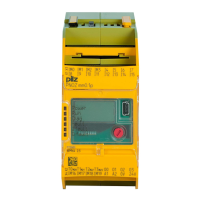
} Insert the chip card containing the current project into the card slot on the base unit.
} Switch on the supply voltage. The LC display shows the project name, CRC sum and
the date the project was created. Please check this information.
} Load the project by pressing the rotary knob. For the project to be downloaded, the
rotary knob must be held down for between 3 and 8 seconds. Once the project has
been successfully downloaded, the status of the inputs and outputs will be shown on
the display.
6.2.3.2 Load project via USB port
Procedure:
} Insert a chip card into the card slot on the base unit.
} Connect the computer containing the PNOZmulti Configurator to the base unit via the
USB port.
} Switch on the supply voltage.
} Download the project (see PNOZmulti Configurator's online help).
} Once the project has been successfully downloaded, the status of the inputs and out-
puts and the supply voltage will be shown on the display. The "RUN" LED will be lit.
6.2.4 Connection
Supply voltage AC DC
For the safety system
For the semiconductor outputs
Must always be present, even if
the semiconductor outputs are not
used

 Loading...