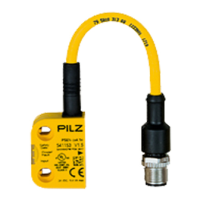
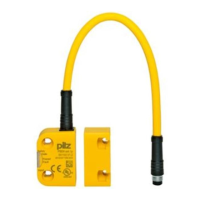
PSEN cs3.1n
Operating Manual PSEN cs3.1n
22172-EN-06
| 16
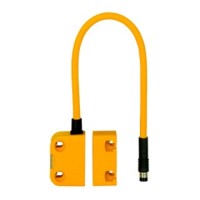
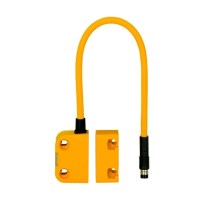
Actuator cs1.1 or cs3.1
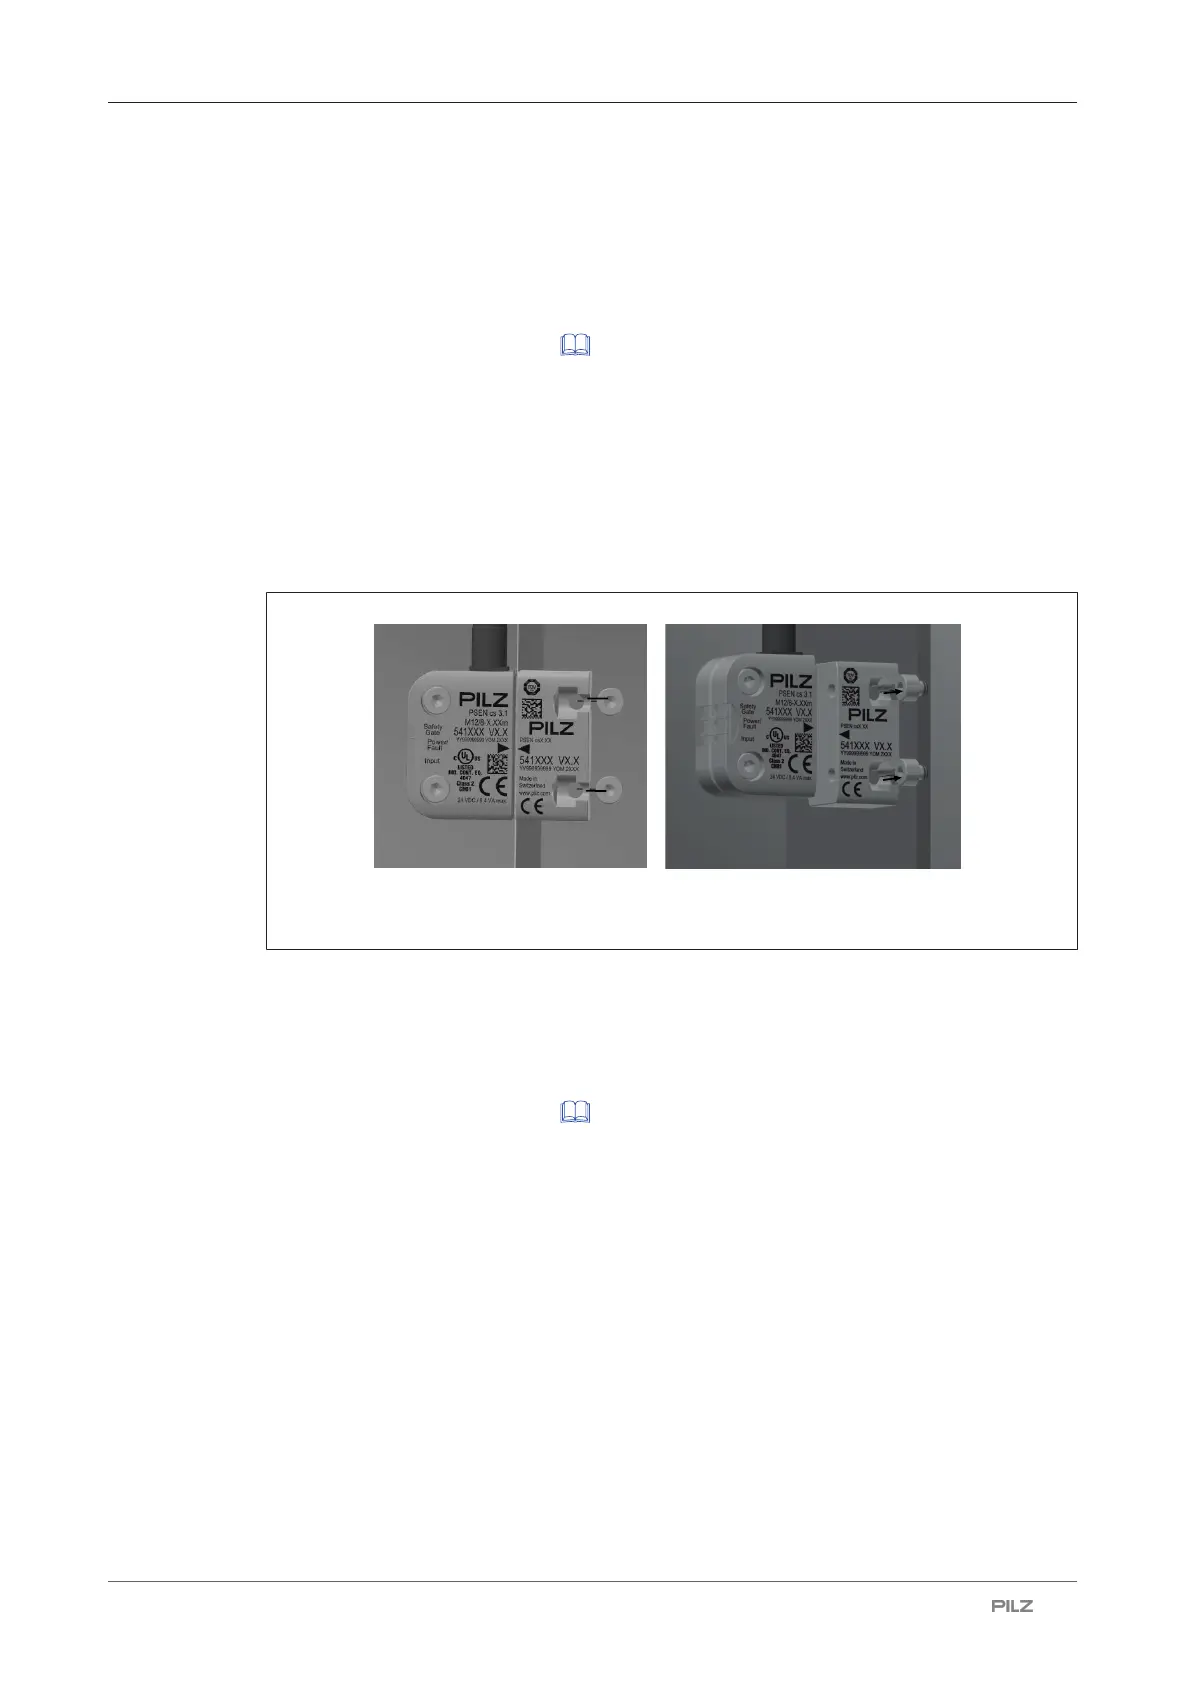
Procedure actuator PSEN cs3.1:
1. Only use M4 screws with a flat head (e.g. M4 cheese-head or pan head screws).
Provide the mounting surface with two drill holes for the screw connection of the actu-
ator (see Dimensions in mm [ 23]).
2. Attach the screws for the actuator, leaving a distance of 3 … 6 mm between the screw
head and plate.
3. Slide the actuator on to the screws. The arrows on the labelled surfaces of the safety
switch and actuator must face each other. Align the actuator and tighten the screws.
4. The actuator should be protected from unauthorised removal and from contamination.
Close the mounting holes using the seals provided. The use of seals should be re-
garded as equivalent to using permanent fastenings in accordance with ENISO14119.
Parallel assembly Orthogonal assembly
Procedure actuator PSEN cs1.1:
1. Use permanently secured M5 safety screws with a flat head (e.g. M5 cheese-head or
pan head screws).
Provide the mounting surface with two drill holes for the screw connection of the actu-
ator (see Dimensions in mm [ 23]).
2. Use two screws to fix the actuator in place. Align the actuator and tighten the screws.
 Loading...