How the Machine Works
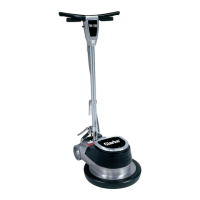
The Burnish components of the machine are:
Burnish pad holder
Burnish pad
Burnish motor
Dust Collection Bag
As the machine moves forward, the burnish pad shines
the floor. Any excess dirt or wax gets picked up by the
pad and distributed into the dust collection bag via the
dust collection system.
Pre-Operation Checklist
Before operating the machine:
Check that the Burnish Switch is in the off position.
Check the pad holder to ensure there are no breaks
or cracks.
Check correct connection of the batteries.
Check that the Dust Collection Bag is empty.
Release caster breaks.
Turning on the Machine
1. Complete pre-operation check.
2. Turn the Key to the ON position.
3. Turn on the burnish switch and engage the handle
levers.
4. Adjust speed as needed with traction speed control
knob. (Traction Models Only)
Changing Direction
When the handle levers are engaged the machine will
travel in the forward direction. To travel in reverse, while
the handle levers are engaged, hold down the reverse
switch. The machine will change from forward direction
to reverse direction. The machine will continue in the
reverse direction until the reverse switch is released.
Stopping and Turning Off Machine
To stop the machine, release the handle levers and the
machine will smoothly break to a stop and after 3 seconds
the burnish motor will stop. When turning the machine off,
turn off the burnish switch and then turn off the key switch.
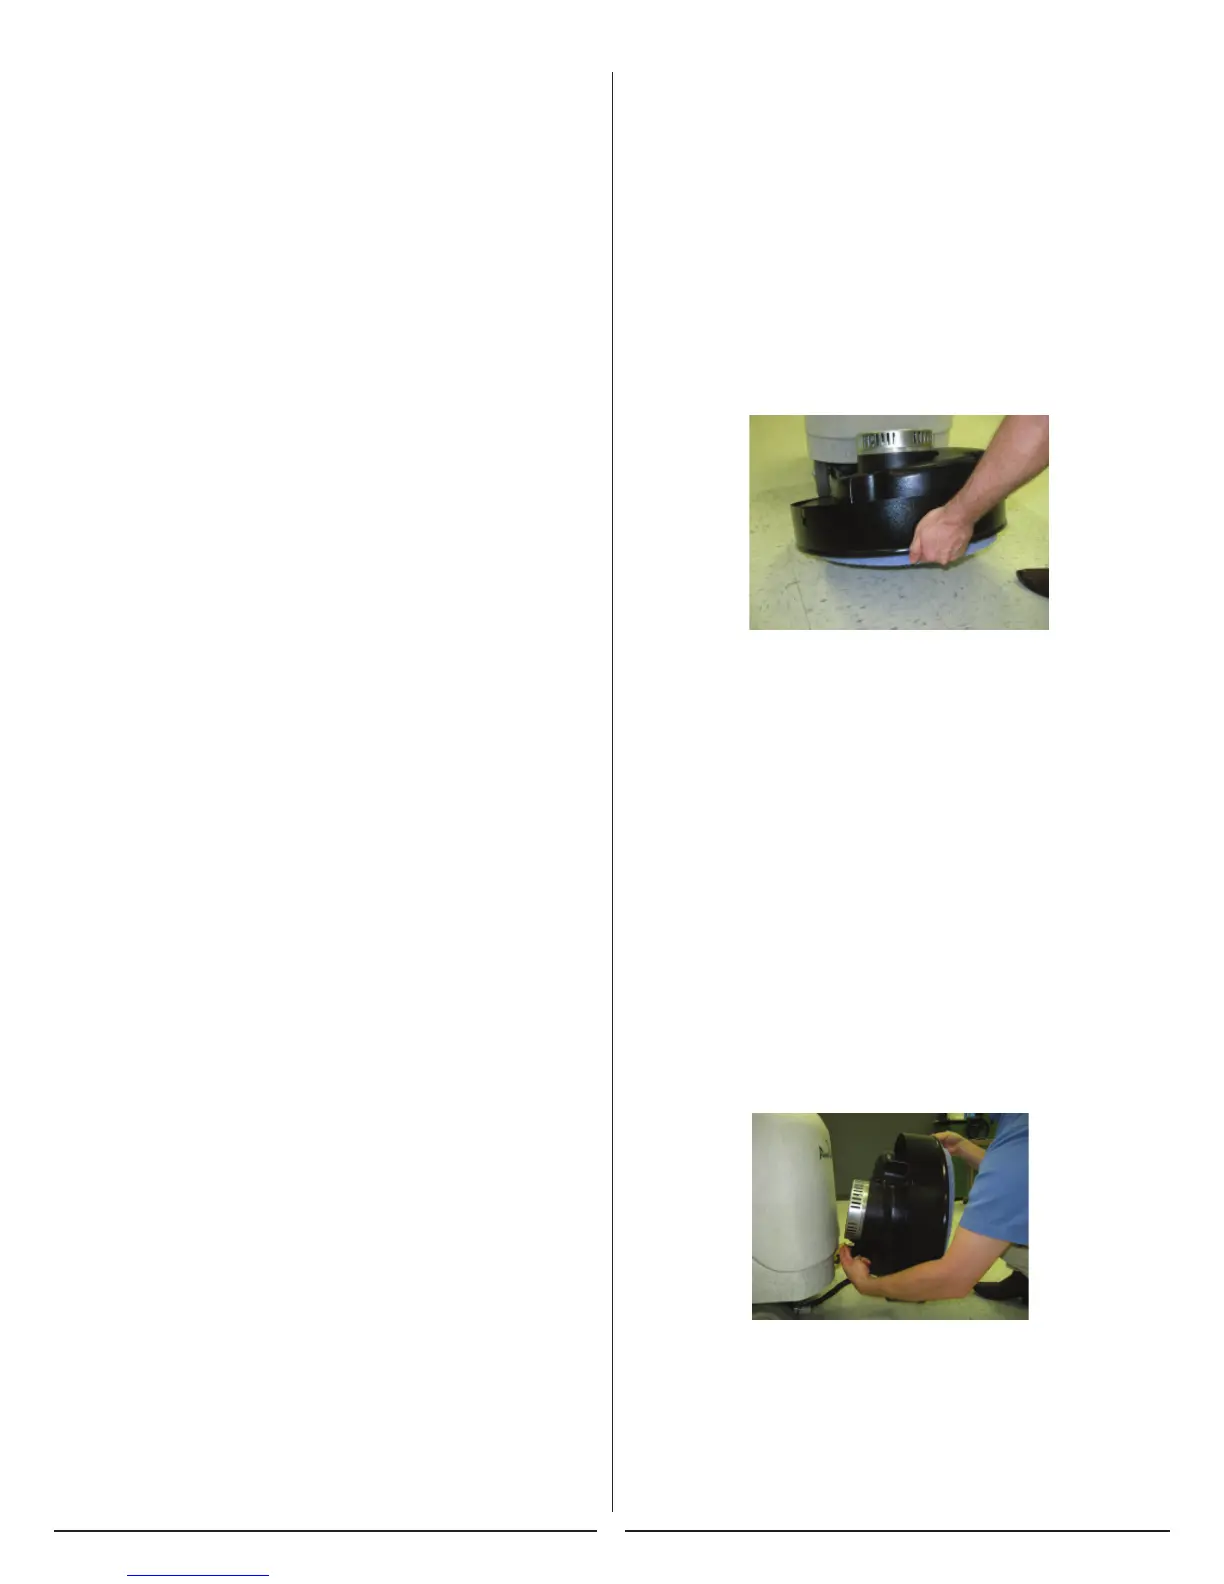
Installing/Changing Burnishing Pad
1. Make sure the Burnish Switch is OFF.
2. Lift on the front of the deck and tilt deck into the
pad change position.
3. Remove the center device by turning counterclock
wise and carefully remove the old pad from the Velcro
material.
CAUTION! CAREFULLY INSPECT THE PAD HOLDER
FOR CRACKS OR DAMAGE! REPLACE IF NECESSARY.
CAUTION! DO NOT USE ROUND PADS ON THE
PE300BU30X. USING ROUND PADS WILL SHORTEN
THE RUN TIME AND TRIP THE 50A BREAKER. THE
USE OF ROUND PADS ON THIS MACHINE WILL
DAMAGE THE BURNISH MOTOR AND VOID THE
WARRANTY.
4. Pull center from new pad, align pad on pad holder
and secure with centering device by turning
clockwise.
5. Press pad firmly onto Velcro.
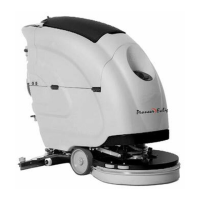
6. Lift the front of the shroud and lift the shroud release
lever and SLOWLY let the shroud return to the down
position.
CAUTION! KEEP HOLD OF THE DECK TO AVOID
INJURY!
13