10
Controls and Instruments
300BU Traction Model
1. Key Switch - Turns the machine on/off.
2. Handle Lever - When the lever is engaged the
machine will move forward. If the Burnish switch is
on, the pad will also start turning. If the burnish head
is tilted up into the pad change position, the burnish
motor will not engage.
Note: The machine needs to be moving when the burnish
switch is turned on or off in order to keep from burning the
fl oor.
3. Burnish Switch - Turns burnish function on/off. The
burnish motor will not engage unless the burnish
switch is on and the handle lever is engaged. If the
burnish head is tilted up into the pad change position,
the burnish motor will not engage.
4. Reverse Switch - Hold down this switch while the
handle lever is engaged and the machine will move in
reverse. Once the reverse switch is released the
machine will start moving forward.
5. Traction Speed Control - Turn the knob clockwise
to increase speed. Turn the knob counter-clockwise
to decrease speed.
6. Hour Meter / Battery Discharge Indicator - The LCD
displays the number of burnishing hours. The
machine will only count hours while burnishing. The
row of LEDs display the charge level of the battery
pack. When all the yellow LEDs are lit, the battery
pack is fully charged. In order to protect the battery
pack, when the red LED is lit, the burnish motor will
stop and the machine should be recharged.
7. Alarm LED - Displays trouble codes as a blink
pattern. In normal operation this LED will be off. If it
comes on, refer to the troubleshooting section.
300BU Non-Traction Model
1. Key Switch - Turns the machine on/off.
2. Handle Lever - When the lever is engaged, if the
Burnish switch is on, the pad will start turning. If the
burnish head is tilted up into the pad change position,
the burnish motor will not engage.
Note: The machine needs to be moving when the burnish
switch is turned on or off in order to keep from burning the
fl oor.
3. Burnish Switch - Turns burnish function on/off. The
burnish motor will not engage unless the burnish
switch is on and the handle lever is engaged. If the
burnish head is tilted up into the pad change position,
the burnish motor will not engage.
4. Hour Meter / Battery Discharge Indicator - The LCD
displays the number of burnishing hours. The
machine will only count hours while burnishing. The
row of LEDs display the charge level of the battery
pack. When all the yellow LEDs are lit the battery
pack is fully charged. In order to protect the battery
pack, when the red LED is lit the burnish motor will
stop and the machine should be recharged.
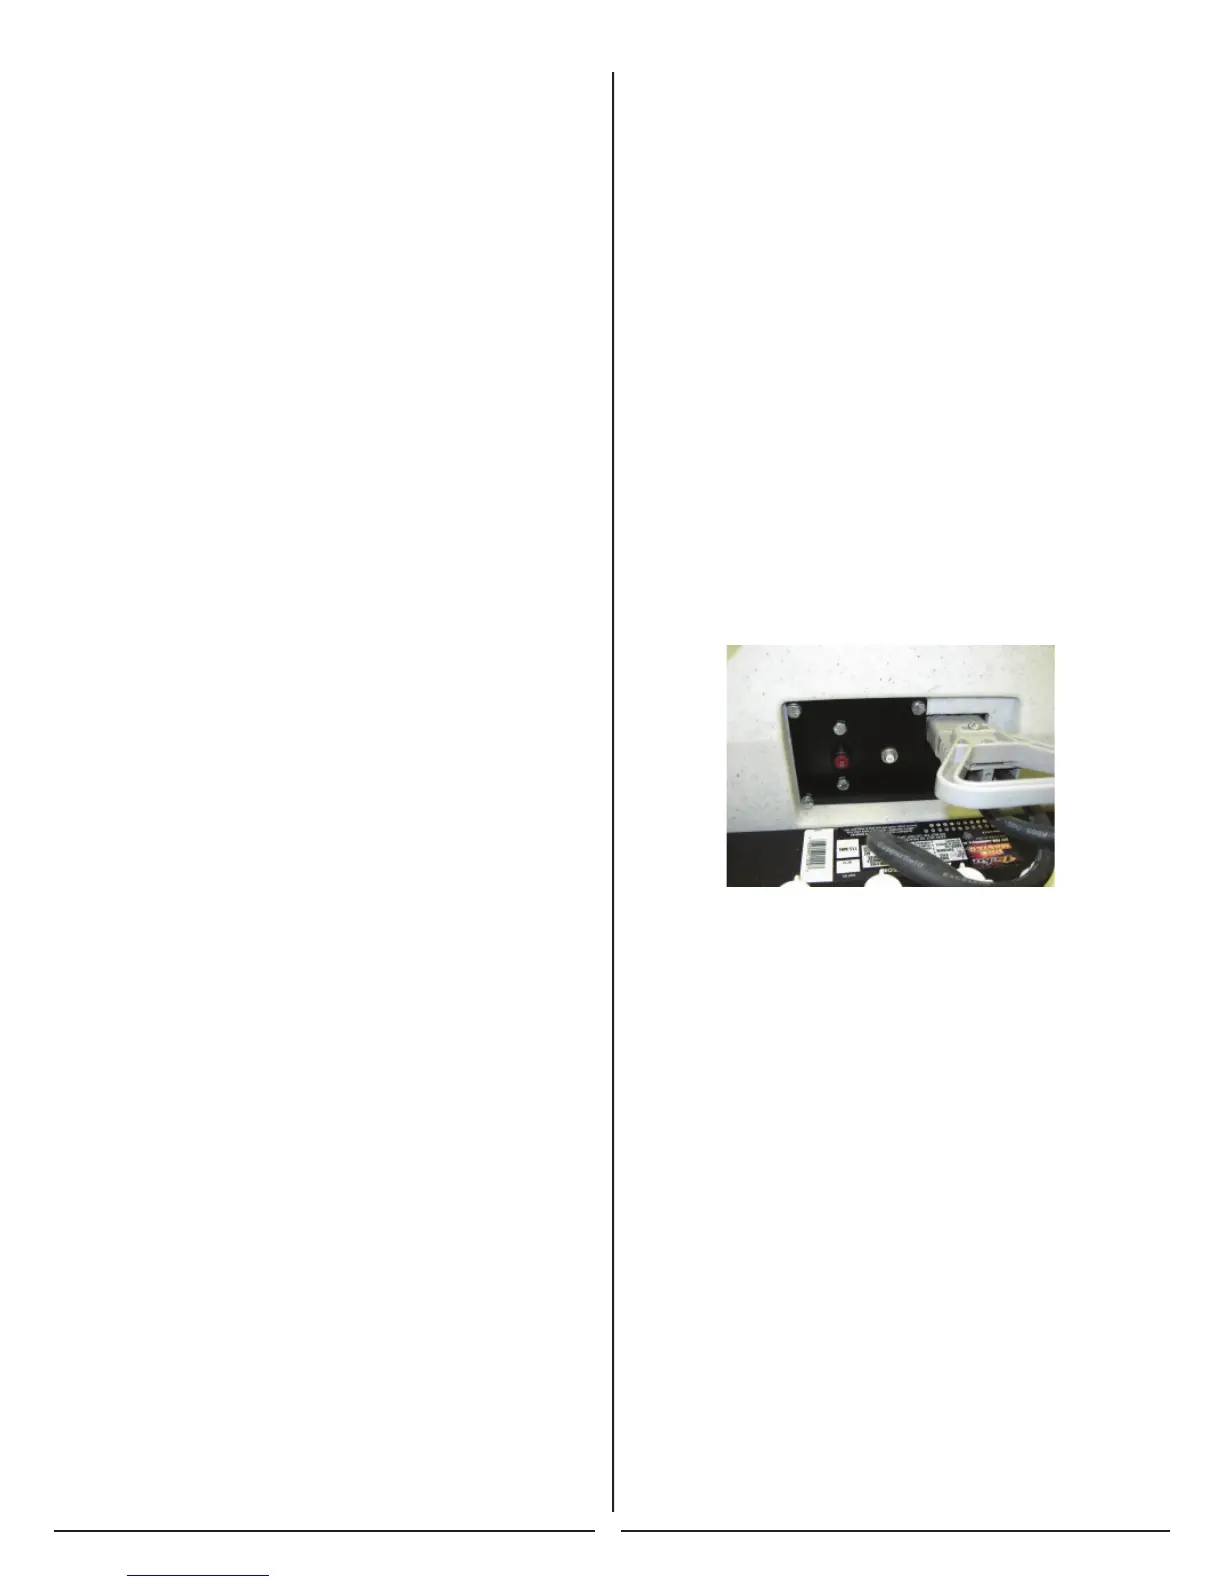
Over Current Protection
1. 70A Breaker - Over current protection for the Burnish
Motor. Push to reset. (20" & 24" Models)
2. 50A Breaker - Over current protection for Burnish
Motor. Pust to reset. (30" Models)
3. 40A Breaker - Over current protection for the Traction
Drive. Push to reset (Only on Traction models).
4. 3A Fuse In-Line holder - Over current protection for
key switch.
Onboard Battery Charger
To charge the batteries, first drive the machine to a flat,
dry, well-ventilated area then turn the machine off. If using
lead acid batteries, check the water level in all the battery
cells. If the level is low, add just enough distilled water
to cover the plates. **DO NOT OVERFILL.**
Then plug the charger cord into a wall socket. The battery
charger will initialize and then soft start the charging cycle.
WARNING! Batteries emit hydrogen gas when
charging. Explosion or fire can result. Keep sparks
and open flame away when charging.
CAUTION! When servicing machine, wear protective
gloves and goggles when handling batteries or battery
cables. Avoid contact with battery acid.