ENGLISH
8
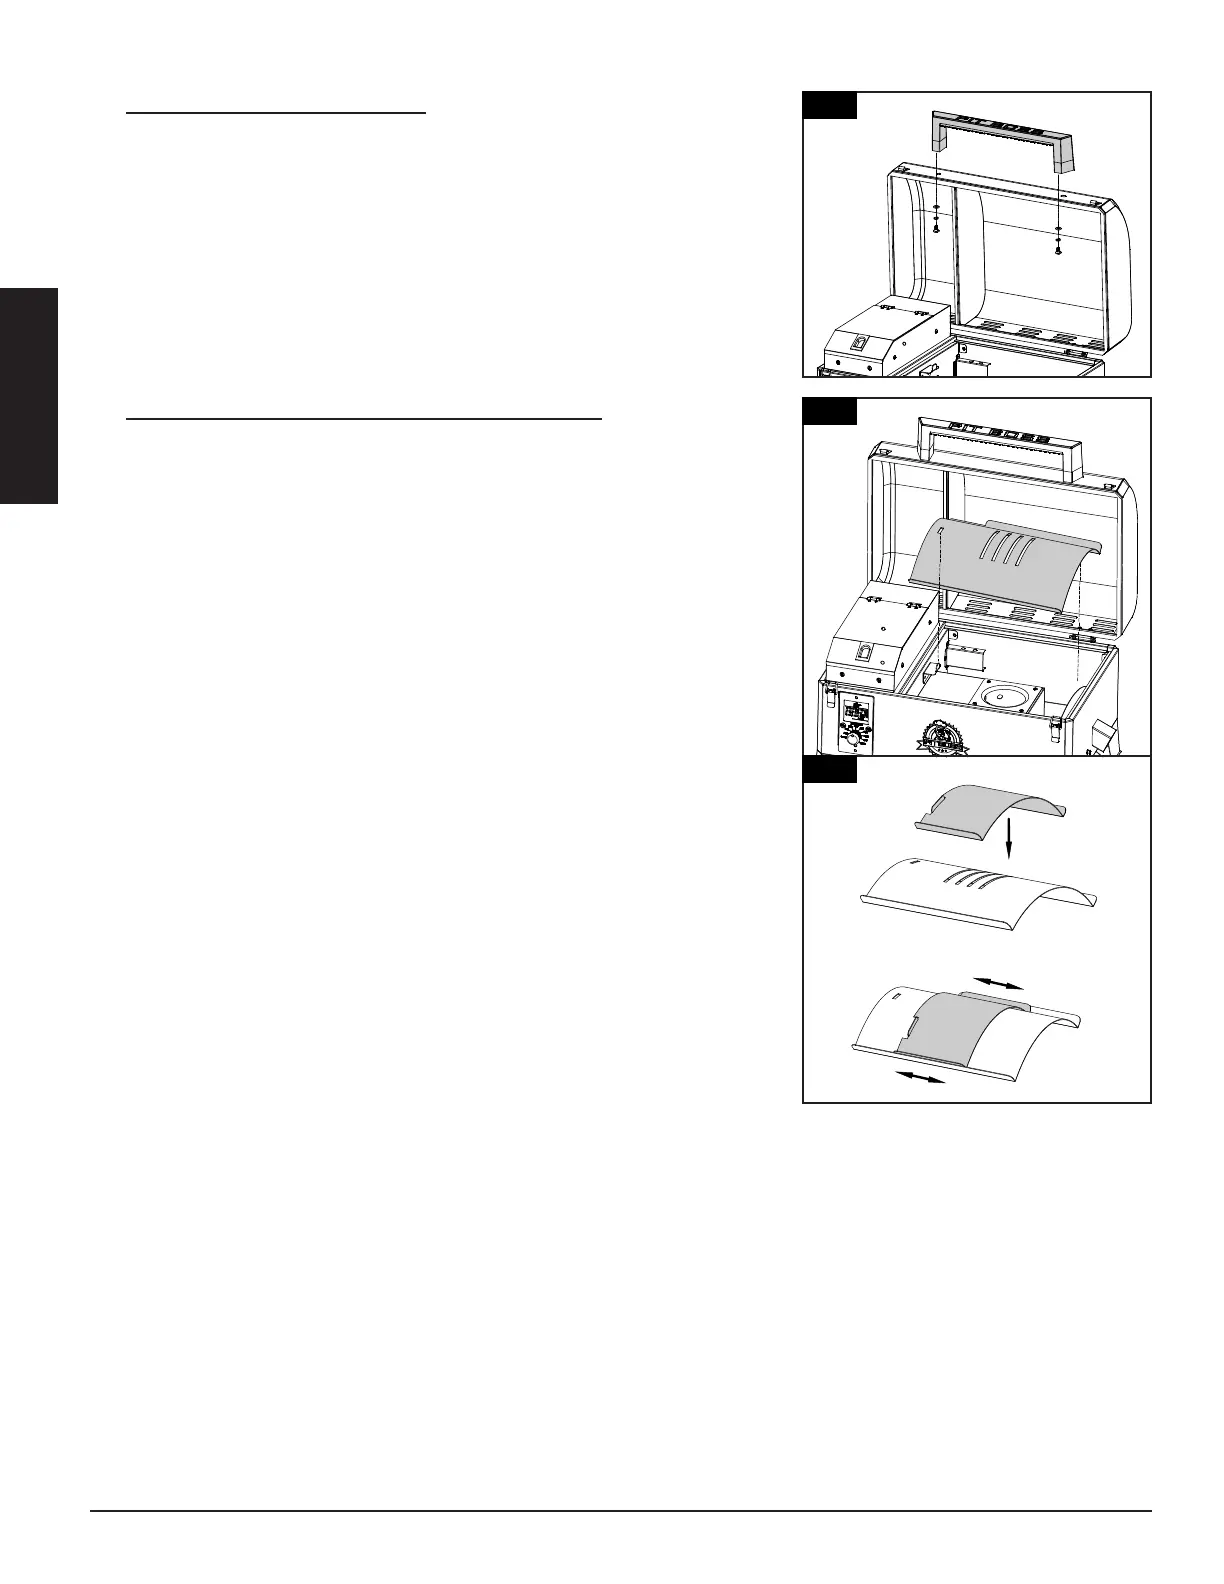
2.
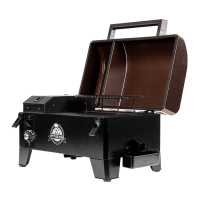
Parts Required:
1 x Lid Handle (#7)
Installation:
• Remove the pre-installed screws, locking washers and washers from the
Lid Handle ends. Add a locking washer and washer onto a screw, then
from inside the barrel lid, insert the screw so that it protrudes to the
outside. Hand-tighten the screw (from the inside) into the Lid Handle.
Repeat same installation for other end of Lid Handle.
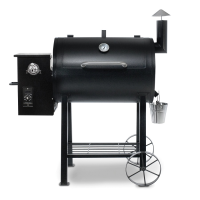
3.
Parts Required:
1 x Flame Broiler Slider (#3)
1 x Flame Broiler Main Plate (#4)
Installation:
• Insert the Flame Broiler Main Plate into the Main Barrel, left side first.
Rest the Flame Broiler Main Plate slot onto the ledge tab on the left
side, then rest the right side on the built-in ledge (on the inside right)
of the Main Barrel that directs grease towards the Grease Cup. It will
sit slightly at a downward angle. Note 3.
IMPORTANT: If the Flame Broiler Main Plate is on the base of the
barrel, it is installed incorrectly. The Flame Broiler Main Plate should
sit at an angle, with the left side sitting higher than the right. Poor
installation of this part may result in damage to your Grill Barrel.
• Place the Flame Broiler Slider on top of the Flame Broiler Main Plate,
covering the slotted openings. Ensure the raised tab is on the left,
to easily adjust for direct or indirect flame when cooking. Note
illustration 3. Both Flame Broiler parts are lightly coated with oil to
avoid rusting when shipped.
NOTE: When the Flame Broiler Slider is open and direct flame is used,
do not leave the grill unattended for any period of time.
3
3
4
4
3
2
7