Section One: ASSEMBLY INSTRUCTIONS
Installation Steps
Parts Needed:
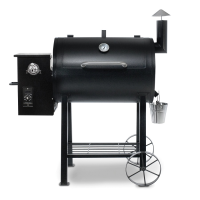
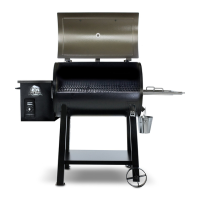
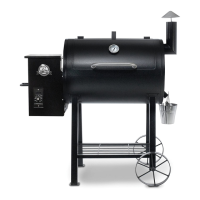
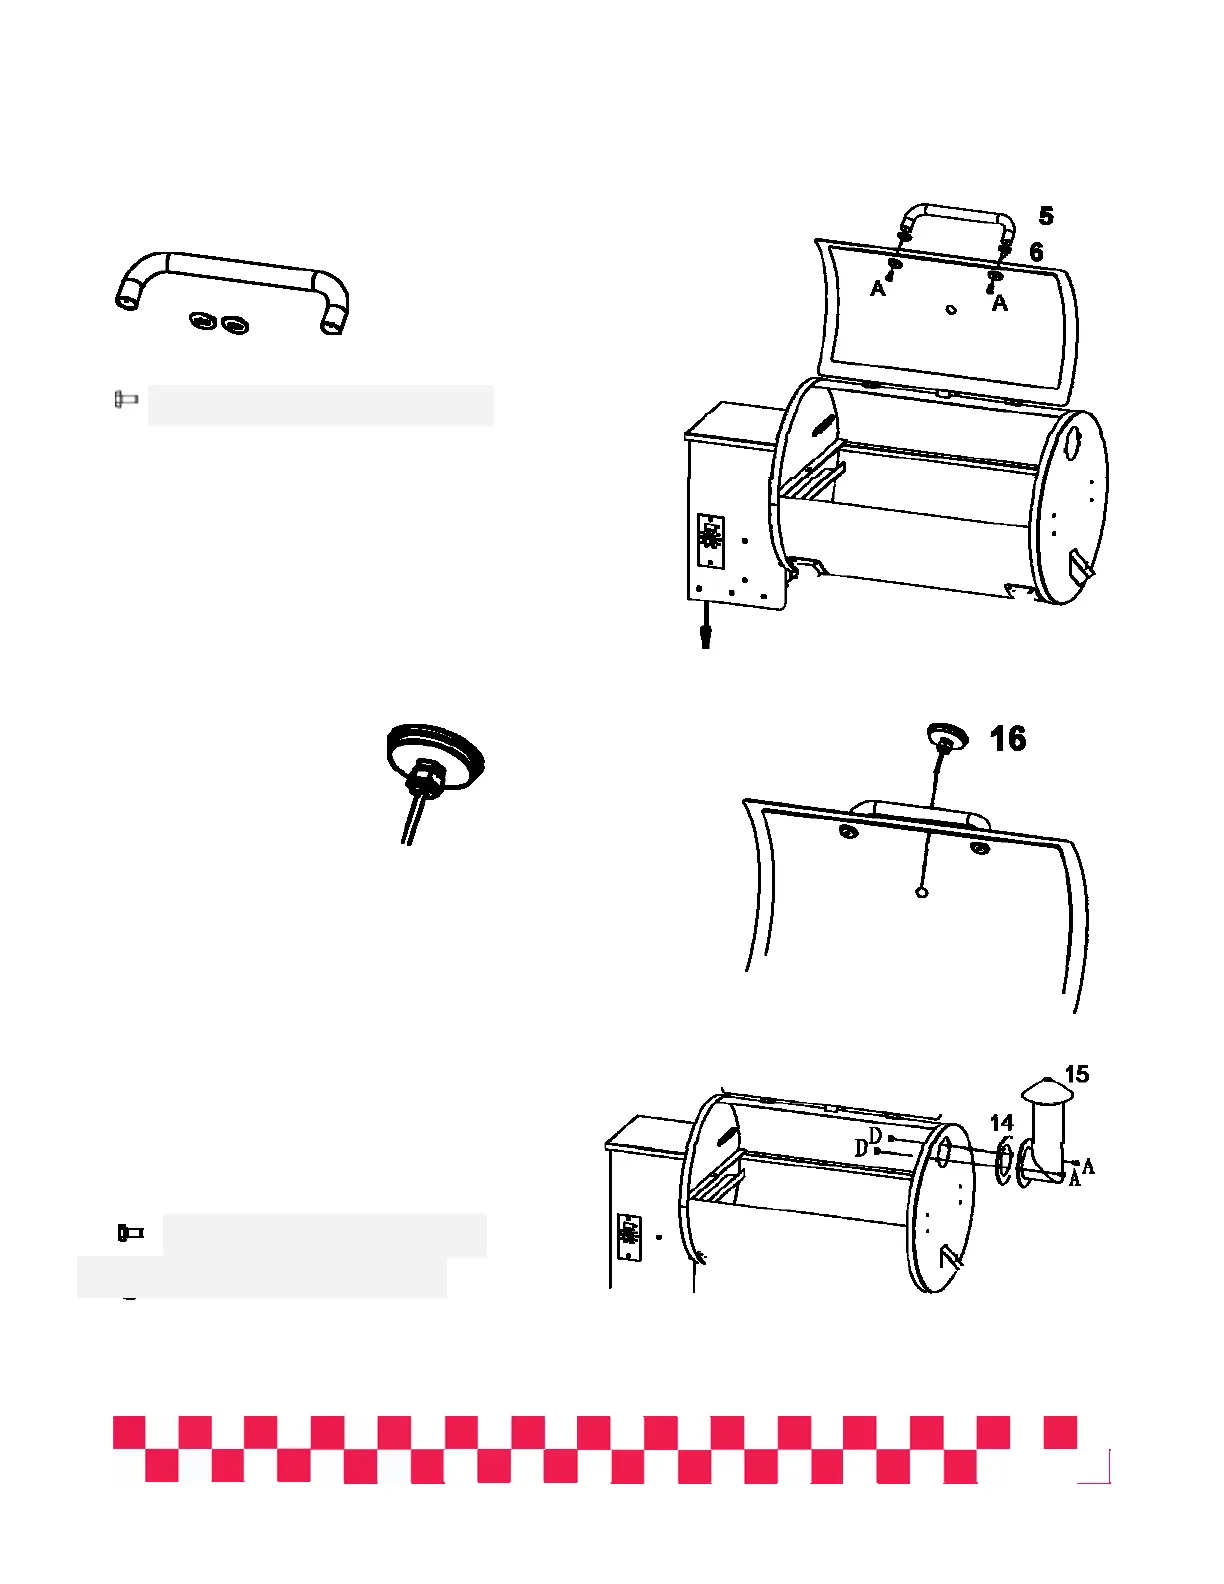
ASSEMBLING THE LID HANDLE
Hardware Required:
5 Lid Handle
6 Decorative
Washers x 2
( Bezels )
Insulation Cardboard
Installation Steps
Part Needed:
16 Dome Thermometer
ASSEMBLING THE DOME THERMOMETER
Parts Needed:
14 Smoke Stack
15 Smoke Stack Gasket
ATTACHING THE SMOKE STACK
Insert one screw (A) from inside the lid, through the hole
provided in the lid.
Place one Bezel (6) over the screw, then
line-up the
handl
e (5) with the threaded end of the screw.
Hand start the screw into the han
dle,
Rep
eat procedure for other end of handl
e.
Usi
ng your wrench securely tighten ALL screws
(A)
The thermom
eter comes complete with its own threaded nut
already installed on the thermometer.
Simply spin off the threaded nut, and insert the thermo
meter
through the hole provided in the top of the hood,
Then firmly hand tighten the nut back onto the thermometer.
Note: Take care not to turn the face of the thermometer. This
will result in incorrect readings.
Hardware Required:
Using the 2 screws (AA) insert them through the stack section, through the gasket, then finally through the
barrel end.
Hand start, then secure in
place using your Phillips Screwdriver.
NOTE: DO NOT lower the chimney cap tight to chimney stack. You must allow air to escape.
2
Screw 1/4”- 20* 3/5” x 2 (AA)
Screw 1/4”- 20* 3/5” x 2 (AA)
Installation Steps
Page 9