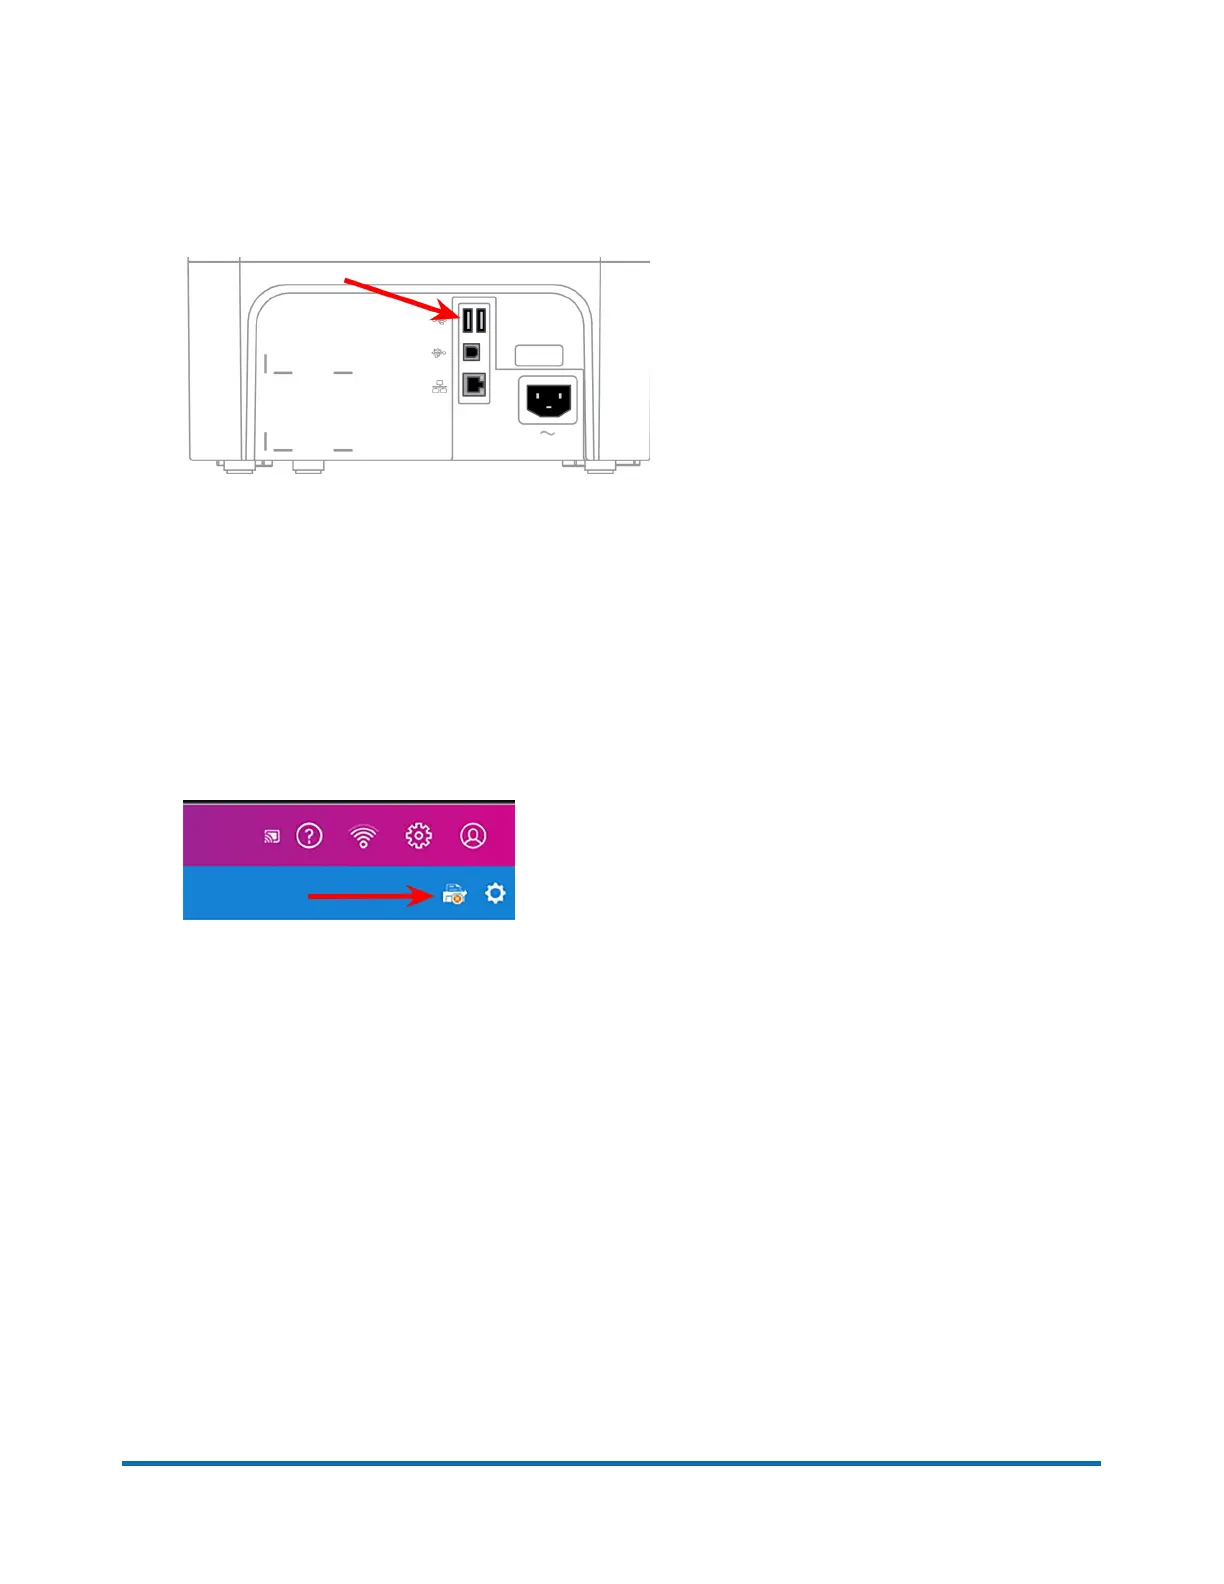
Direct Connection using USB cable
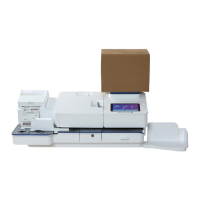
1. Connect the USB cable B connector (square end) of the USB provided cable to the back of the
printer.
2. Connect the USB A connector (rectangle side) of the USB cable to the back of the SendPro® C-
Series. The location of the USB A connector is shown here.
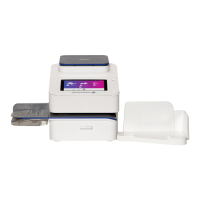
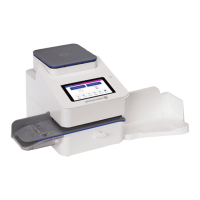
Set up the SendPro® C-Series meter
Print either an account report (using Envelope Printing) or a shipping label (using Trackable Labels):
1. Make sure Ready appears on the printer display. If not, make sure the printer is powered on and
press the OK button.
2. Tap the select device Icon on the SendPro® C-Series screen. It is on the right side of the blue bar
that runs across the top of the screen and looks like a printer with a red x in it.
3. Tap the “M332x 382x 402x Series - USB” selection. (Exact name may vary).
4. A green bar will display across the bottom of the screen with the word "Print" in the middle.
5. Tap Print on the green bar, a PDF will be sent to printer.
6. The document will print.
Pitney Bowes SendPro® C-Series Installation Instructions November,2017 Page 2 of 5
 Loading...