15
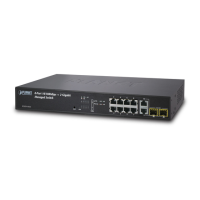
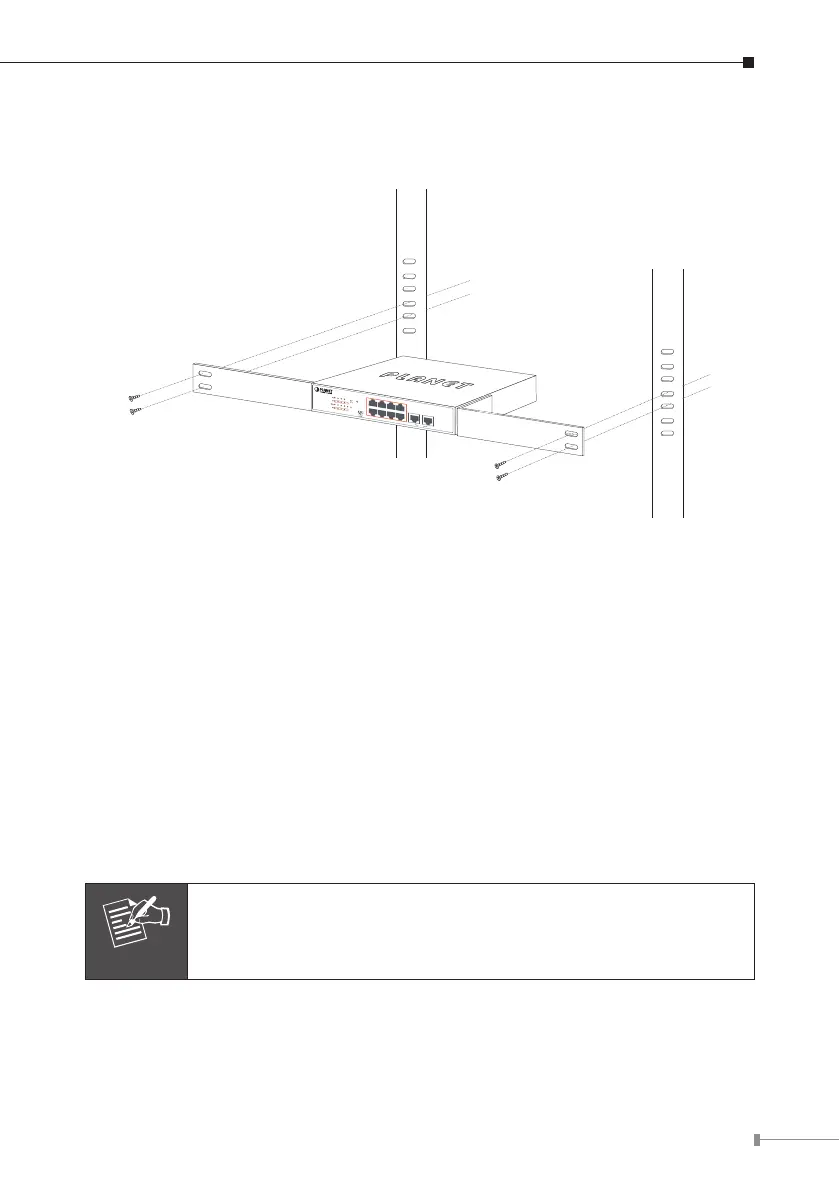
Step 5: After the brackets are attached to the FSD-1008HP, use suitable screws to
securely attach the brackets to the rack, as shown in Figure 3-3.
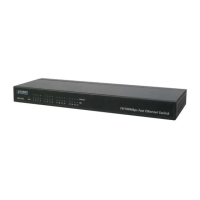
4 6 82
1 3 5 7 9
1
PWR
53 7
2 6
4 8
9 10
PoE
PoE
FSD-1008HP
8-Port 10/100TX 802.3at PoE +
2-Port 10/100TX Desktop Switch
PoE In-Use
ACTLNK
Standard
VLAN
Extend
10
Uplink
Figure 3-3: Mounting the FSD-1008HP in a Rack
Step 6: Proceed with Steps 4 and 5 of session 3.1 Desktop Installation to connect
the network cabling and supply power to your Switch.
3.3 Wall Mounting Installation
Step 1: Please nd the wall that can mount the FSD-1008HP.
Step 2: Install two screws on the wall.
Step 3: Hang the FSD-1008HP on the screws from the wall.
Step 4: Repeat step 5 of Desktop Installation for power supply to the FSD-
1008HP.
Note
Before mounting the device to the wall, please check the location
of the electrical outlet and the length of the Ethernet cable.
 Loading...