 Loading...
Do you have a question about the Planmeca ProMax and is the answer not in the manual?
| Category | Medical Equipment |
|---|---|
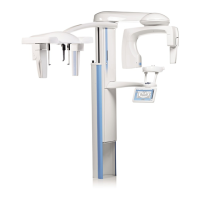
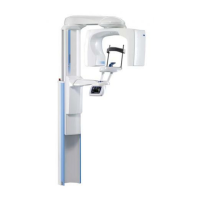
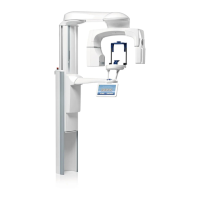
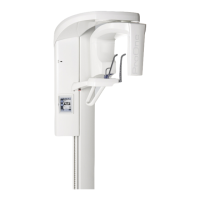
| Type | Cone Beam Computed Tomography (CBCT) System |
| Software | Planmeca Romexis |
| Imaging Modes | CBCT |
| Imaging Modalities | 2D Panoramic |
| X-ray Generator | High Frequency Generator |
| Focal Spot Size | 0.5 mm |
| X-ray Tube Voltage | 60-90 kV |
| Exposure Time | Varies depending on imaging mode and parameters |
| Dimensions | Varies significantly depending on model and configuration |
| Weight | Varies significantly depending on model and configuration |
| Power Requirements | 50/60 Hz |
| Patient Positioning | seated |
