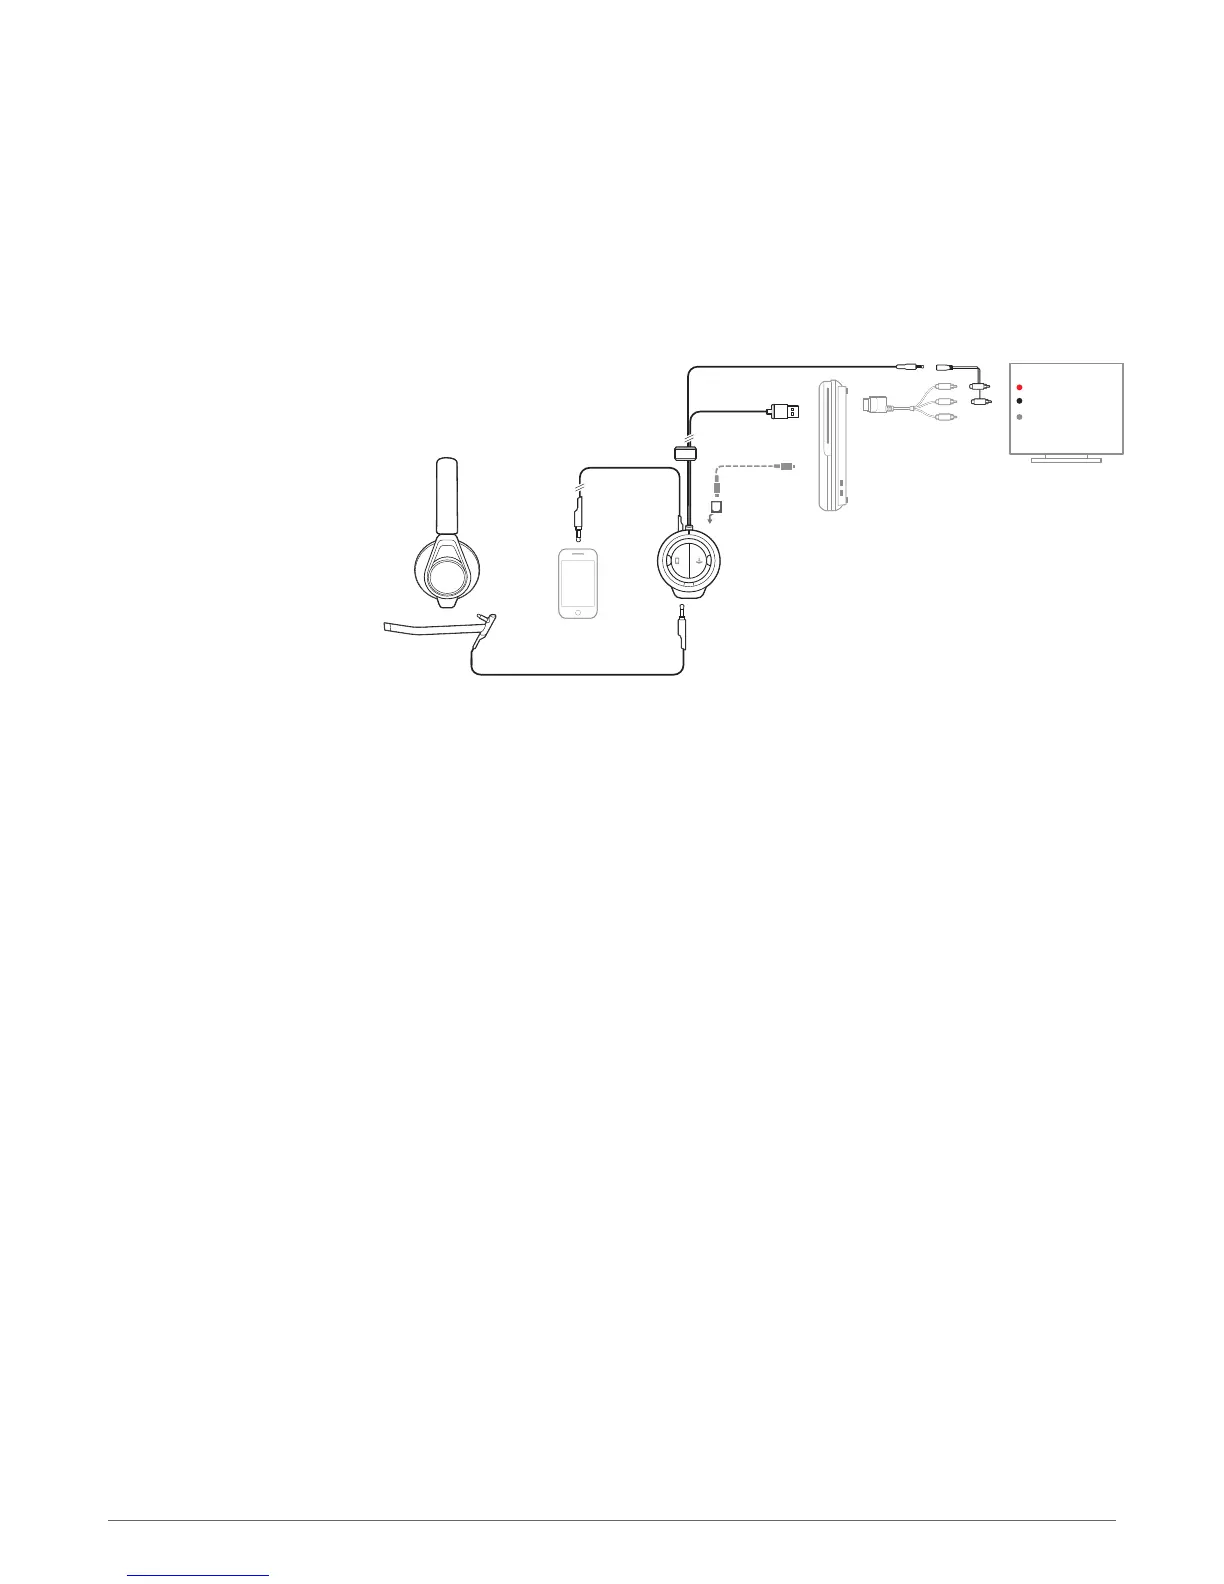
1
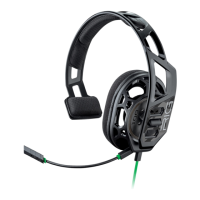
Make sure the boom microphone is attached properly to the headset. Insert the 3.5mm plug
into the headset jack on the front of the mixer located under the RIG logo tab, on the left side.
2
Connect the USB cable from the mixer into an available USB port on the PS3.
3
Attach the included 3.5 adapter/RCA piggyback to the end of the long 3.5 mm plug cable.
4
Attach the RCA piggyback in between the PS3 AV cable (included with all PS3 models) and the
primary audio source (TV, receiver, etc).
NOTE Alternatively, if your TV has RCA audio out or a 3.5mm headphone feature, connect the audio
cable to your TV. You may need to change the audio settings of your TV to pass audio through to an
external device and turn off the TV speaker.
5
Connect the USB cable from the mixer into a USB port on the PS3. For proper function, make
sure that the USB connector is plugged into the PS3 itself and not an external USB power
source.
6
Set the audio settings on the PS3. Go to: Settings > Accessory Settings > Audio Device Settings >
Input Device (select "Plantronics RIG") > OK
7
Find a good balance of game and voice audio by adjusting the Game/chat sound balancer on the
right side of the mixer (over the orange LEDs). Remember that the 3 o'clock position will enable
equal volume of both game and voice audio signal. Sliding the control upward makes game
sound louder and voice (game chat) quieter. Sliding the control downward increases voice (game
chat) while making game audio quieter.
PS3 component setup
14