Designed to connect and mix audio from your mobile device with a game
console or PC, the mixer shines when integrated with a mobile device. This
next section enables you to get the most out of everything RIG can do for
your game.
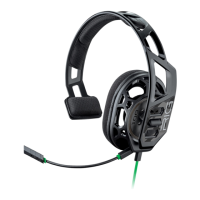
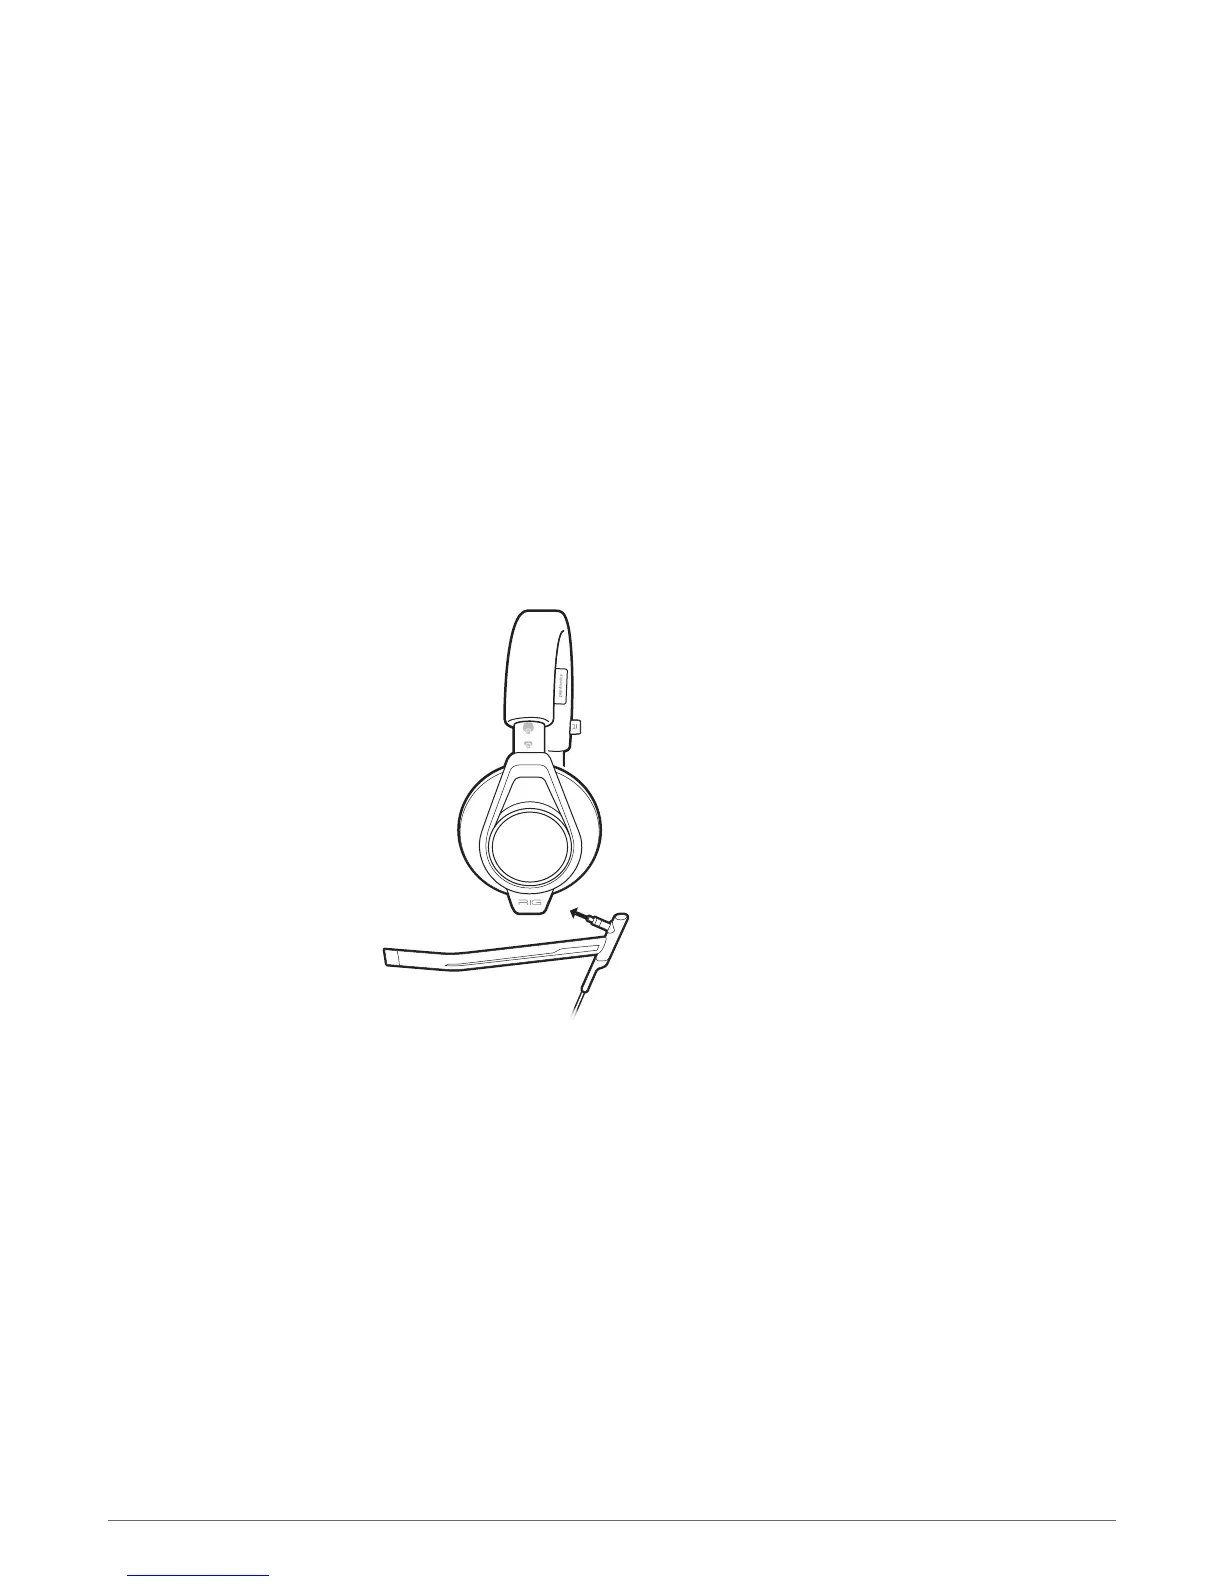
Installing a microphone and switching cables is fast and easy. Two microphones are included: a
boom microphone/cable for the best gaming audio experience and a low profile in-line
microphone/cable to use with mobile devices.
1
Insert the connector of the desired microphone cable into the port located on the bottom left
ear cup of the headset.
PRO TIP For proper performance, make sure that the microphone is fully seated in the left ear cup.
Press the microphone boom firmly into the port until you feel it lock into place.
2
If you are using the boom/microphone cable, adjust it so the boom microphone is near your
mouth for the best fidelity.
PRO TIP The Master mute button will also glow red when the headset jack is disconnected or
improperly connected to the mixer. Be certain that the headset jack is fully inserted into the mixer. As
the headset connects properly to the mixer, the red light on the master mute button will
automatically shut off.
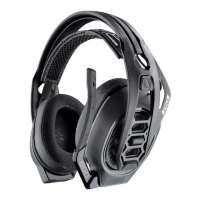
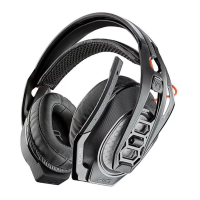
Headset basics
Installing a microphone
7