Page 18
SECTION III: Operation
1) Turn the power switch “OFF”, unplug the power cord and remove any ribbon pieces
and/or debris inside the XL2.
2) Remove empty ribbon spool by depressing the brake spool arm and then pulling the
spool straight away from the brake spindle. Slide the new ribbon spool onto the brake
spindle. Feed the ribbon from the top of the spool to under and around the roller
wheel on the brake assembly.
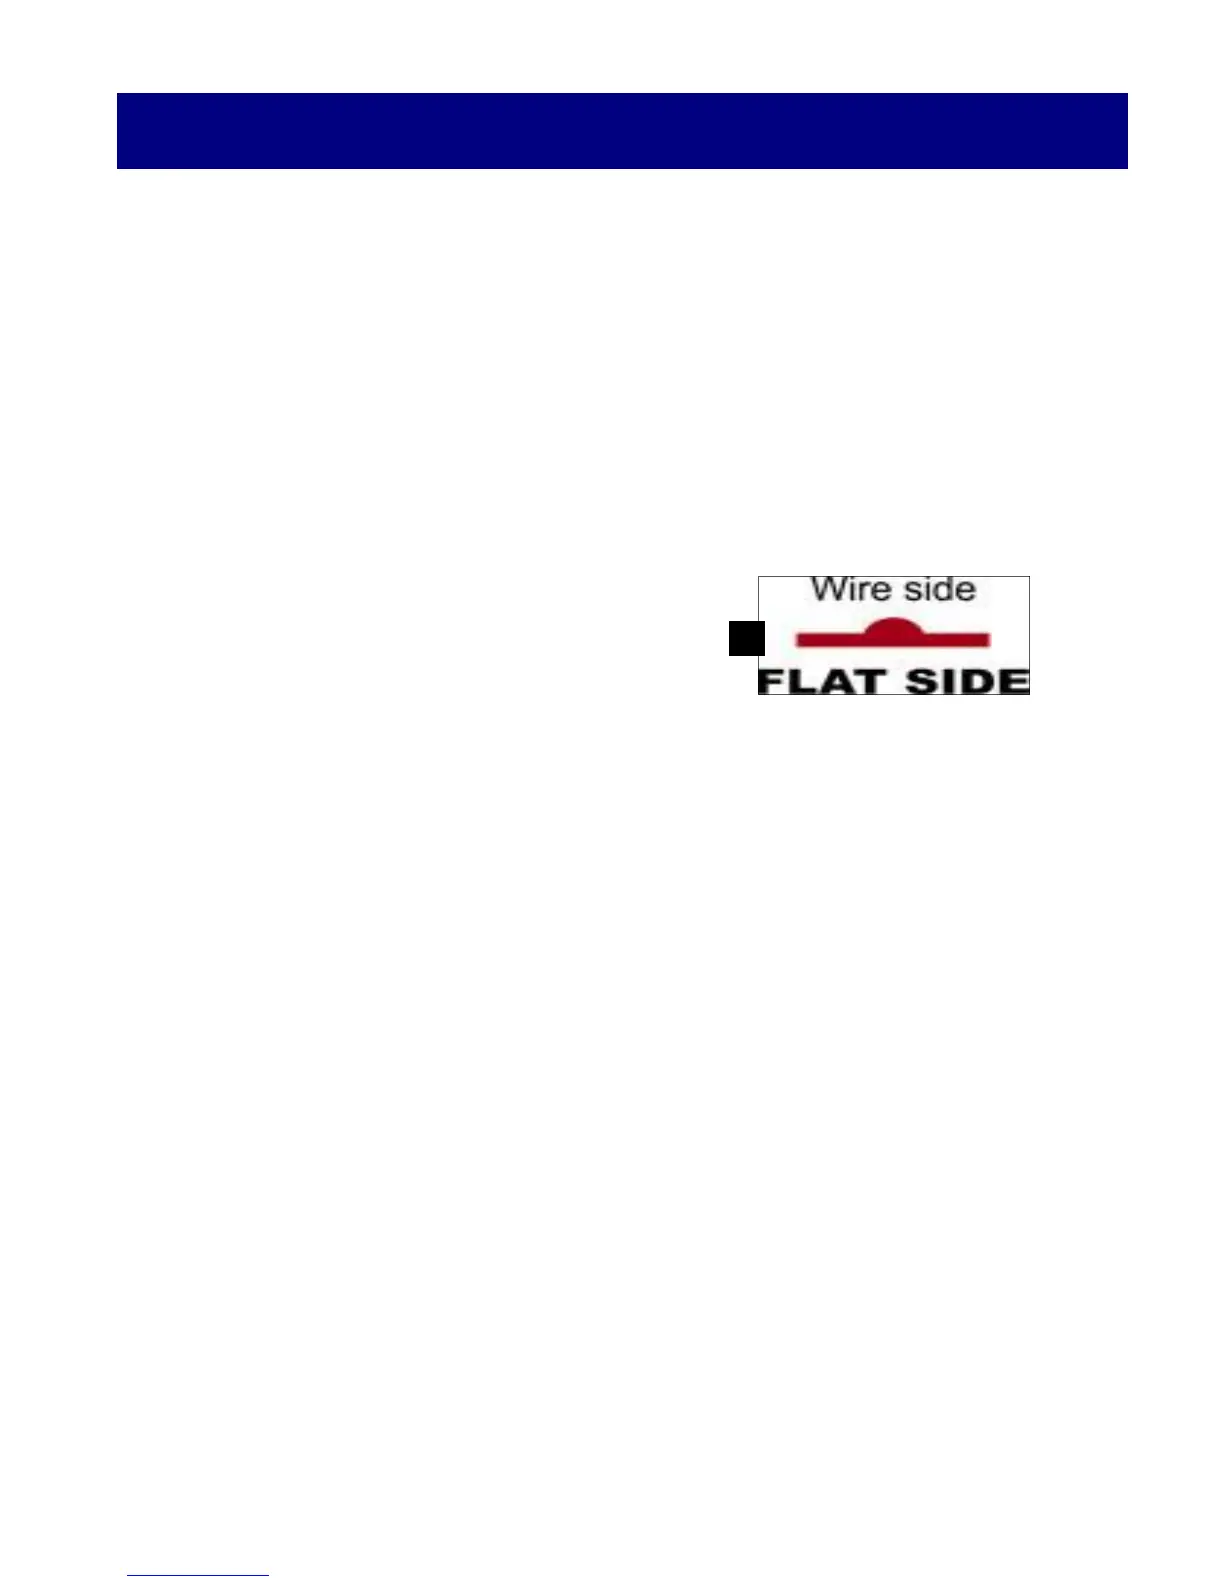
3) With the ribbon now directed toward the rear of the XL2, look at both sides of the
ribbon One side has “bump” (wire), the other is flat [A]. Pull 1 foot of ribbon off the
spool and feed into the rear of the XL2.
4) Turn the pressure release cam [B] to separate the
ribbon drive wheel and insert the ribbon through
the ribbon guide [C] ensuring that the “bump” (wire)
side is against wheel and into the cutter anvil guide
[D] but not protruding beyond the cutter space.
5) Release the pressure release cam to bring the idler wheel to the drive wheel, making
sure the ribbon is between the restraint flanges on the idler wheel.
IF THE MACHINE DOES NOT TIE PROPERLY AFTER THREADING, CHECK THE
PREVIOUS STEPS TO BE SURE IT HAS BEEN THREADED CORRECTLY. IF YOU
STILL INCUR PROBLEMS, REFER TO THE TYING ADJUSTMENTS INSTRUCTIONS
ON PAGES 22-23 AS WELL AS THE TROUBLESHOOTING SECTION ON PAGES 26-
27.
LOADING TWIST TIE MATERIAL
A
 Loading...