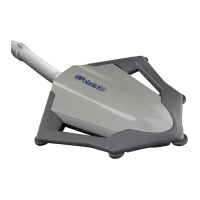
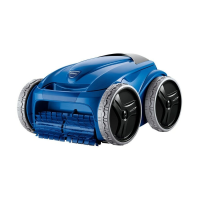
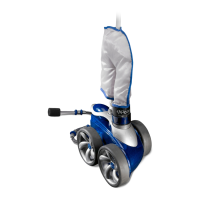
A. What to Expect from Your
Polaris 140
When operating correctly, the Polaris 140 travels
randomly throughout the pool. The climbing ability
of the Polaris 140 depends on the pool’s shape,
surface and water flow. It will climbs better in pools
without sharp angles or curves. The deflector ring
redirects the cleaner away from potential obsta-
cles such as steps or corners.
➜ The pump basket and pool filter should be
cleaned on a regular basis, so that the Polaris
140 can operate at its optimum efficiency.
B. Disconnecting the Polaris
1. Turn off the pump.
2. Disconnect the hose and any adapters used
from the skimmer or dedicated suction line.
If the cleaner is installed on a dedicated
suction line, mark the valve position and
turn off the water flow through the dedi-
cated suction line.
Please Note: When reinstalling the Polaris 140,
always fill the hose with water. See tip on page 7.
C. Turning On/Off the Polaris
The Polaris 140 operates on the suction-side of
the pool filtration system and can be turned
on/off by simply turning on/off the filtration pump.
The Polaris operates during the same time cycle
as the pool filtration pump.
D. Periodic Maintenance
1. Shoe (#17)
The white shoe (part #8-6007) is used for vinyl
liner, fiberglass and tile pools and the gray shoe
(part #8-6005) is used for all other installations.
The shoe provides traction, and protects both the
Polaris 140 and the bottom of the pool. It will
need to be replaced before the nubs (see the
“Assembling the Cleaner” diagram on page 8)
on the bottom are worn flat. Note: The shoe is
a wear item and is not covered under warranty.
2. Surface Disk (#16)
The surface disk (part #8-6010) provides the
cleaner with the ability to remove debris and climb
walls. Replace the disk when the outer edge
becomes thin or shows signs of uneven wear.
Note: The surface disk is a wear item and is not
covered under warranty.
3. Housing Guards (#6)
The housing guards (part #8-2058) protect
both the Polaris 140 and the pool surface.
Replace the housing guards before the
housing beneath is visible.
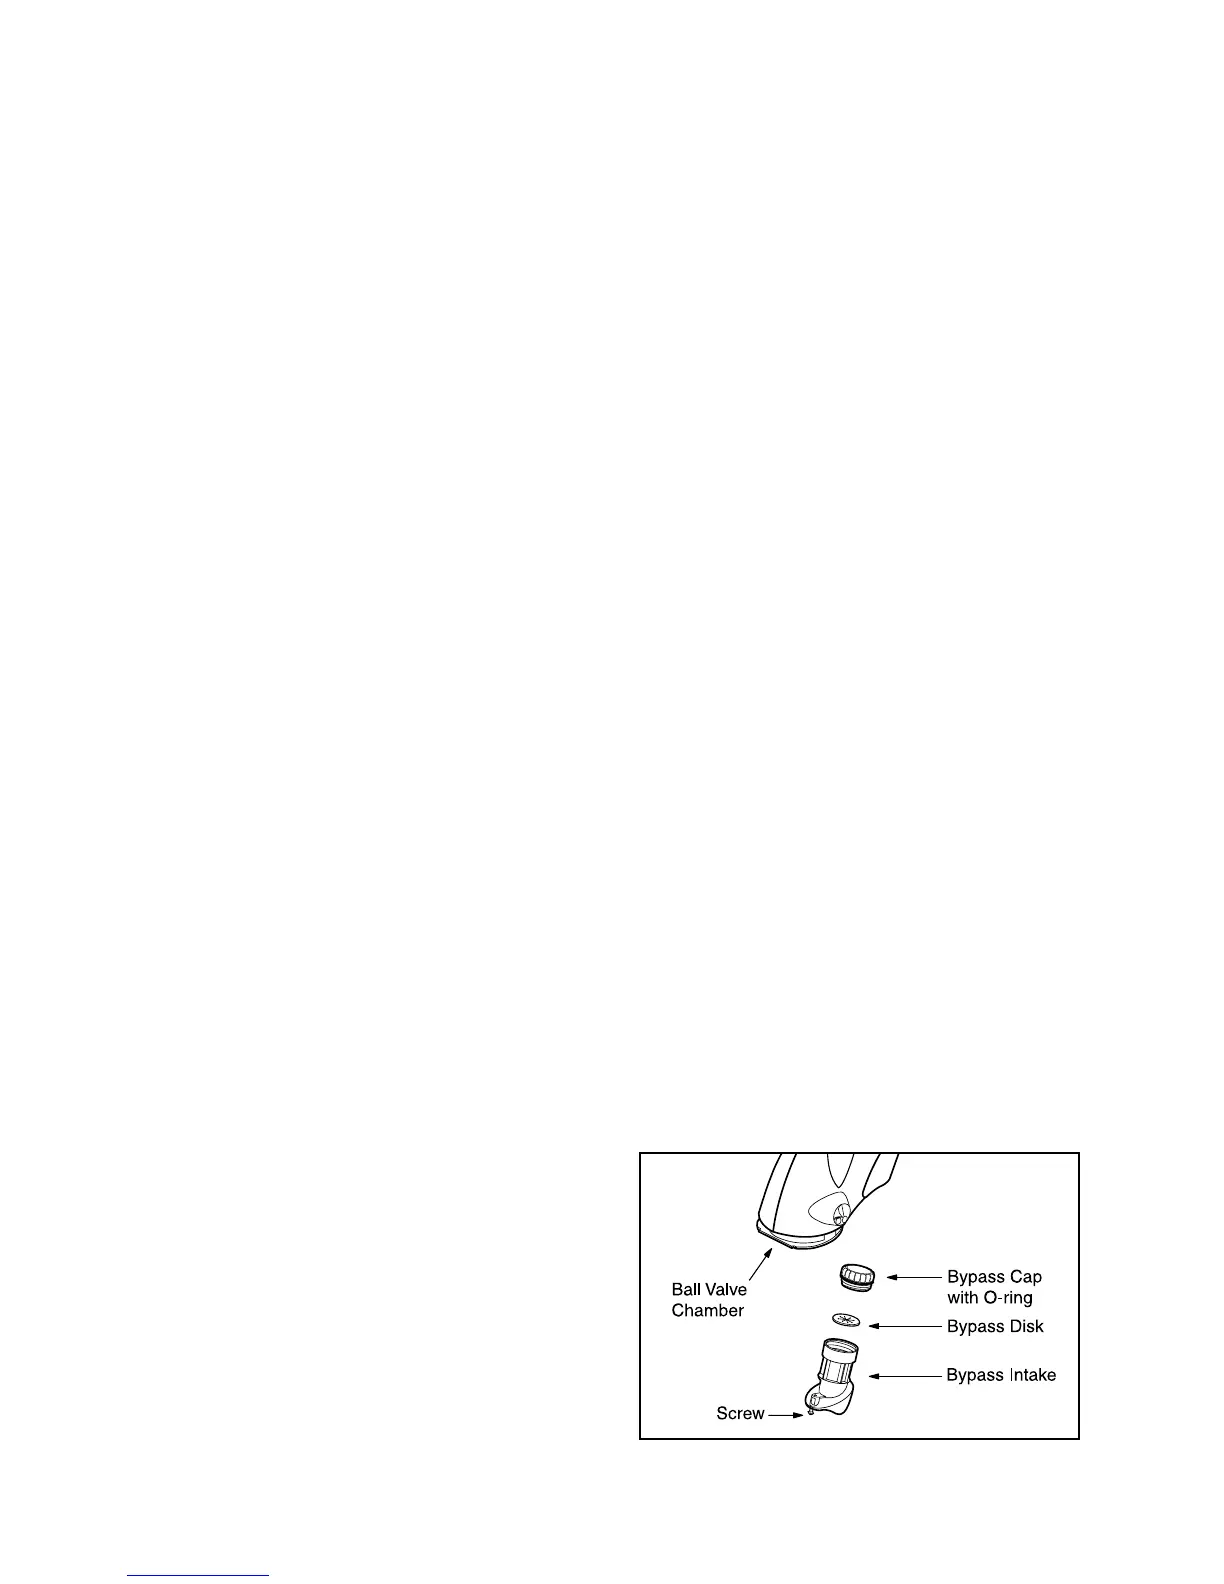
4. Bypass Disk (#13)
The bypass disk (part #8-4605) regulates the
water flow and allows for collection of larger
debris. Periodically check the bypass disk for
wear and clear it of any debris.
a. Pull the surface disk back and loosen the
screw from the bottom of the bypass
intake. Pull out the bypass intake
assembly from the cleaner.
b. Unscrew the bypass cap and remove the
bypass disk.
c. Visually inspect the bypass disk and the
bypass O-ring for any damage.
d. Remove any debris that has been lodged in
the bypass intake, and reassemble.
Replace the disk when the interior flaps have lost
enough of their original shape to change the per-
formance of the cleaner.
5. Ball Valve Seat (#11)
The ball valve seat (part #8-5010) serves as a
seal against the ball valve during cleaner opera-
tion. Replace the ball valve seat if it is torn,
cracked, or heavily worn.
10
III. Operation and Maintenance
 Loading...