7
3. Hold the flow indicator underwater and turn
on the pump.
4. The target area on the flow indicator repre-
sents the correct water flow range for the
Polaris 140. While holding the flow indicator
underwater, verify that the indicator is within
the target area.
a. If the indicator is in the correct range:
Skip to Section J on page 8.
b. If the indicator is within the area
marked “too little flow”:
•
Verify the pool filter and pump basket
are clean.
b. For pools less than five feet deep:
Only one hose weight (#23) is necessary.
Remove the extra weight from the end of
the hose. Position the remaining weight
approximately four feet from the free end
of the hose.
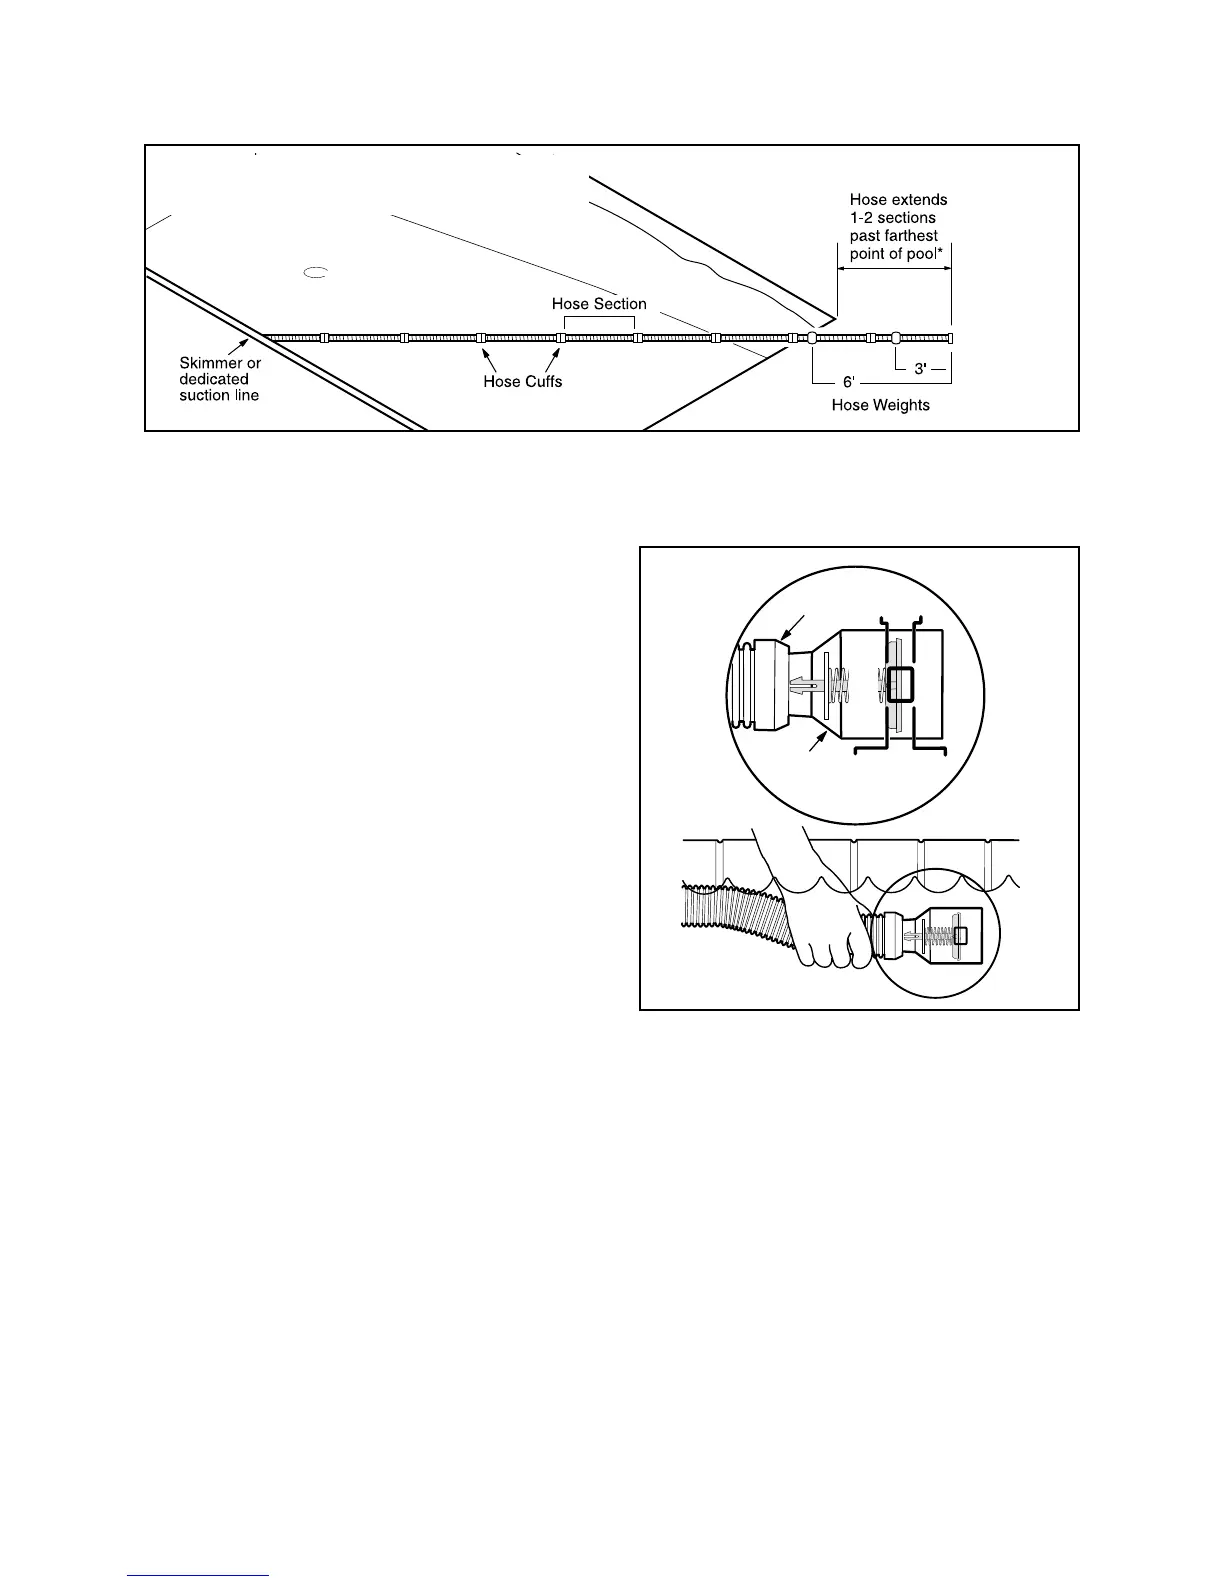
3. When the hose has been properly sized, it
should look like the one above.
4. Detach the hose and flow regulator (#19), if
used. Fill the hose completely with water,
then reattach the flow regulator and hose.
➜ To fill the hose, turn on the pool pump. Hold
the opening of the hose in front of the return
line until water exits the other end of the
hose. Turn off the pool pump. NOTE: It is
important that the hose remains below the
surface of the water after it is filled to prevent
air from entering the hose. If this is not pos-
sible during connection, leave the weighted
end of the hose in the water and place your
hand over the male hose cuff while moving
the hose.
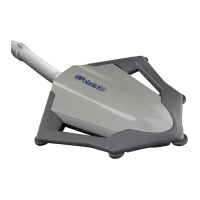
I. Adjusting the Water Flow
For proper operation, the Polaris 140 must
receive the correct amount of water flow.
Checking the pool’s available water flow with the
flow indicator (#24) will determine if there is
enough flow, or if an initial adjustment is required.
1. Fill the hose completely with water (see
tip above).
2. Connect the flow indicator (#24) to the free
end of the hose.
 Loading...