8.19
FINAL DRIVE
20. Install rear carrier shaft assembly. Make sure bolts are not
cross threaded and hand tighten.
21. Tip machine back onto floor and tighten all suspension
bolts to specification.
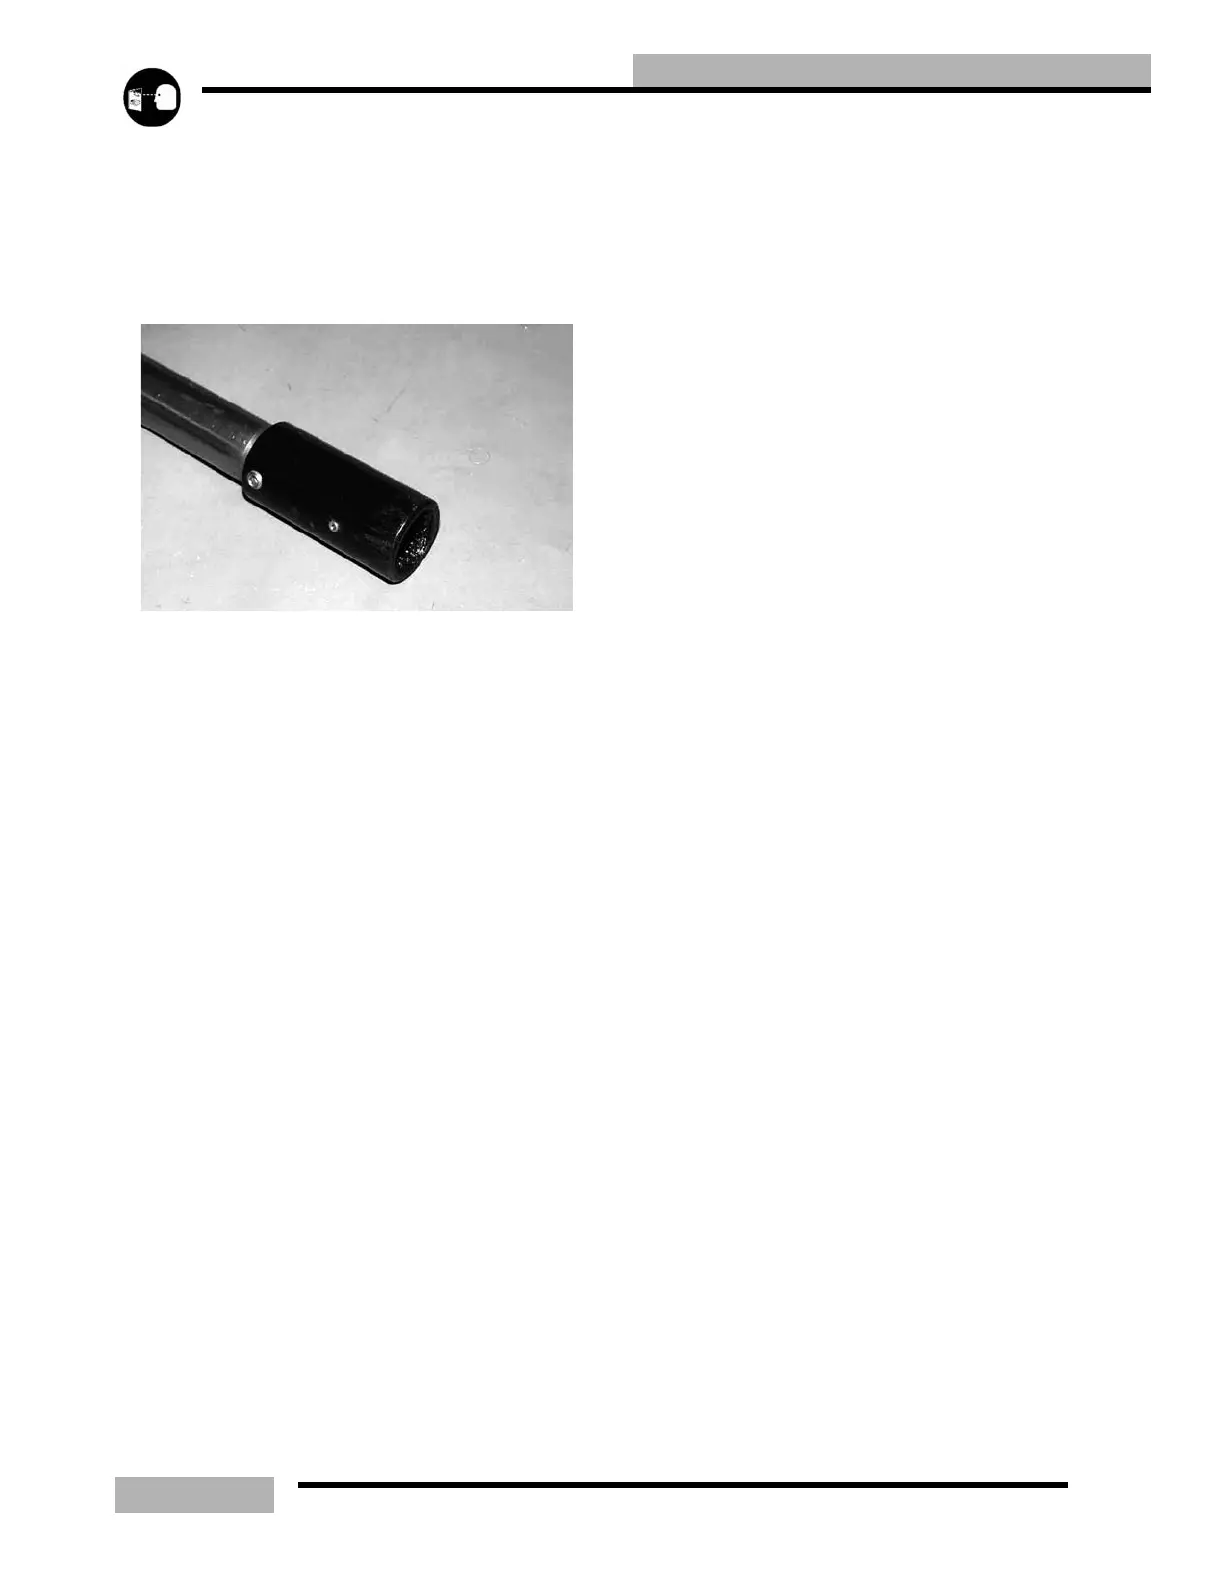
22. If jackshaft was removed from unit, grease coupler spline
with Polaris Premium All Season Grease and install on
transmission.
23. Reattach transmission shift linkage and brake light
connector. Check transmission fluid level and fill if
necessary
24. Attach brake cable to transmission mounting with bolt, nut
and spacer.
25. Install bumper onto footrest bolt and tighten.
26. Reinstall bumper plug.
27. Reinstall and secure muffler.
28. Install battery, air box, oil tank, and coolant recovery
bottle.
29. Loosen rear idler bolts.
30. Reinstall driven clutch and spacers onto jackshaft and
tighten.
31. Reinstall clutch offset washers on jackshaft and install
driven clutch. Using the clutch alignment tool adjust
driven clutch to achieve proper offset.
32. WideTrak models have no float on driven clutches. Use
shim washers (PN 7555734) to create gap between shaft
and cover washer only.
33. Torque driven clutch retaining bolt to specification.
34. Lift and support rear of unit and align track to
specifications found in the Maintenance section. Make
sure rear idler wheel spacer location is correct before
tightening idler wheels.
 Loading...