13.11
ELECTRICAL
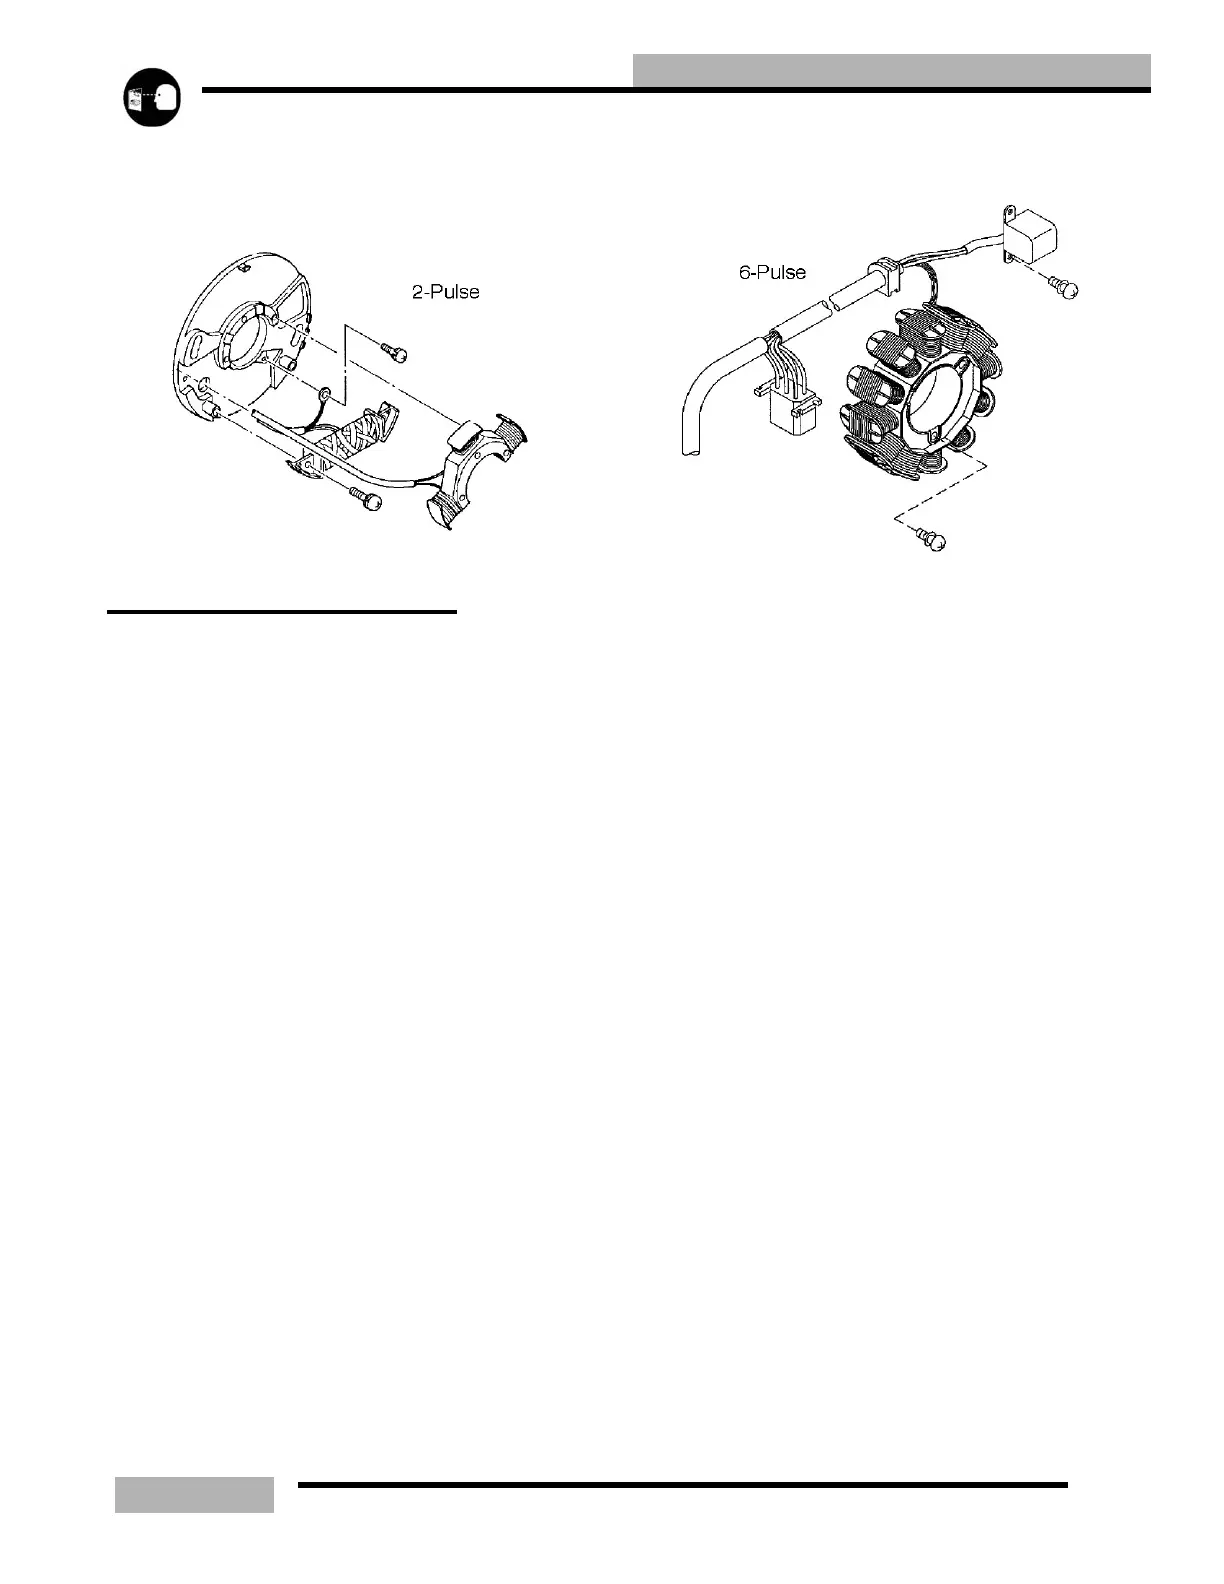
340, 550, 600 Classics = 6 pulse
ELECTRICAL TESTING
HEADLIGHT BULB FILIMENT CONTINUITY
TEST
1. Turn the Multitester dial to the ohms () position.
2. Disconnect the wire harness from the headlight bulb.
3. Viewing the back of the bulb with the terminal blades at
the 9, 12 and 3 o'clock position, connect the black
multitester lead to the 9 o'clock blade.
4. Touch the red tester lead to the 12 o'clock terminal and
then to the 3 o'clock terminal, noting the resistance value
of each. A reading of between 2 and 5 ohms is good. An
open reading indicates a bad element.
HI / LOW BEAM SWITCH TESTING
1. Set the multitester dial to the ohms (Ω) position.
2. If the Hi/Lo switch has not been removed from the
machine, disconnect the switch to harness plug-in
connector.
3. With the Hi/Lo switch in the Lo beam position, check the
resistance between the yellow and the green switch wires.
The reading should be less than.4 ohms.
4. Turn the Hi/Lo switch to the Hi beam position and the
multitester should indicate an open circuit (OL) reading.
5. Move one of the tester leads from the green to the red
switch wire. The multitester should now read less than.4
ohms.
6. Turn the Hi/Lo Switch back to the Lo beam position and
the meter should again read an open circuit (OL).
SEAT HARNESS TROUBLESHOOTING
1. Remove the taillight lens.
2. Remove the two taillight bulbs and the brake light bulb.
3. Separate the seat harness from the main harness by
unplugging the connector at the right rear of the tank.
4. With the multitester dial set on ohms (
Ω) connect either
meter test lead to the brown seat harness wire.
5. Touch the other tester lead to first the yellow wire and then
the orange wire. Observe the readings. Readings other than
an open circuit (O.L.) indicate a shorted harness or bulb
socket.
NOTE: The bulb socket tangs sometimes short to
ground with the bulb removed.
6. Check between the yellow and orange wires in the same
manner to check for a short between the brake and running
lights. If damaged wiring is found, remove the seat.
7. Tip the seat over and remove the right side seat cover
staples. Locate and repair the harness problem.
8. Reinstall the staples and re-check the seat harness.
IGNITION SWITCH TESTING (NON-
ELECTRIC START)
1. Set the multitester dial to the ohms (Ω) position. Connect
one of the tester leads to either of the switch terminals and
the other tester lead to the other switch terminal.
2. With the switch off, the reading should be less than .4
ohms. With the switch on, the reading must be an open
circuit (OL).
3. Check the resistance between each of the switch terminals
and the switch body. With the switch still in the on
position, there must be an open circuit (OL) reading.
Readings other than those listed indicate a defective
switch.
 Loading...