ENGLISH
7
Fig. M
26
1
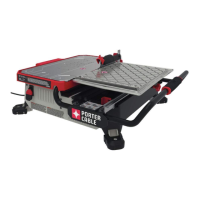
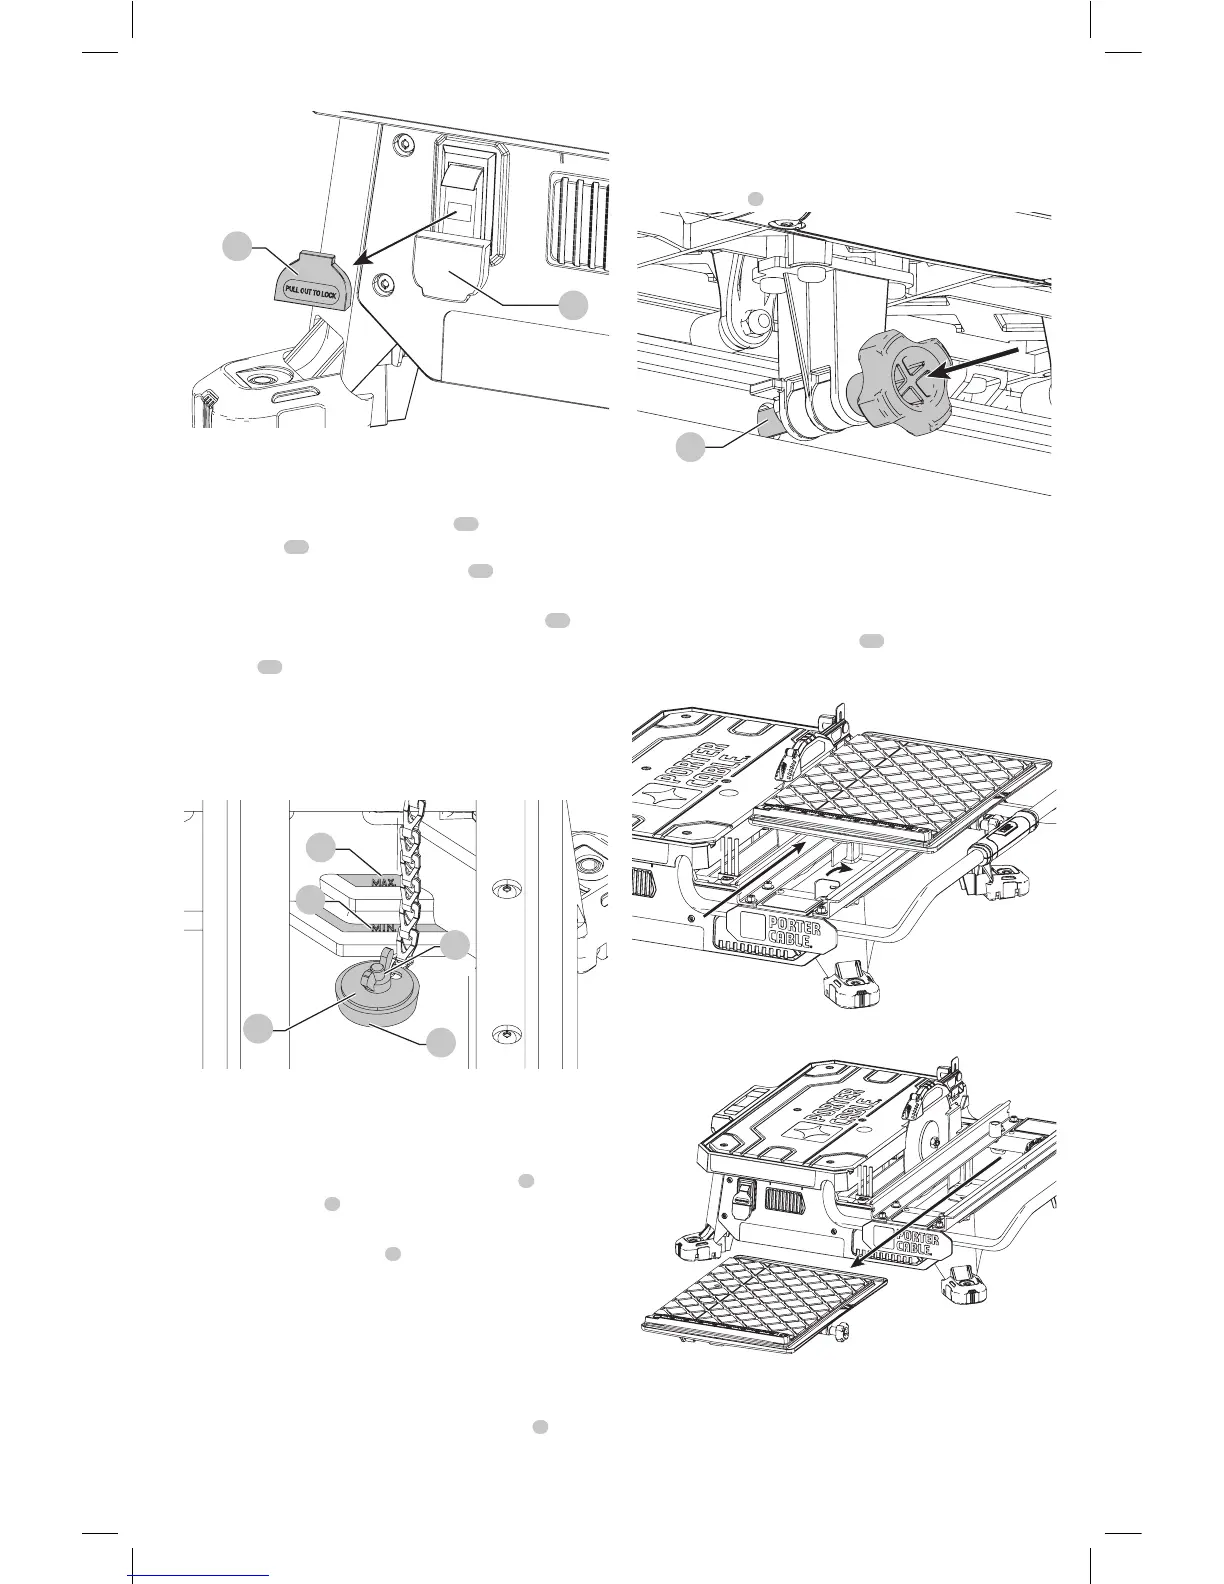
Filling and Draining the Water Reservoir
(Fig. N)
1. Plug the water reservoir drain hole
21
with the
drain plug
22
. Secure the drain plug into position
by tightening the attached wing nut
23
as shown in
FigureN.
2. Slowly fill the water reservoir to the MIN fill line
24
, to
prevent accidental overfilling. Do not fill above the MAX
fill line
25
. (Fig. N)
3. To drain the reservoir, p
lace a 5 gallon (19 liter) bucket
under the drainplug.
4. Remove the drain plug by loosening the attached wing
nut and allow the water to empty into thebucket.
22
23
21
Fig. N
25
24
Making a Cut (Fig. A)
Verify the proper alignment of the cutting cart and blade
before turning the saw on.
Secure tile against the cart fence, or edge guide
7
with
the edge guide lock
8
. Always keep hands away from
theblade.
1. Pull up the on/off switch
1
to turn the saw on. Wait
until the stream of water completely covers theblade.
NOTE: Cutting tile without water will damage the
cuttingwheel.
2. Ease the cutting cart toward the blade then slowly feed
the tile into the blade. Continue pushing until the blade
cuts completely through thetile.
3. Turn the saw off by pushing the on/off switch
1
down.
4. After the blade stops, remove the tile and remnant from
the cuttingcart.
Locking the Cutting Cart (Fig. O)
There is one locking position for thecart.
Move the cart to the lock position and lock the cart by
pushing the pin
3
into a hole in therail.
Fig. O
3
Removal and Installation of the Cutting
Cart (Fig. A, P, Q)
To Remove the Cutting Cart
1. Unlock the cutting cart stop
10
.
2. Slide the cutting cart off thetool.
Fig. P
Fig. Q