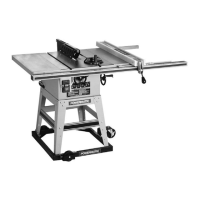
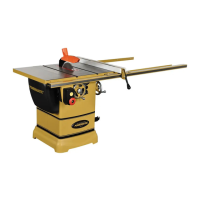
Model 72 -
12"/14"
Tilting Arbor Saw
OPERATING INSTRUCTIONS
PROPER OPERATING PROCEDURES
cont'd
RESAWING:
1. Resawing
is
a ripping operation in which
thick
boards are
cut
into
thinner ones. Nar-
row boards
up
to
3"
can be resawed in one
pass. Wider boards
up
to
6"
must
be resaw-
ed in
two
passes.
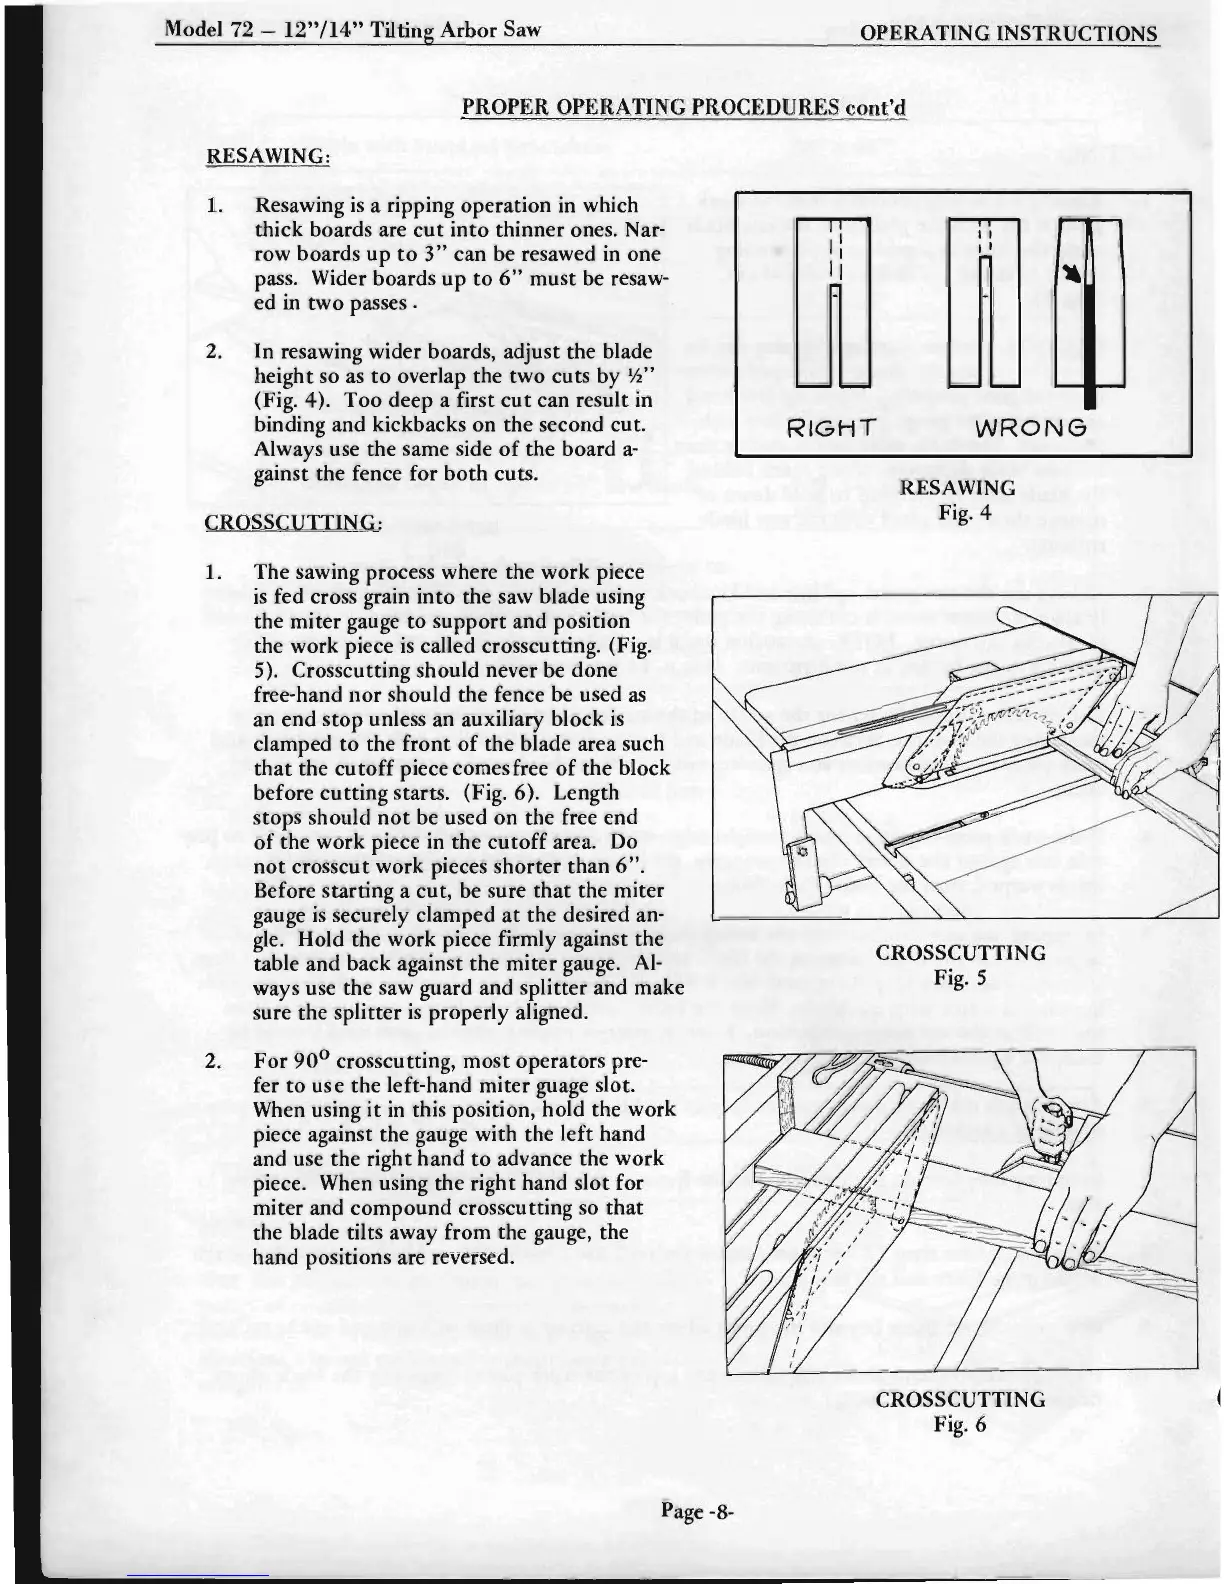
2.
In resawing wider boards, adjust the blade
height so
as
to
overlap the two cuts
by
W'
(Fig. 4). Too deep a first
cut
can result in
binding and kickbacks on the second cut.
Always use the same side
of
the board
a-
gainst the fence for
both
cuts.
CROSSCUTTING:
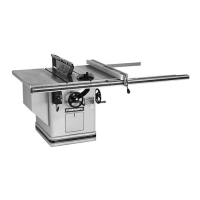
1. The sawing process where the work piece
is
fed cross grain
into
the saw blade using
the miter gauge
to
support
and position
the work piece
is
called crosscutting. (Fig.
5). Crosscutting should never be done
free-hand
nor
should the fence be used
as
an end stop unless an auxiliary block
is
clamped
to
the
front
of
the blade area such
that
the
cutoff
piece comes free
of
the block
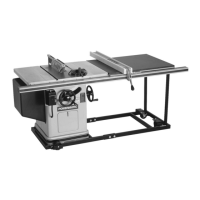
before cuttilJg starts. (Fig. 6). Length
stops should
not
be used on the free
end
of
the work piece in the
cutoff
area. Do
not
crosscut work pieces shorter
than
6".
Before starting a cut, be sure
that
the miter
gauge
is
securely clamped
at
the desired an-
gle. Hold the work piece firmly against the
table and back against the miter gauge.
Al-
ways use the saw guard and splitter and make
sure the splitter
is
properly aligned.
2.
For
90
0
crosscutting,
most
operators pre-
fer
to
use
the left-hand miter guage slot.
When using
it
in this position, hold the work
piece against the gauge with the
left
hand
and use the right hand
to
advance the work
piece. When using the right hand slot for
miter and
compound
crosscutting so
that
the blade tilts away from the gauge, the
hand positions are reversed.
Page
-8-
II
II
II
II
II
•
-
-
i.-
~
-~
RIGHT
WRONG
RESAWING
Fig. 4
CROSSCUTTING
Fig. 5
CROSSCUTTING
Fig. 6