PQube 3 Installation Manual
Manual#: 851-000135
Version 3.4 – 08/11/2022 Page 43 of 47
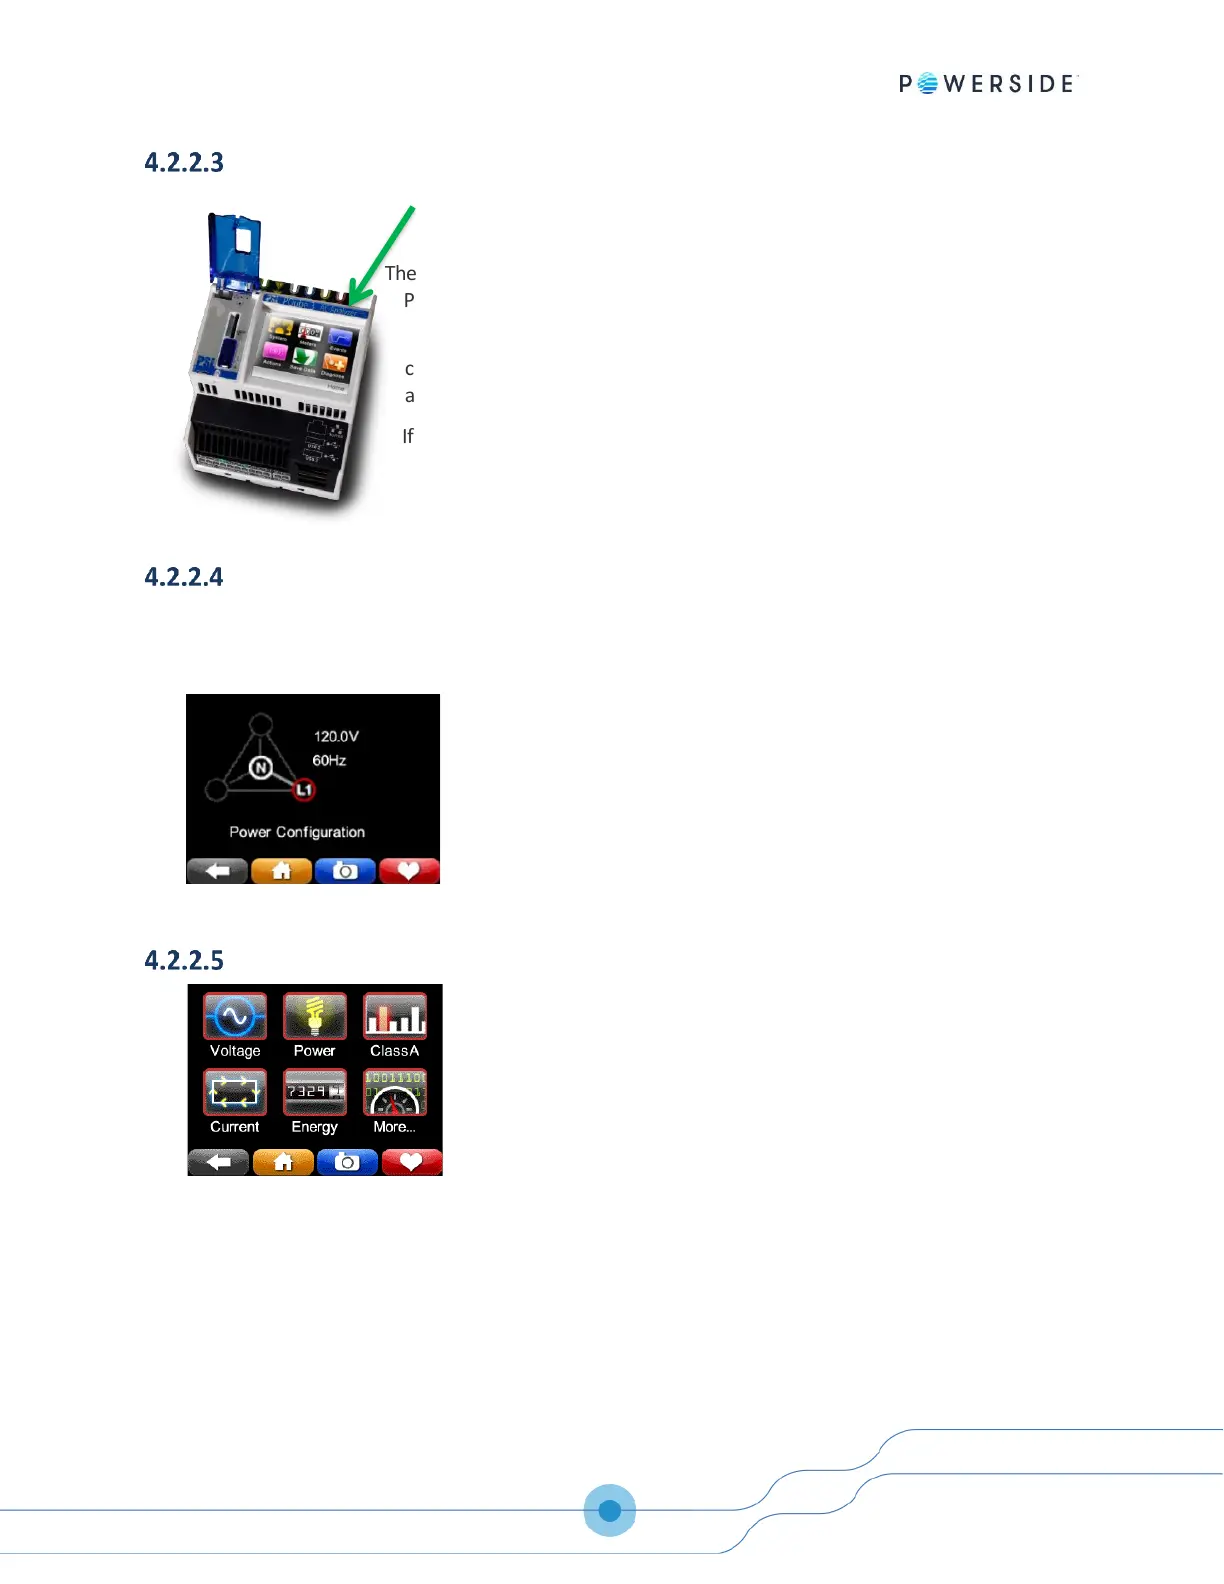
Verify the PQube 3 blinks in Green
The first step of the verification is to make sure that the main LED of the
PQube 3 blinks in GREEN.
Your PQube 3 will not begin recording until it has locked onto the power
configuration. The minimum lock-on voltage is 30 Vac applied between L1
and N, or between L1 and L2.
If not blinking green, go to the troubleshooting chapter.
Check Power Configuration
From the main menu on the touchscreen display, go to System, Config, Power Config. Verify that the
power configuration, nominal voltage, and nominal frequency look correct. This is important for
proper event detection and data recording.
Verify meter readings
From the display, press the Meters button and check that everything
looks correct. If you entered PT and CT ratios into your setup file,
verify that your voltage and current values look appropriate. Also
make sure that your values for power (watts) and power factor look
appropriate. If you have inverted your CTs or installed the CTs on the
wrong phases, your power readings will be inaccurate.
 Loading...