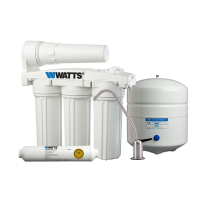
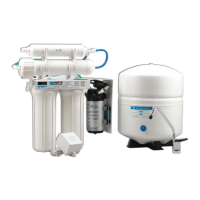
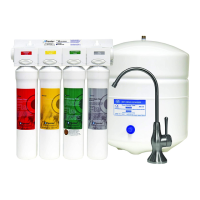
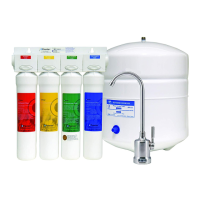
Page 7
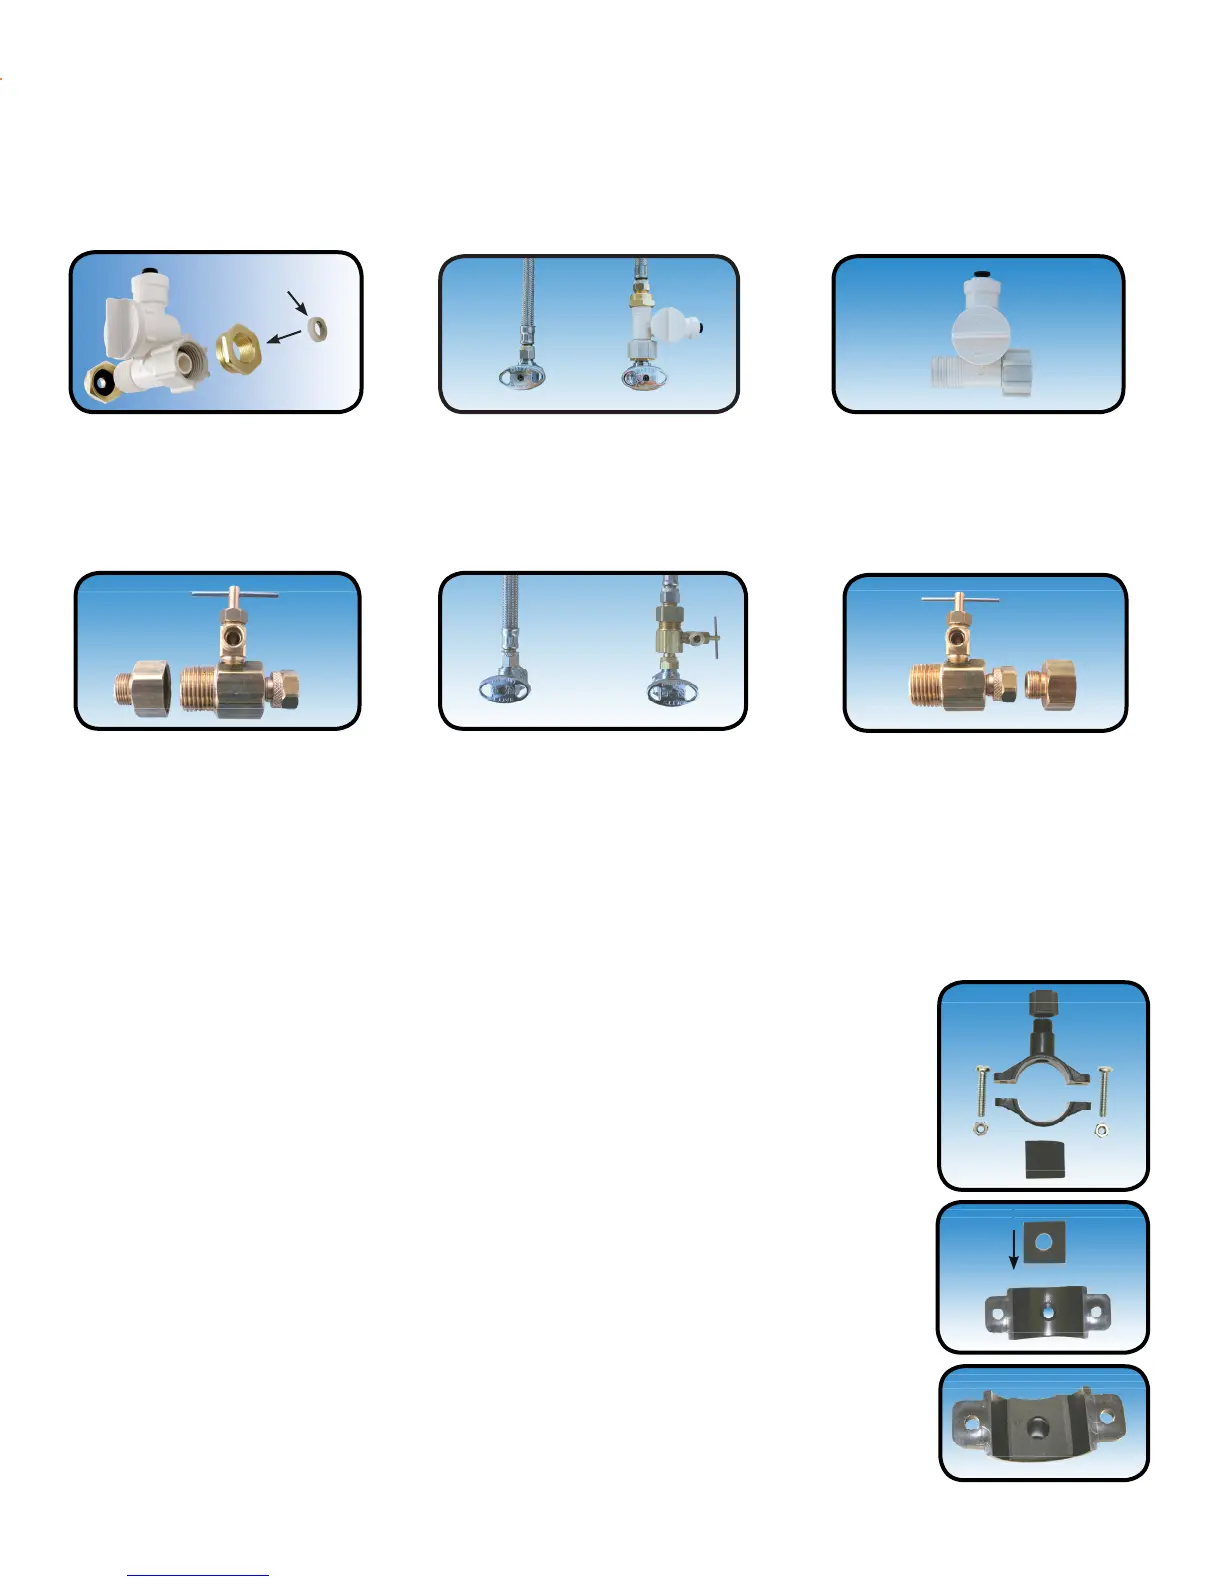
Adapt-a-Valve Installation
Turn off the cold water supply to the faucet by turning the angle stop valve completely off.
Step 6
Step 7
Attach the adapt-a-valve as illustrated in the three photos above, choosing the conguration
that ts your plumbing.
Drain Saddle ts standard 1 ¼” – 1 ½” drain pipes
Drain Saddle Installation - Part# 164016
Step 8
Step 9
The small square black foam gasket with a circle cut out of the middle
must be applied to the inside of the drain saddle. Remove sticky tape
backing and stick to the drain saddle as shown.
1 Black compression nut 1 Semicircle bracket with opening
2 Screws 1 Foam gasket
2 Nuts for screws 1 Semicircle bracket
Gather the pieces of the drain saddle:
If you have a garbage disposal, do not install the drain saddle near it.
Installation of the drain saddle must be either above the garbage disposal, or
if a second sink drain is available, install it above the cross bar on the second
drain. Installation of the drain saddle near a garbage disposal may cause
the drain line to plug. If no other installation of drain line is available, Watts
Premier offers drain line installation kit (part number 164020) that can be used
with garbage disposals.
Caution:
Conguration for 3/8”
(With Brass Fittings)
* Insert White Washer
Hot
Supply
Cold
Supply
Conguration for 1/2”
(Without Brass Fittings)
Plastic Valve Conguration:
Conguration for 3/8”
compression ttings
Conguration for 1/2”
compression ttings
Hot
Supply
Cold
Supply
Brass Valve Conguration:
Caution:
Water supply line to the system must be from the cold water supply line only.
Hot water will severely damage your system.
* Washer