Page 8
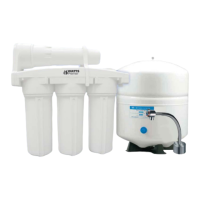
Drill Hole and Connect 3/8” Black Tube from Faucet to the Drain
Measure the 3/8” black tube from faucet to the drain saddle on the
drain pipe and make a straight cut to the correct length.
Slip black tube through black compression nut. Insert black tube
into the opening in the drain saddle and hand tighten the black nut,
and add 1/4 turn with a wrench.
The black 3/8” drain tube must be as SHORT and STRAIGHT as possible to the drain
saddle, making a downward slope from faucet to drain saddle to allow for proper
drainage. This is a gravity fed line and if there is any bend or dip in the tube, the rinse
water will not ow into the drain properly. Water may back up and come out the air
gap hole in the back of the faucet.
Step 13
IMPORTANT:
Step 12
Step 15
Green Tube Connection
Step 14
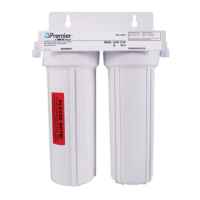
Locate green tube attached to the RO Module. Remove a brass nut,
plastic sleeve and brass insert from the parts bag. To assemble,
place the brass nut on the green tube rst, then the sleeve (small
tapered end of sleeve must point to the end of tube) and then push
the brass insert all the way into the end of the tube. (See Picture)
Insert the green tube into the ¼” opening on the adapt-a-valve until
it stops. Slide the brass nut and sleeve down and thread onto the
male pipe threads. Use a ½” wrench to securely tighten the nut.
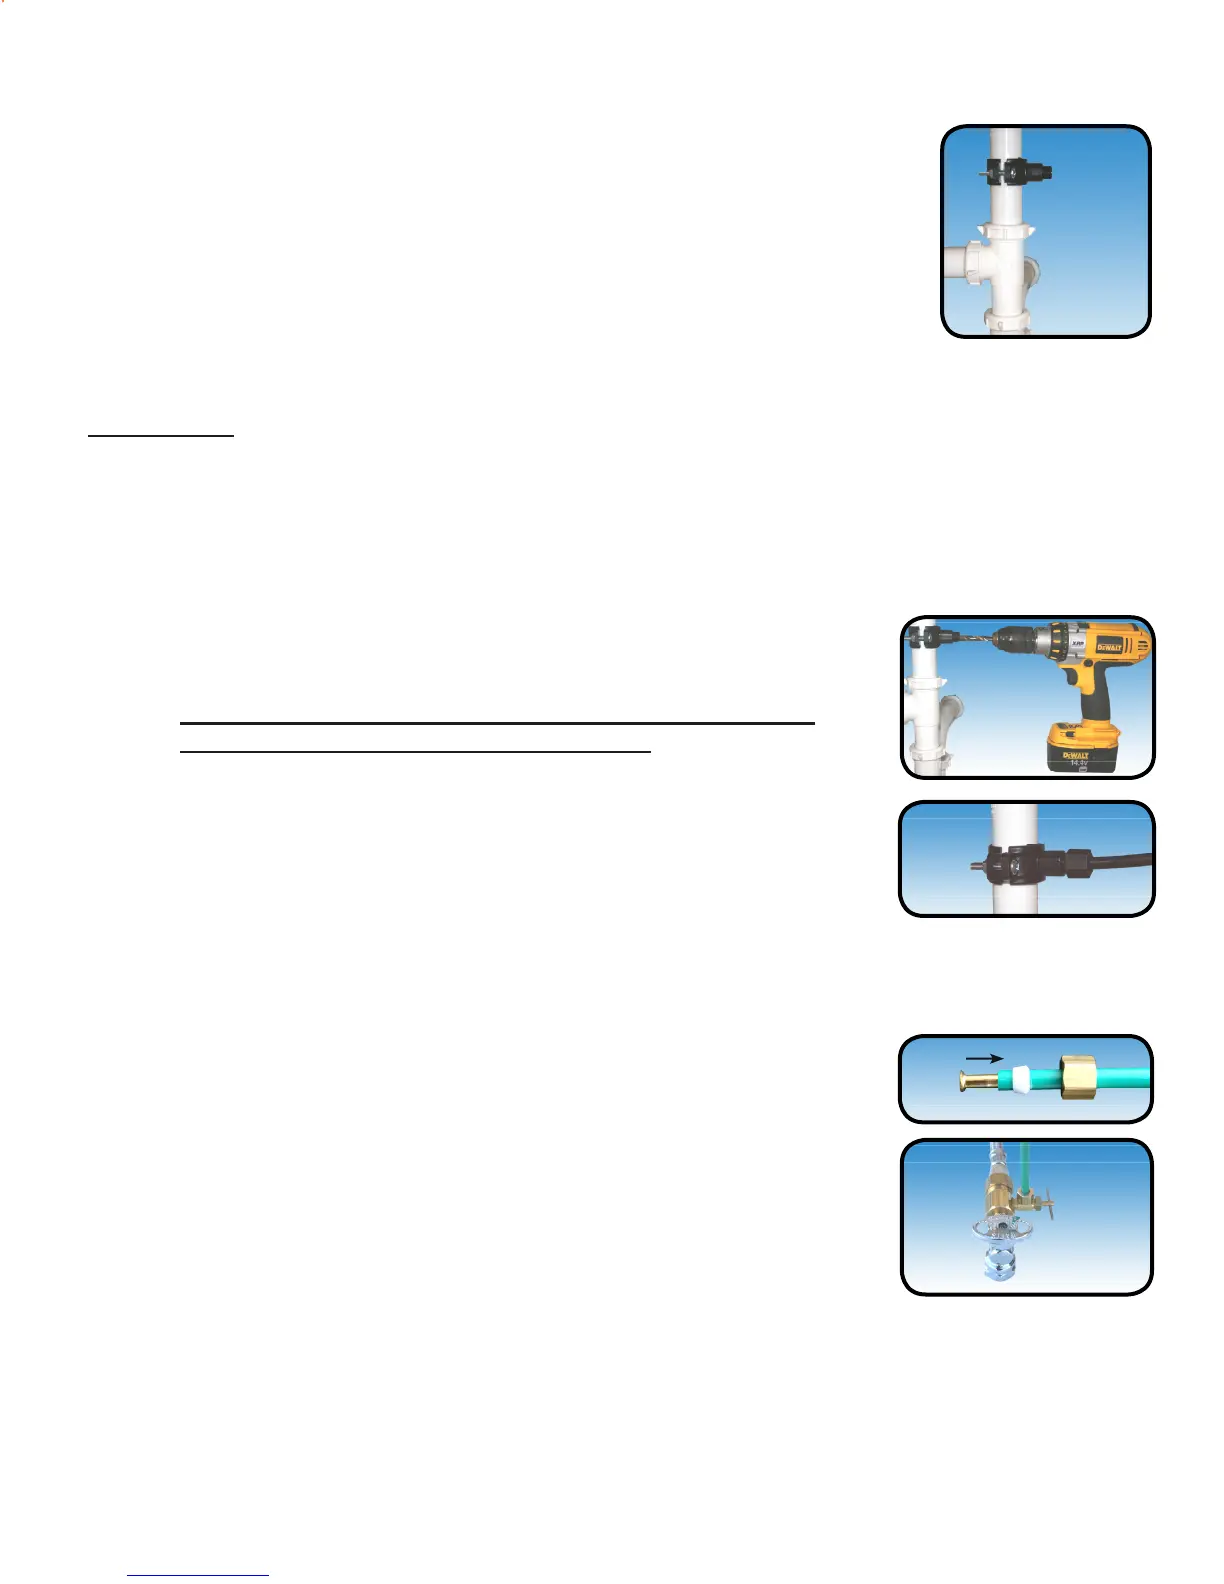
With the drain saddle secured onto the drain pipe, using a 1/4”
drill bit installed in your electric drill, insert the drill bit through the
opening in the drain saddle and drill through the drain pipe.
Step 11
Caution: It is very important to keep the drill centered to prevent
damage of the drain saddle while drilling.
Step 10
The drain saddle must be mounted at least 1 ½” above the nut of the
P-trap or cross bar from the garbage disposal to insure proper drainage.
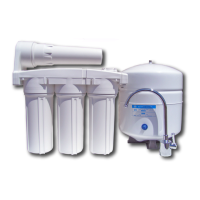
Assemble the drain saddle around the drain pipe at the best available
location. Using Phillips screw driver tighten screws evenly and securely
on both sides of the drain saddle. Keep the plastic compression nut off
at this time.
Caution:
Do not over tighten the screws. It may crack the drain saddle.
Drain Saddle Installation Continued...
Brass Valve:
Plastic Valve Valve:
Step 16 Locate green tube attached to the RO Module. Insert the open end of the green 1/4” tube
into the open 1/4” quick connect tting on the plastic water feed valve making sure the tube
is pushed in all the way to the tube stop.