6
2
1
2
1
4
1
34
11
31
48
29
29
34
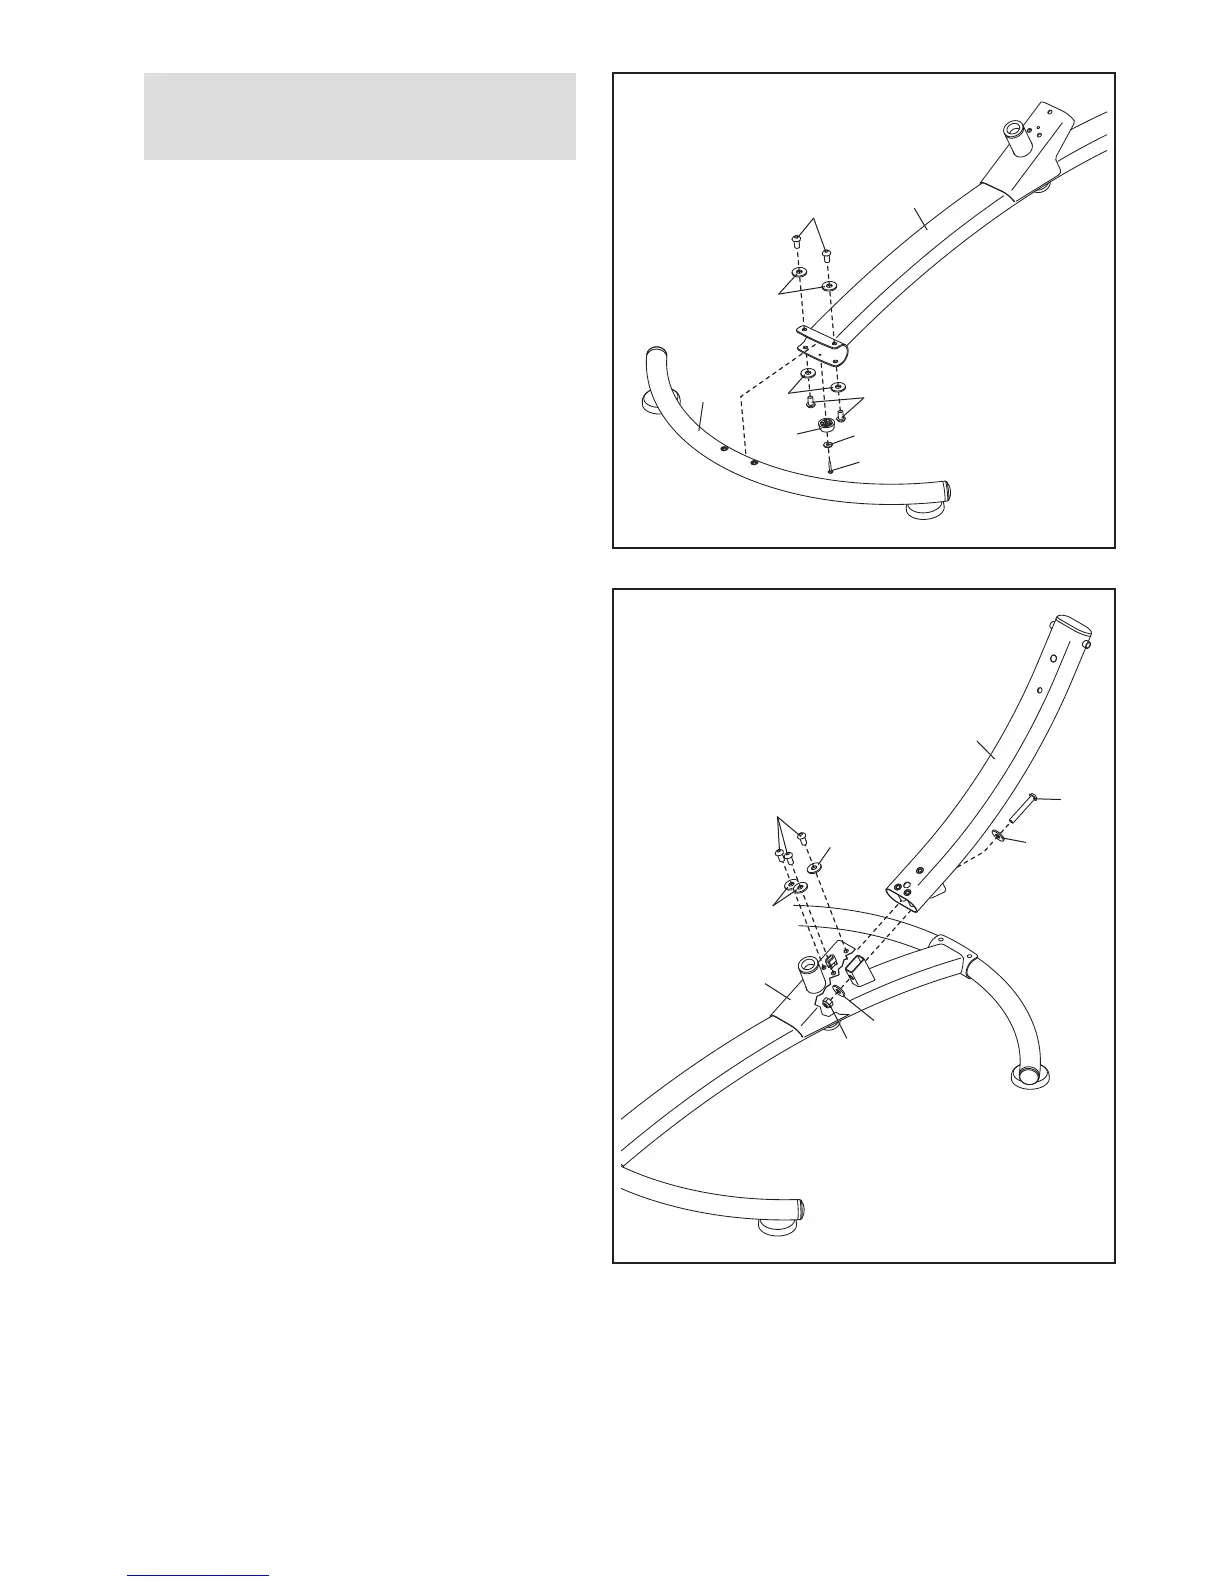
1.
A
ttach a Base (2) to the Frame (1) with four M8
x 15mm Button Screws (29) and four M8
Washers (34). Tip: Start all the Button
Screws before tightening any of them.
Then, attach a Frame Foot (11) to the underside
of the Frame (1) with an M4 x 16mm Screw (31)
and an M4 Washer (48).
Attach the other Base (not shown) and the
other Frame Foot (not shown) in the same
way.
2. Insert the Upright (4) into the Frame (1).
Attach the Upright (4) with three M8 x 15mm
Button Screws (29) and three M8 Washers (34).
Do not tighten the Button Screws yet.
Finish attaching the Upright (4) with an M8 x
55mm Button Bolt (47), two M8 Washers (34),
and an M8 Locknut (46).
Firmly tighten the three M8 x 15mm Button
Screws (29) and the M8 Locknut (46).
To make assembly easier, read the
information on page 5 before you begin.
29
34
34
47
34
34
46
 Loading...