13
64
18
92
93
I
8
4
4
2
2
2
2
H
H
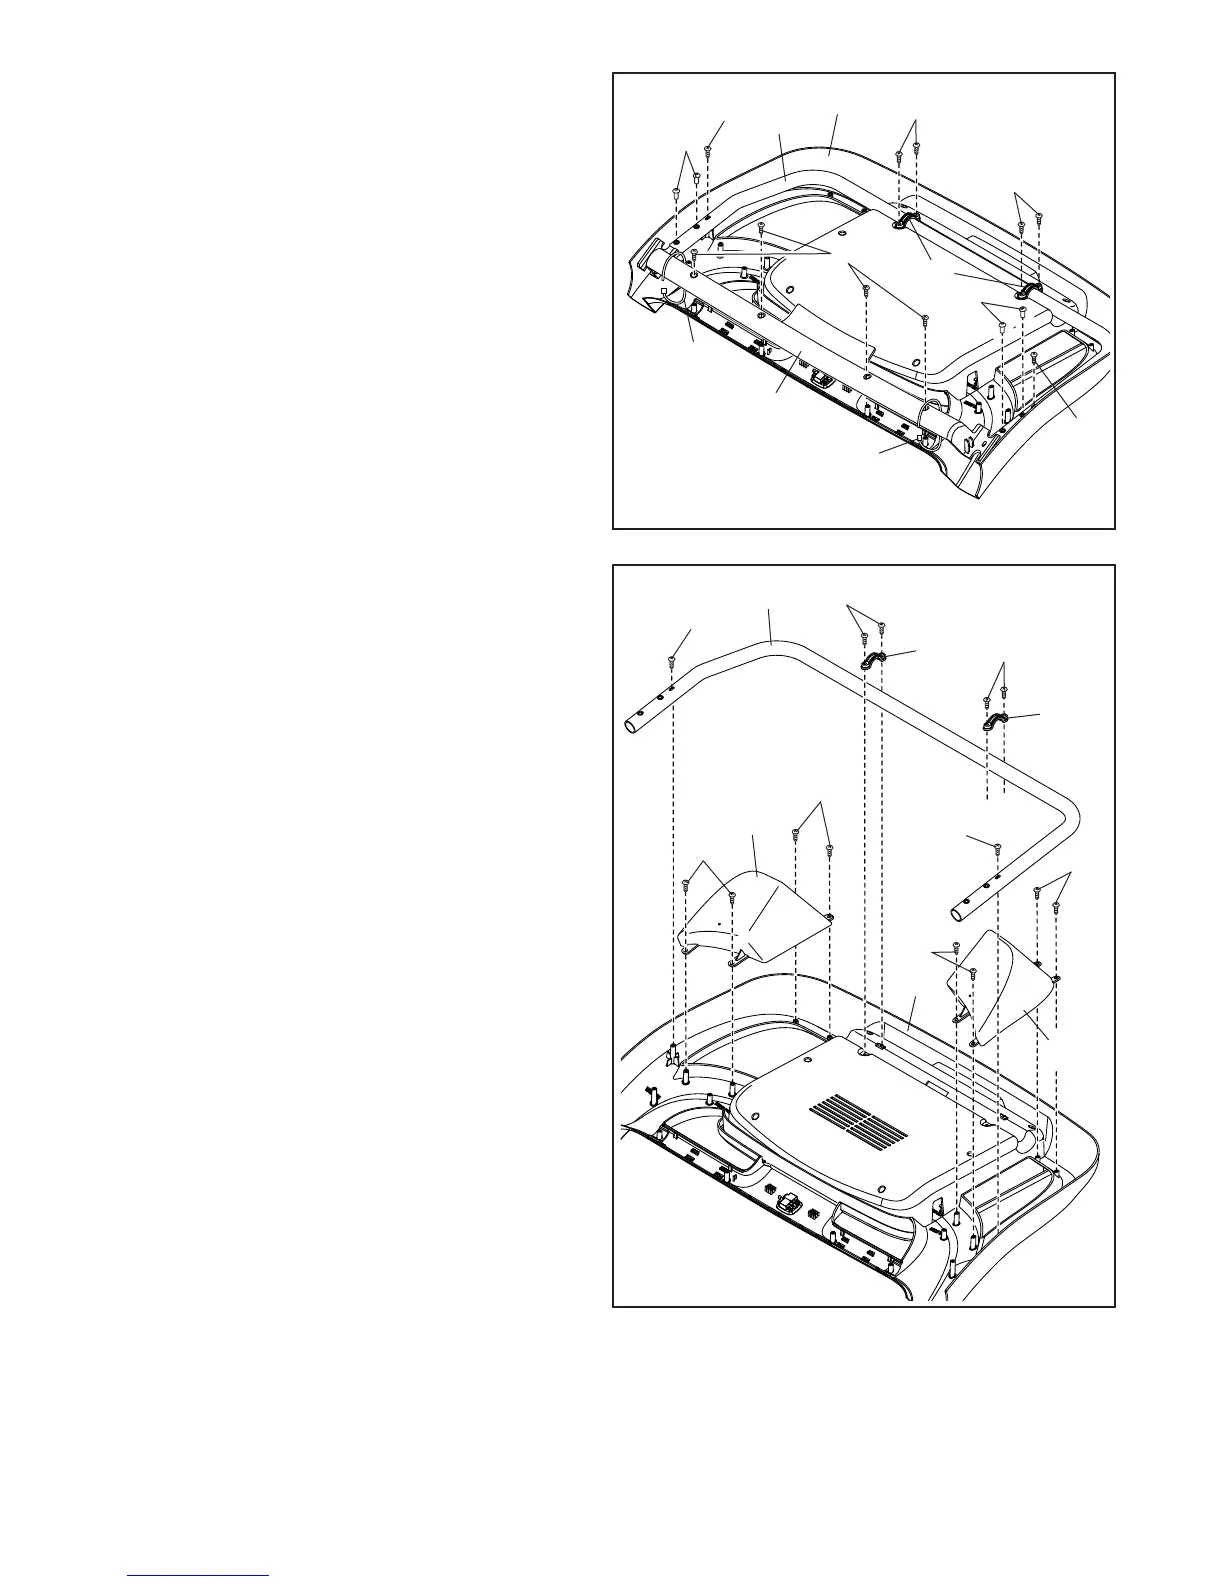
8. Set the Console Base (64) face down on a soft
surface to avoid scratching the Console Base.
If there are ties (H) securing the Pulse Crossbar
(93) to the Console Base, remove the ties.
Next, remove and discard the four indicated
screws (I), remove the Pulse Crossbar (93).
Next, remove and save the four 5/16" x 3/4"
Screws (4) and the six #8 x 3/4" Screws (2).
Then, lift out the two Console Clamps (92) and
the Console Frame (18).
64
27
36
1
1
1
9
9. Identify the Right and Left Trays (27, 36).
Attach the Trays (27, 36) to the Console Base
(64) with eight #8 x 1/2" Screws (1); do not
overtighten the Screws.
Then, reattach the Console Frame (18) with the
six #8 x 3/4" Screws (2) and the two Console
Clamps (92) that you removed in step 8; do not
overtighten the Screws.
1
18
92
92
2
2
2
2
 Loading...