5
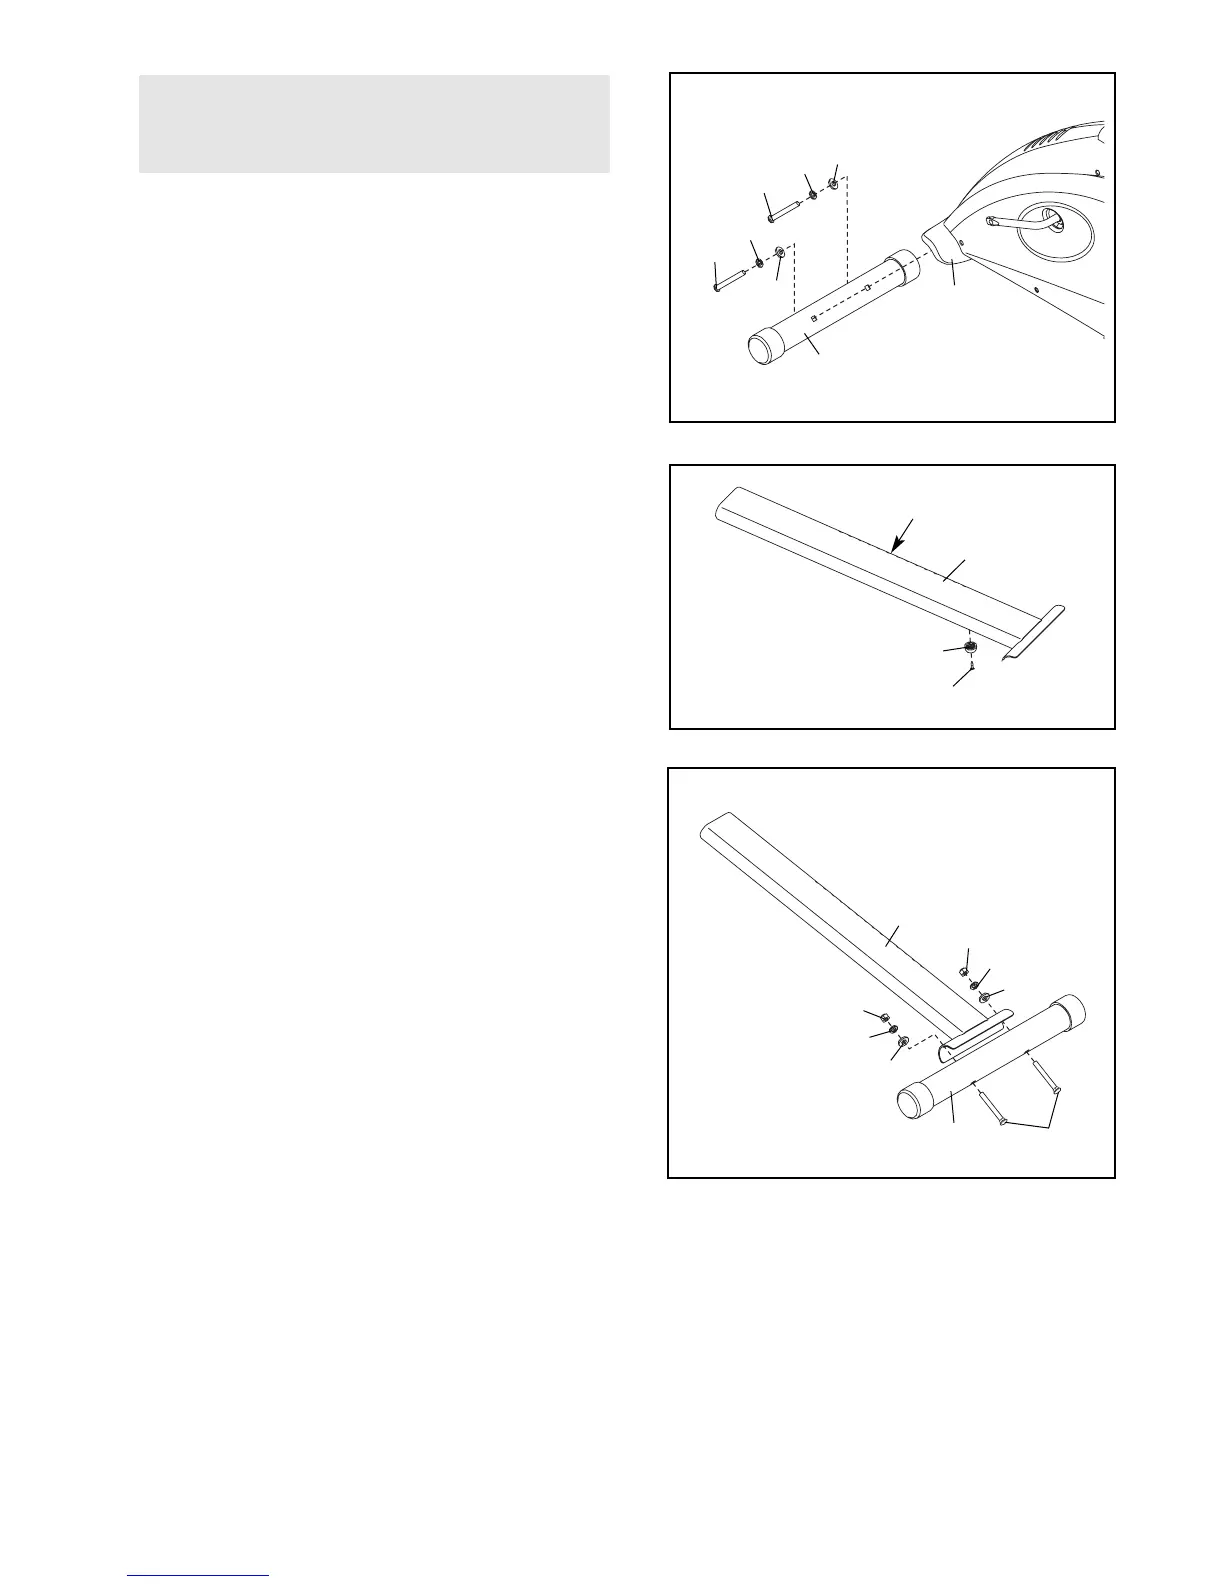
1.
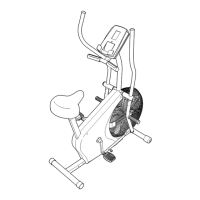
Identify the Front Stabilizer (9), which is shorter than
the Rear Stabilizer (not shown). While another person
lifts the front of the Frame (1), attach the Front
Stabilizer to the Frame with two M8 x 75mm Button
Screws (44), two M8 Split Washers (66), and two
M8 x 19mm Washers (65).
2. Orient the Seat Rail (2) as shown. Attach the Foot (17)
to the underside of the Seat Rail with an M8 x 15mm
Screw (42).
3. Attach the Rear Stabilizer (10) to the Seat Rail (2) with
two M8 x 75mm Carriage Bolts (43), two M8 x 19mm
Washers (65), two M8 Split Washers (66), and two M8
Acorn Nuts (29).
To make assembly easier, read the information
on page 4 before you begin assembling the
exercise cycle.
1
1
9
65
65
66
66
44
44
2
3
2
2
17
42
43
65
66
29
29
66
65
10
Adjustment Holes