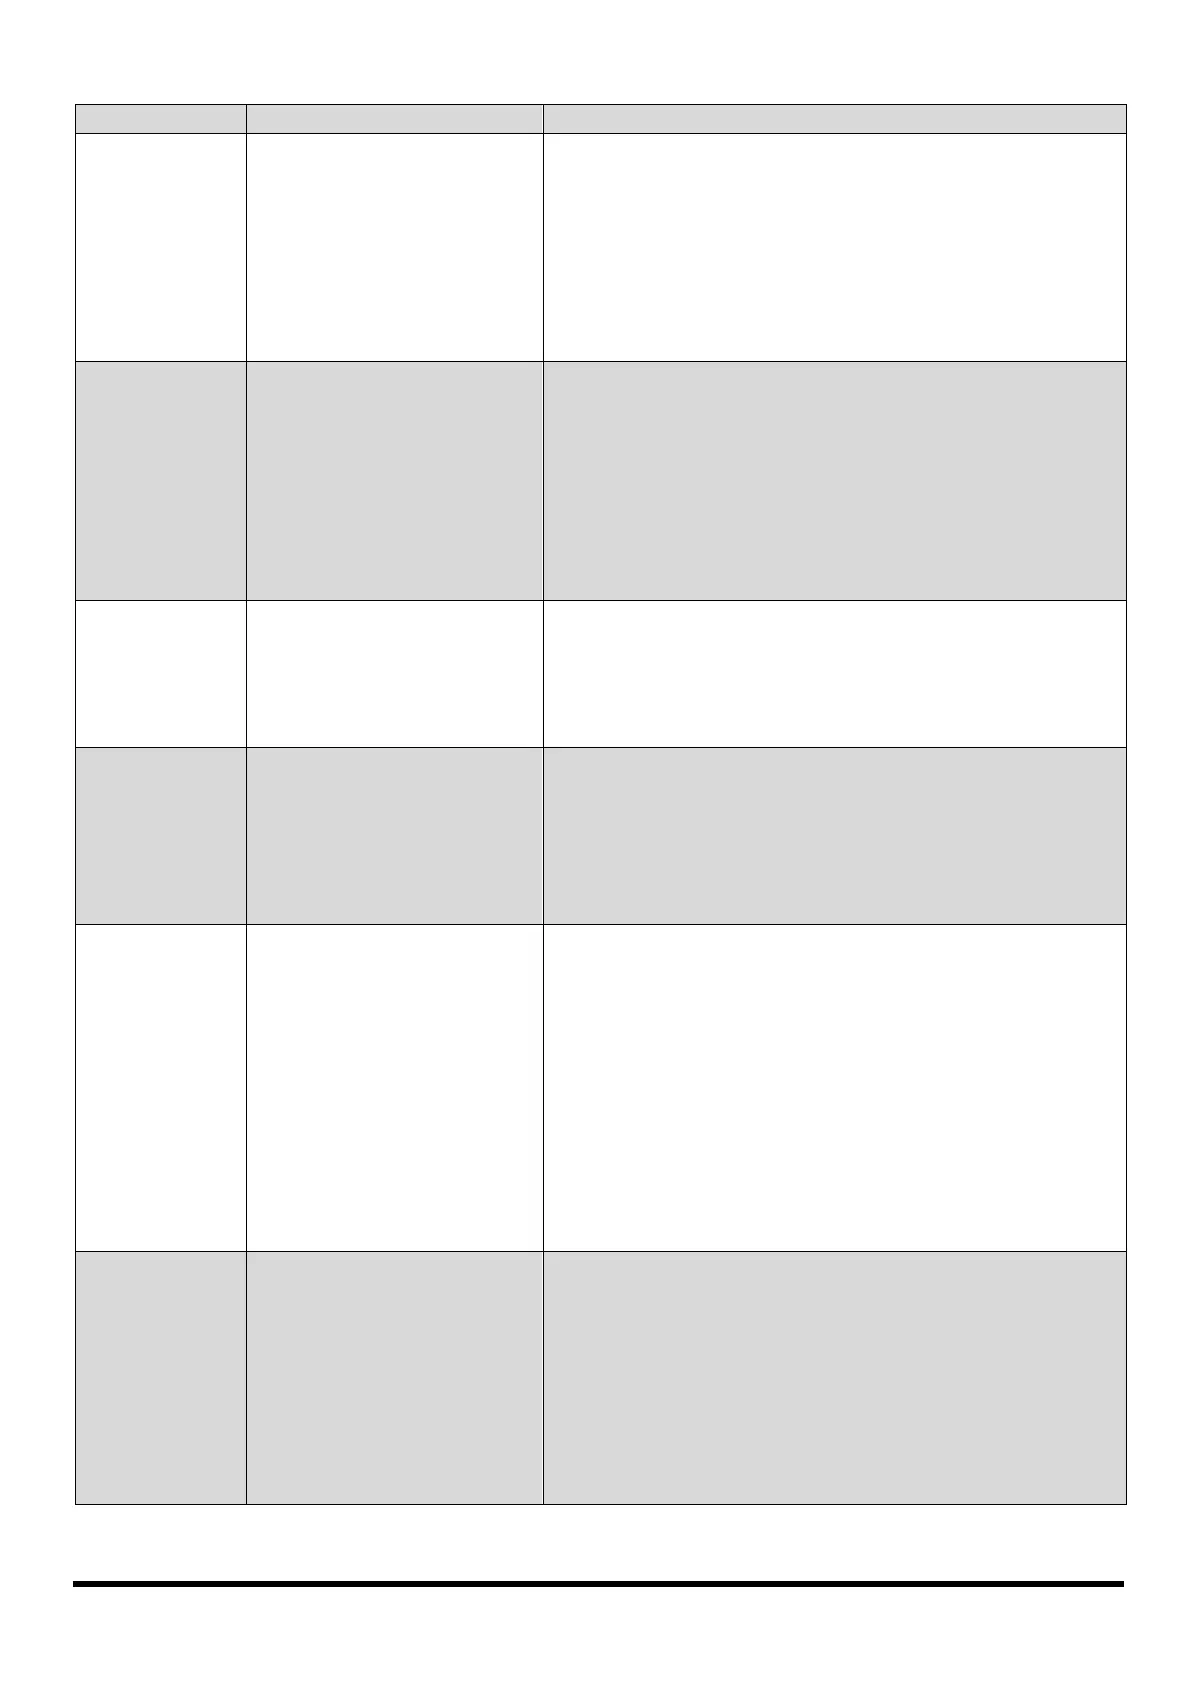
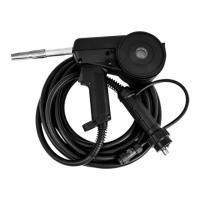
V1.0 145A MULTI-PROCESS MIG-ARC-TIG WELDER 8619470
Visit www.princessauto.com for more information 33
tungsten.
1. Touching tungsten into
the weld pool.
2. Touching the filler wire to
the tungsten.
3. Tungsten melting into the
weld pool.
1. Keep tungsten from contacting weld puddle. Raise the
torch so that the tungsten is off the workpiece 0.07 to
0.19 inches.
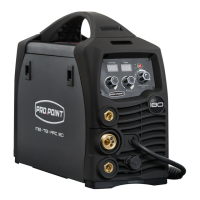
2. Keep the filler wire from touching the tungsten during
welding, feed the filler wire into the leading edge of the
weld pool in front of the tungsten.
3. Check that correct type of tungsten is being used. Too
much current for the tungsten size so reduce the amps
or change to a larger tungsten.
weld
appearance
and colour.
2. Inadequate gas flow / gas
leaks.
3. Moisture on the base
metal.
4. Contaminated base metal.
5. Contaminated filler wire.
6. Incorrect filler wire.
1. Check that pure Argon is being used.
2. Check the gas is connected, check hoses, gas valve and
torch are not restricted. Set the gas flow between 12 to 21
CFH flow rate. Check hoses and fittings for holes, leaks etc.
3. Remove all moisture from base metal before welding.
4. Remove materials like paint, grease, oil and dirt,
including mill scale from base metal.
5. Remove all grease, oil, or moisture from filler metal.
6. Check the filler wire and change if necessary.
Yellowish
residue /
smoke on the
nozzle &
discoloured
1. Incorrect Gas.
2. Inadequate gas flow.
3. Gas nozzle too small for
size of tungsten being
used.
1. Use pure Argon gas.
2. Set the gas flow between 12 to 21 CFH flow rate.
3. Increase the size of the gas nozzle.
during DC
welding.
1. Torch connected to DC +.
2. Contaminated base metal.
3. Tungsten is contaminated.
4. Arc length too long.
1. Connect the torch to the negative DC output terminal.
2. Remove materials like paint, grease, oil and dirt,
including mill scale from base metal.
3. Remove 25/64 in. of contaminated tungsten and
regrind the tungsten.
4. Lower torch so that the tungsten is off of the workpiece
Arc wanders
during DC
welding.
1. Poor gas flow.
2. Incorrect arc length.
3. Tungsten incorrect or in
poor condition.
4. Poorly prepared tungsten.
5. Contaminated base metal.
6. Contaminated filler wire.
7. Incorrect filler wire.
1. Check and set the gas flow between 12 to 21 CFH flow
rate.
2. Lower torch so that the tungsten is off of the workpiece
5/64 to 3/16 in.
3. Check that correct type of tungsten is being used.
Remove 25/64 in. from the weld end of the tungsten
and resharpen the tungsten.
4. Grind marks should run lengthwise with tungsten, not
circular. Use proper grinding method and wheel.
5. Remove contaminating materials like paint, grease, oil
and dirt, including mill scale from base metal.
6. Remove all grease, oil, or moisture from filler metal.
7. Check the filler wire and change if necessary.
start or will not
start DC
welding.
1. Incorrect machine set up.
2. No gas, incorrect gas flow.
3. Tungsten is contaminated.
4. Incorrect tungsten size and
or tungsten being used.
5. Loose connection.
6. Earth clamp not connected
to work.
1. Check machine set up is correct.
2. Check the gas is connected and cylinder valve open,
check hoses, gas valve and torch are not restricted. Set the
gas flow between 21 to 32 CFH flow rate.
3. Remove 25/64 inches of contaminated tungsten and
regrind the tungsten.
4. Check and change the size and or the tungsten if required.
5. Check all connectors and tighten.
6. Connect the earth clamp directly to the workpiece