M-34-01-06 3/31/2016 11 DQ15D/T-DQ15D Manual
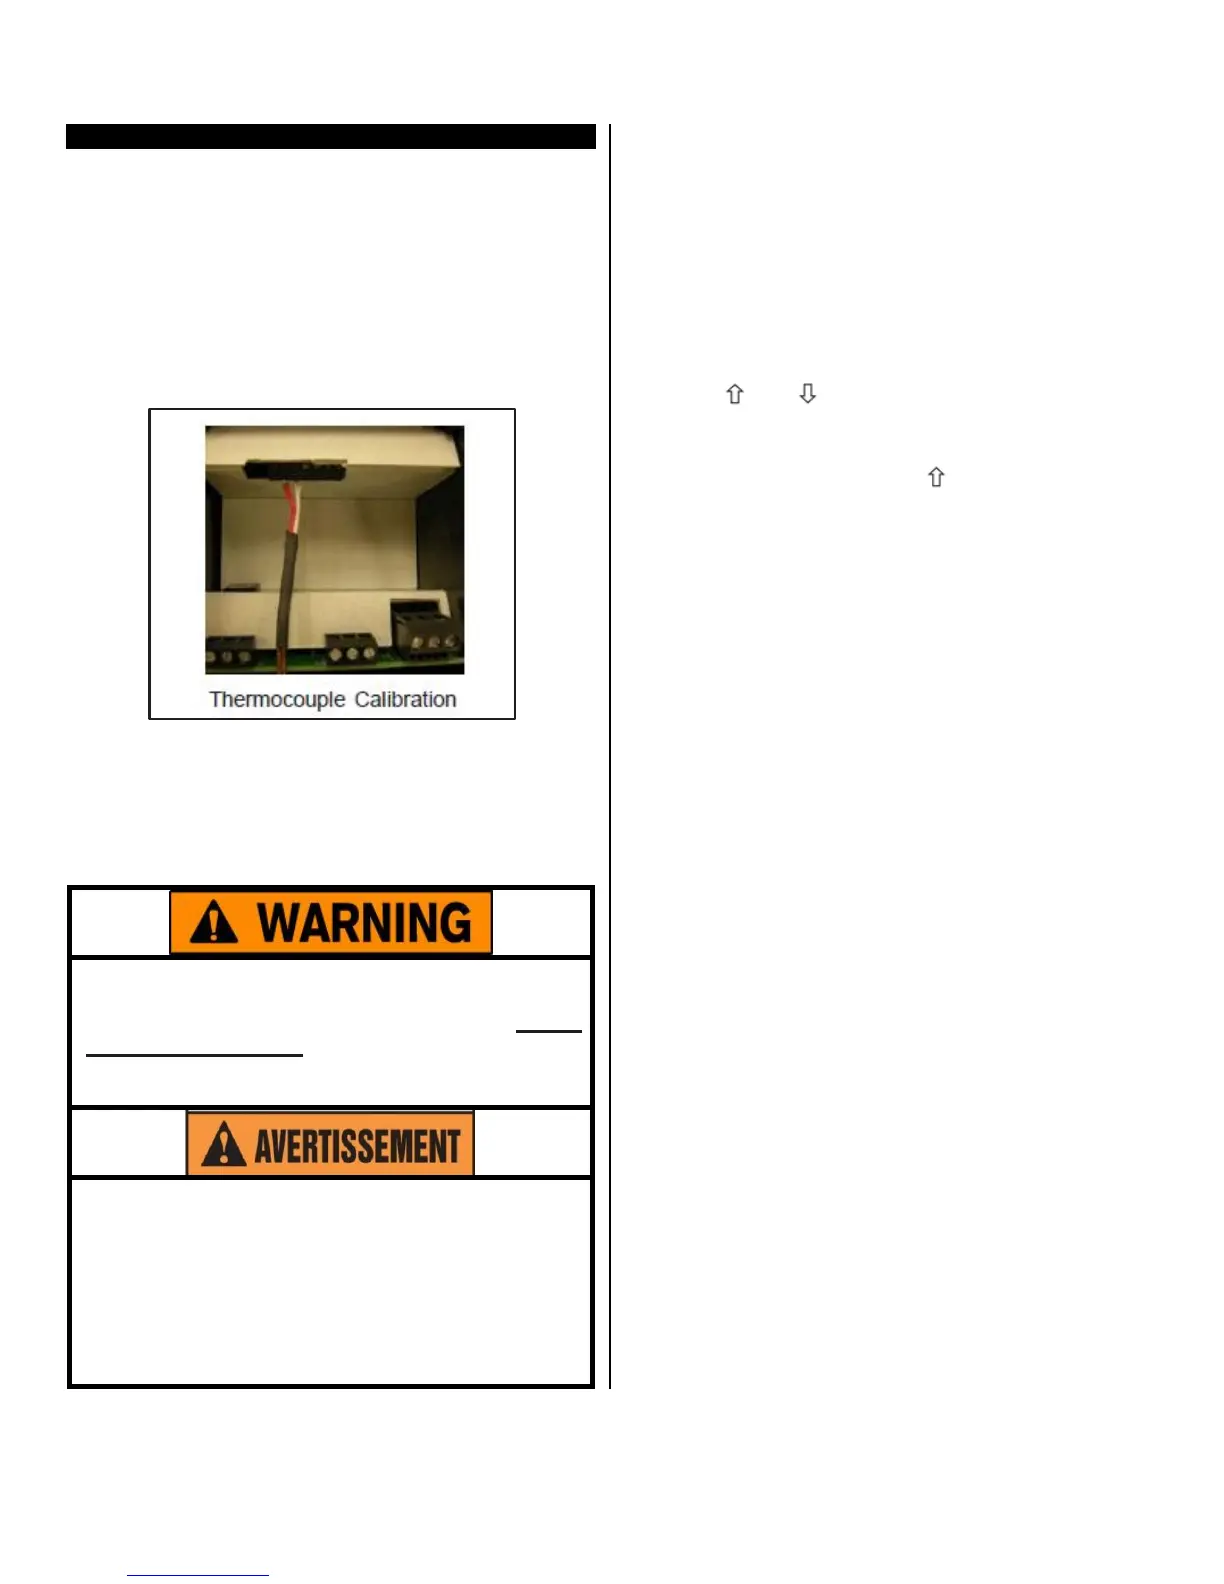
Thermocouple Calibration
Installation requires configuration for the specific
thermocouple used.
• The two wire thermocouple is polarized, there-
fore it is necessary to connect the negative lead
wire of the thermocouple to the #1 terminal and
the positive lead wire to the #2 terminal to main-
tain proper polarity for the Item # 5418 sensor
board.
• Connect the negative lead wire to terminal #2
and the positive to terminal #3 for the Item #
5419
Sensor board.
Equipment needed
• Optional thermocouple sensor board needed
(Item # 5418 or 5419).
• A precise, NIST traceable, thermocouple calibra-
tor
with suitable extension leads to match the
thermocouple type used.
Calibration procedures require the removal of
the rear cover of the
control.
It also requires that
power is ON, exposing the technician to poten-
tially lethal
voltages.
Exercise
EXTREME
CARE
and
wear tested electrician’s gloves whenever
power is on.
Les procédures de calibration nécessitent
l'enlèvement du panneau arrière du contrôle.
Ça exige aussi que le courant électrique est
allumé ce qui expose le technicien à des ten-
sions potentiellement létales. Utilisez toujours
un soin extrême et portez des gants certifiés
d'électricien quand le courrant est allumé.
Calibration
Procedure
1 Turn OFF all power.
2 Remove rear cover.
3 Remove T/C sensor.
4 Install the thermocouple calibrator to terminal #1
and #2 on Item # 5418 board, or terminal #2 and
#3 on 5419 sensor board.
5 CAREFULLY restore power to the controller, en-
suring you do not come in contact with any ex-
posed voltage.
6 Press and keys simultaneously and hold for
approximately 6 seconds. The display will indicate
AC.0.
While the 0 is flashing, use to change this to 22.
Press SET. The control screen displays CAL1.
7 Adjust the thermocouple calibrator to 0.0° C (32.0°
F).
8 Press and hold SET for one second. The screen
displays Hold. Wait for display to change to CAL2.
9 Adjust the thermocouple calibrator to 250.0° C
(482.0° F).
10 Press and hold SET for one second. The screen
displays Hold. Wait for the display to reset and
display 250.0° C (482.0° F).
11 Turn OFF power to the control and remove the
thermocouple calibrator. Reinstall the thermocou-
ple sensor and the rear cover of the control. Re-
turn the calibrated controller to service.